When you watch a blacksmith performing their work, what thoughts or emotions cross your mind? I’ll never forget when I first witnessed a blacksmith at a trade show creating a single iron link for a chain. Outside the sun shone brightly, but beneath the roof of his forge, it was dark enough to see the soft orange glow of the searing hot metal being pounded into shape. There was something mesmerizing about the smiths' focus as each hammer strike guided the link into its final form, and something oddly satisfying about the hiss of steam as the quench cooled the piece into permanence. I spent a long time after that wondering how I might try my hand the craft and considered the challenges I might face if I ever decided to build my own forge. These days it is a hobby only relatively few get invested it, as forging has become replaced by CAD, 3D printing and CNC machines that can pump out products in a fraction of the time of what a single human could possibly hope to produce manually.
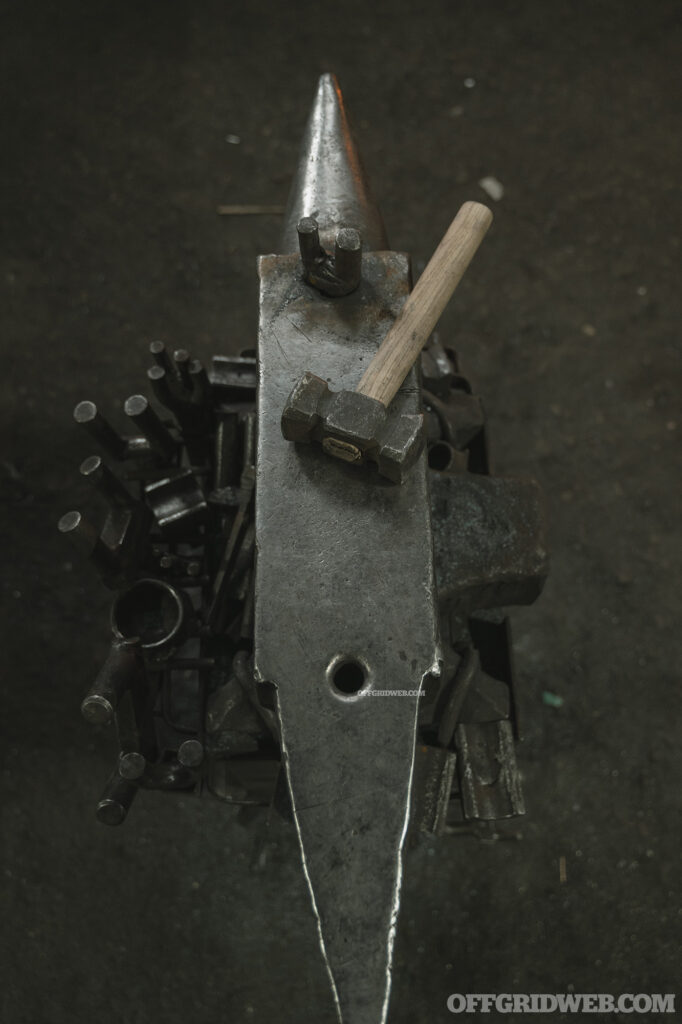
Above: An anvil an a hammer are two important blacksmithing tools. But you don't have to break the bank to find them.
Shows on various television networks have rekindled an interest in hobby forging, and thanks to the internet, there are no shortage of tutorials and demonstrations. There are plenty of opinions on how to get started and what tools to have available, so for someone new to the idea of becoming a hobby blacksmith, starting can be detrimentally overwhelming. That need not be the case, as you will see further on. It is a particularly useful skill to learn and well worth the effort, especially in the times we are living in now. Knowing how to shape metal could not only be a matter of survival, but it could be a source of potential income, a skill to barter with and a practice that can bring family, friends and neighbors together. After much trial and error, I have condensed my experience into easy to follow steps that will not break the bank.
Choosing the Right Location
Creating fire is one of mankind’s greatest inventions and without it we would have never hardened spear tips, baked bread or created engines to drive cars. Unfortunately, its ability to create is only equaled by its capacity to destroy and any time fire is being used, it needs to be treated with the utmost respect. Therefore, the first thing you must consider before trying to heat your first piece of iron is where you can do it safely. Even the most simplistic forge designs can reach temperatures in excess of 2,800F and anything combustible that gets anywhere near will go up in flames. If having a metal ventilation hood is out of the question, realize that anything directly above the forge may melt or become singed. When I made my first forge, I had located it at the entrance of my garage. It wasn’t until I was well in to my first blacksmithing experiment that I noticed the rubber seal at the bottom of my raised garage door was hanging limply and had melted in several places.
Locations outside and well away from any residence are preferred. The middle of a driveway, or even a designated backyard fire pit—away from your neighbors’ fence or any low hanging tree limbs—are good places for starting out. Keep in mind, the set up I am describing is just to whet your appetite for blacksmithing and see if it is something you want to invest in further, not for creating custom swords or elaborate works of art. That being said, it would be excellent neighborly etiquette to tell the people next door or across the street what you are getting involved with. This way you can avoid having the fire department called on you, or receiving a visit from the police for making too much noise. At a minimum, any forging activities should be done at a time when most people will not be disturbed from the pounding of a hammer. I would strongly recommend avoiding placing a forge on a balcony, the risk of a forge tipping and spilling hot coals on an unsuspecting pedestrian below is too great.
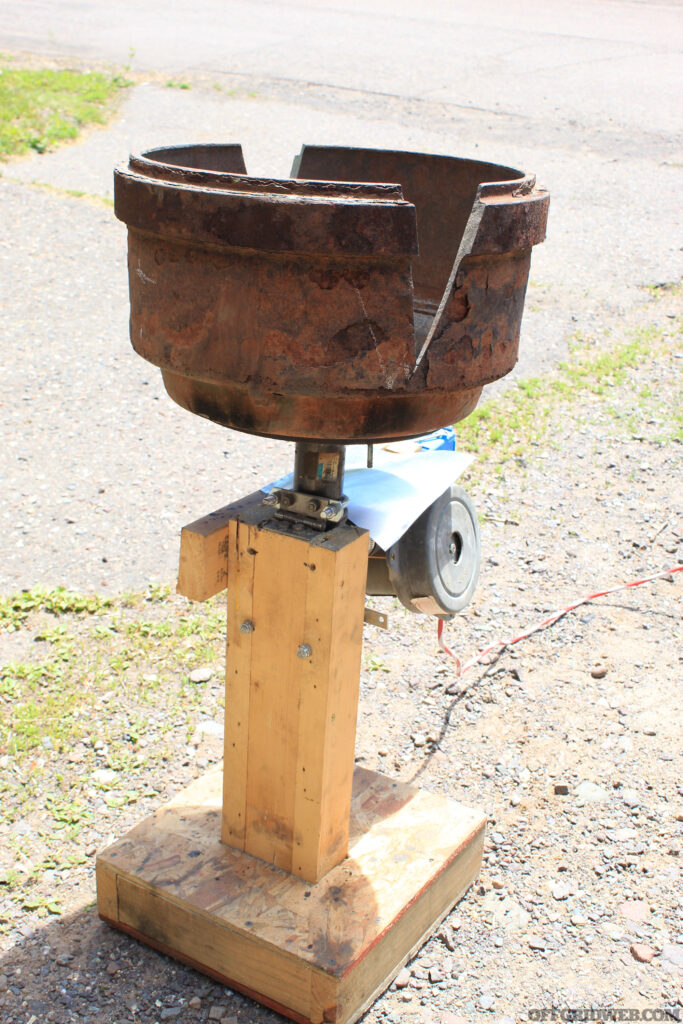
Above: Keeping the forge based on a substance that can't burn, at least twice the distance in its height away from structures or flammable objects, and out in the open if it cannot be ventilated, may keep your house from burning down.
Building the Forge
Just to review the very basics of survival knowledge, every fire needs three elements: oxygen, a source of fuel and a spark. A forge is simply a vessel to contain and manipulate these elements to your will. Some people have used a very simple technique that involves stacking two rows of bricks side-by-side, filling the gap in-between with their fuel source. But even stacking some fist-sized rocks in a similar fashion would do the trick. Avoid using something like a small charcoal grill or a raised metal fire pit. You will be surprised how hot the flames will become and if you are not careful, they could even burn a hole through thin steel! In ancient times, the walls of some forges were made with clay, a very porous substance that disperses heat surprisingly well. The point here is that you do not need to invest in a professional forge created by a company to get started. And the beauty of starting small and simple is that if you decide it’s not the skill for you, you haven’t invested a small fortune in supplies.
Like any craft or hobby, the amount you can spend is limitless, but I found an efficient way to create a forge that should cost less than $30. If you have access to a scrap yard, then you have access to the cliché novice blacksmiths beginner forge: the brake drum. The gentleman whose scrap yard I perused let me have a rusty pickup truck brake drum free of charge when I told him what I wanted one for, and it was more than enough for several years of tinkering. But having a vessel to set coals on fire is only the first step. Next you need away to feed those hot coals oxygen, and the faster and harder you can feed it, better.
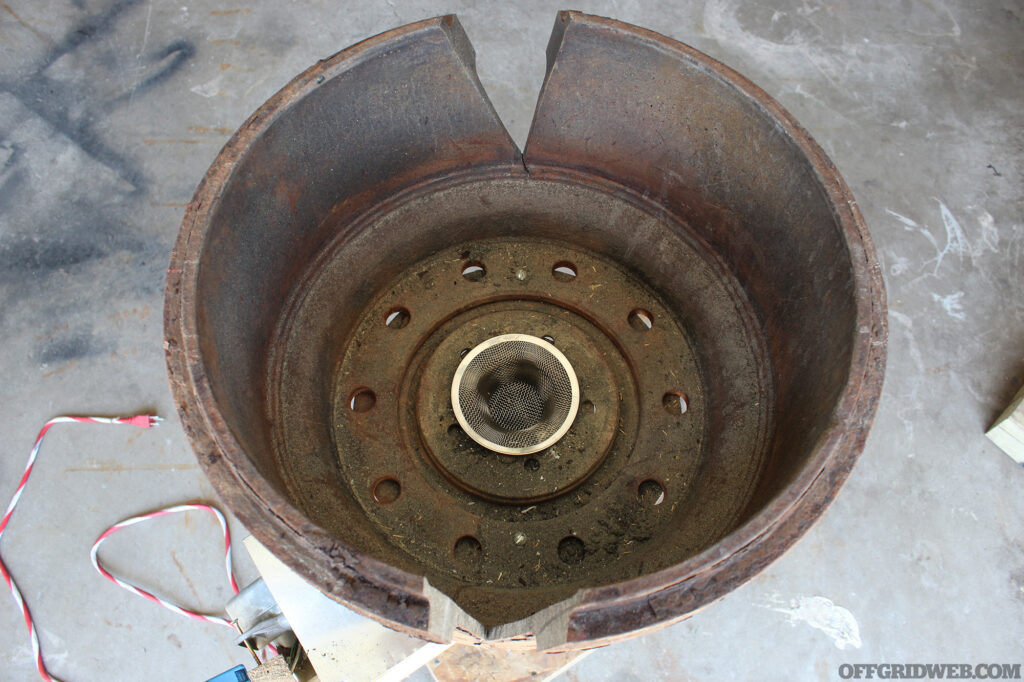
Above: This tractor-trailer brake drum has been modified with angular grooves to allow longer metal stock to be heated along its length, and has a simple sink strainer to keep coals from falling into the tuyere.
If you have ever been next to a campfire on a gusty night, or fanned the briquettes in your grill, then you have witnessed the effects of forcing oxygen into flame. For a moment the flames become stronger and the temperature rises. You need to devise a way to sustain that airflow to get the coals to forging temperatures. Old time blacksmiths used canvas, leather or wood-valve bellows to pump air manually. They would carefully observe the coals color and flames, and regulated the heat, while simultaneously working on the piece they were crafting. It was a skill that was passed on from master to apprentice and the technique took years to perfect. Now you can pick up a used hair drier from your local thrift store and pump air in with a flick of a button. Some hardline blacksmithing enthusiasts may scoff at the idea of using old appliances, but it is a perfect way to get the job done on the cheap. Even when schools were still teaching blacksmithing, they traded their manual bellows for industrial blowers. I have even seen people use leave blowers for their homespun forge. There is more than one way to set up a forge, so be creative if you do not have access to any of these suggestions.
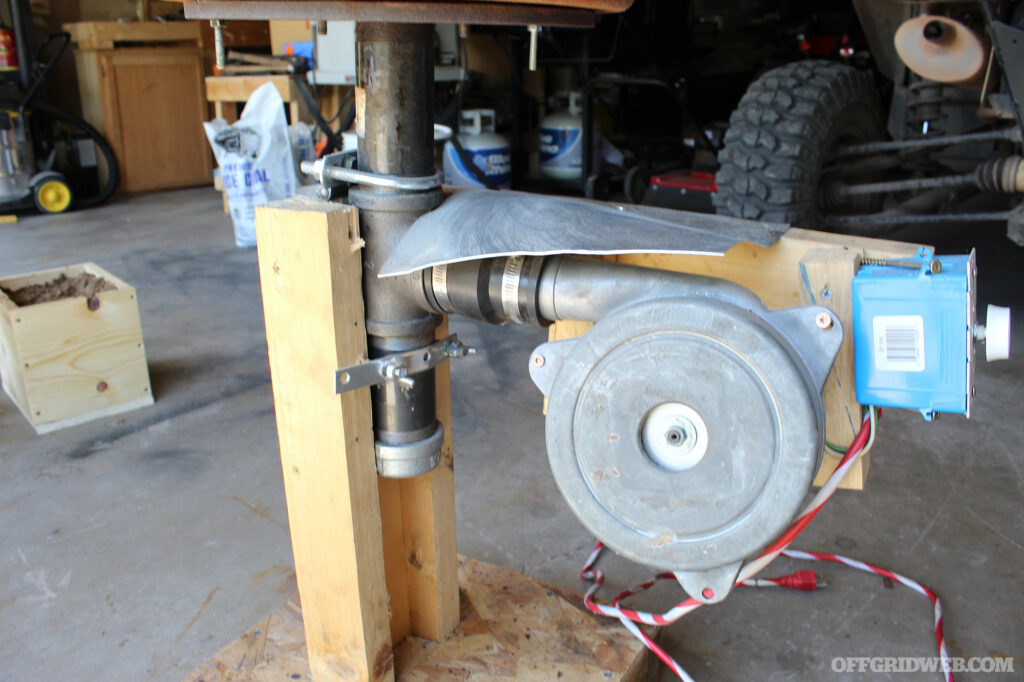
Above: Due to the heat, and sometimes the occasional falling coal or spark, a thin piece of sheet metal was used to protect the rubber pipe connections and the blower motor.
The next thing to do is get the air into the coals in a controlled way. A brake drum forge does this with a series of pipes connected to the bottom of the brake drum. If you are using this method, make sure that any pieces are not galvanized or stainless steel because the high temperatures will release toxic chemicals. Black steel pipe is the safest way to go if you decide to use this method. The setup is simple: brake drum, pipe flange, a section of straight pipe, a T-Pipe, a section of straight pipe and an end cap. You may have to drill some holes and use some bolts to connect the flange to the brake drum, and a titanium, or more preferably a cobalt drill bit will take care of that in a cinch. The T-Pipe is where you will connect the hair dryer with a piece of stretchy bicycle tubing or a specialized rubber pipe connector. Once you turn on the hair dryer, air is forced through the pipe and up into the brake drum. I used some scrap wood to build a stand for the forge and used some old disk brake rotors to counter the weight on the bottom and make it less tippy, but you can achieve similar results by making the base as wide as it needs in order to stabilize. One final touch is to put a wire screen over the hole in the brake drum, so your coal keeps from tumbling down the pipe. I used a strainer you can buy for your kitchen sink and was surprised to find out that it would not melt, even after multiple uses. You can decide the height, but you should keep it at a comfortable level, so you prevent overextending your reach as you move metal pieces in and out of it.
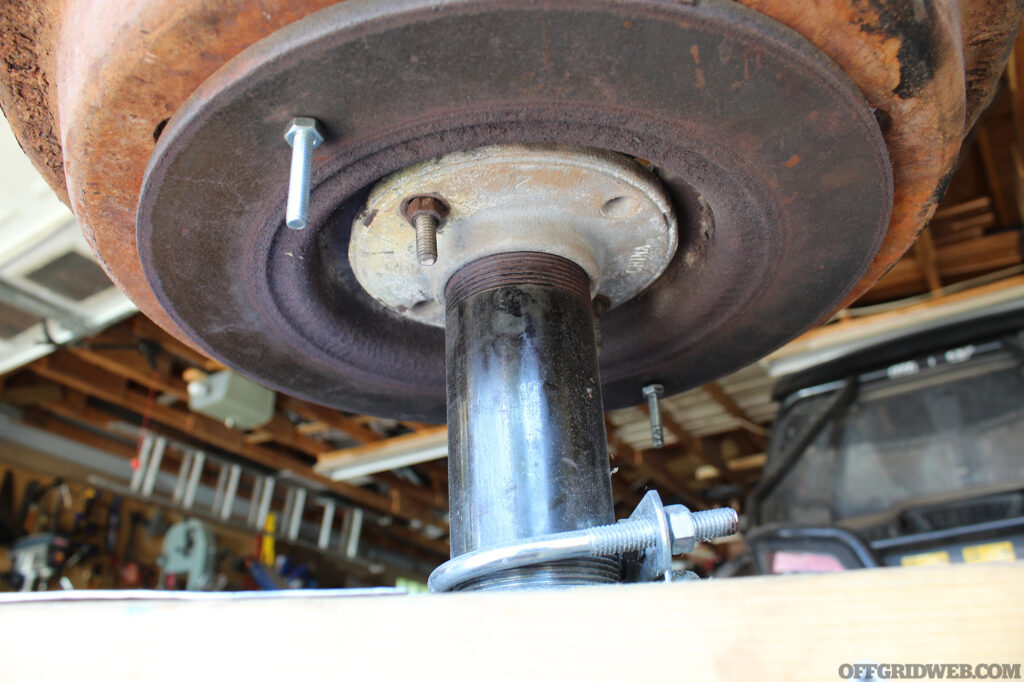
Above: This flange is bolted to the bottom of a brake drum and connected to the straight pipe that directs airflow to the coals.
There are several options for fuel, and it is even possible to make your own if you have the desire. For now, we are dealing exclusively with coal as setting up a propane forge is much different, more expensive and potentially more dangerous if you make a mistake. Coal comes in two flavors, wood coal or mineral coal. Mineral coal—sometimes labeled “bituminous coal”—is mined from the ground and can be bought from stores that offer stoves as a home heating source. It burns with little to no smoke and burns for a longer period of time. Wood coal is made by super-heating chunks of wood without oxygen, carbonizing them into those easily recognizable chunks we sometimes grill our food over. If you cannot find pure wood coal, charcoal briquettes will work. Either options are completely fine, although mineral coal is somewhat trickier to get started and wood coal is smokier, so you may have to choose what you are using based on your individual circumstances. Because I still like to work from my garage, I use mineral coal to keep from getting smoked out. I light my mineral coal by burning a small pile of charcoal briquettes in the middle just to get the sustained heat needed to get it going, and turning on the blower to expedite the process.
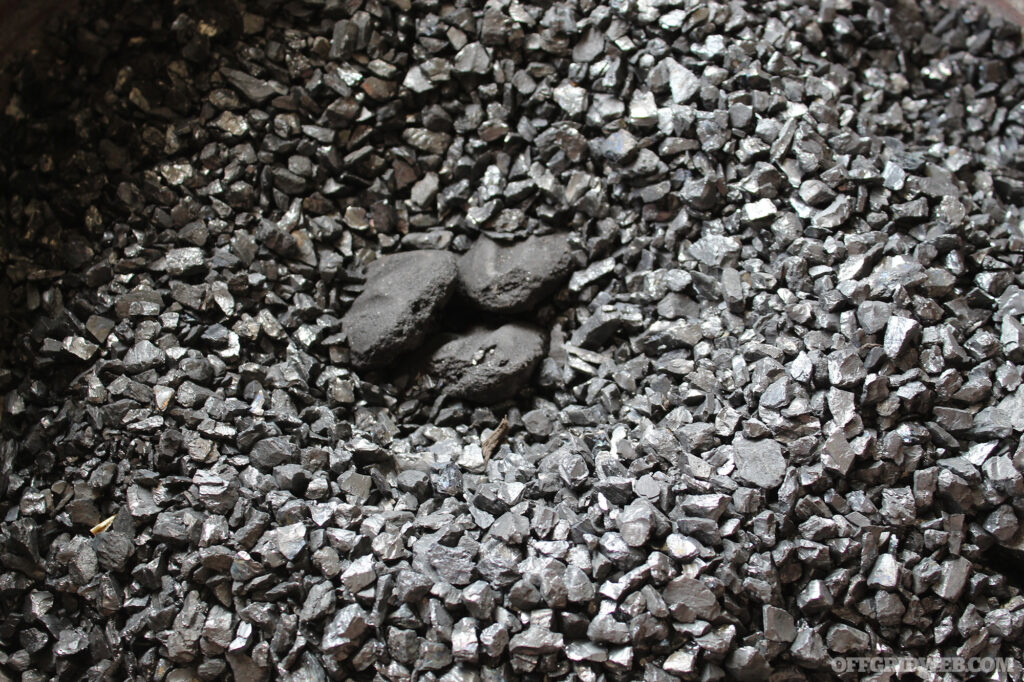
Above: Using charcoal briquettes (seen lying in the middle) are an easy way to get the mineral coal started.
The Anvil
An anvil is more than just the heavy thing mischievous coyotes drop on quick witted birds, it is a critical tool that is vital to shaping metal. Professional anvils are quite pricey, so many beginner blacksmiths find a chunk of railroad tie useful. These are not always easy to acquire, as railroad ties are tightly controlled and restricted. The perfect scenario is to find a piece of railroad tie 8 to 12 inches long from a scrap yard, but as hobby blacksmithing becomes more popular, so too does the scarcity of discarded railroad tie. If it is impossible to come by and you just need something to beat metal against, a dense brick or rock will do the trick, but you will find yourself replacing it frequently as high heat and the impact of hammering will eventually break it. For a more permanent set up, you will want an anvil stand to hold the top of your anvil at approximately the same height as your arm resting at your side. I used random scrap wood to build mine and had to widen the base several times when I discovered hammer blows caused the stand to wobble precariously.
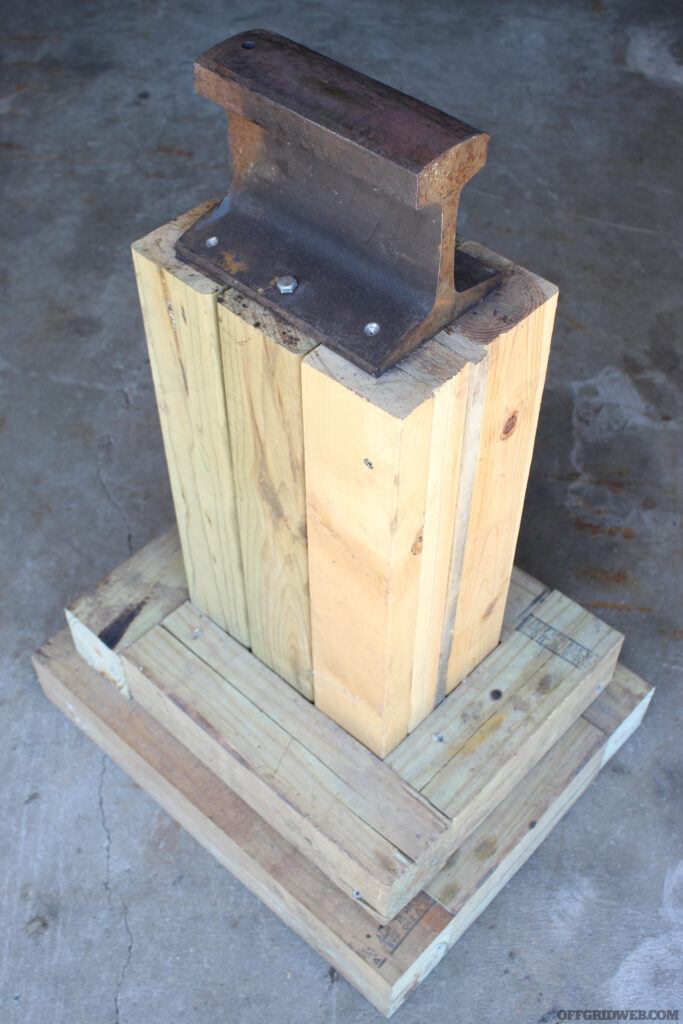
Above: This small chunk of railroad tie makes for a convenient anvil, but any block of solid metal will do the trick in a pinch.
Blacksmithing Tools and Materials
After getting the forge and anvil together, you are going to be eager to get started but there are a few tool necessities that cannot be overlooked. Before you can start pulling hot metal out of your forge you will want some kind of tongs to grab it with. I started with a pair of channel locks to grab the iron, and in my personal experience, the longer the handle, the better. For small pieces, even a pair of pliers will work, but the need to work with higher temperatures is the reason one of my first blacksmithing endeavors was to forge some blacksmithing tongs. You will also need something to shape the metal against the anvil with. Any hammer will be useful, but something that weighs between 2 to 4 pounds is the best way to go. The heavier the hammer, the less force you will have to put into your blows. Swinging a hammer down hard will quickly wear you out and the shock of the blow may even cause joint distress in your elbow and wrist. For this reason, most blacksmiths let gravity pull the weight of the hammer down to do the work for them, putting most of their effort into raising the hammer. There are many tutorials of basic blacksmithing techniques on the internet that are well worth the effort of practicing.
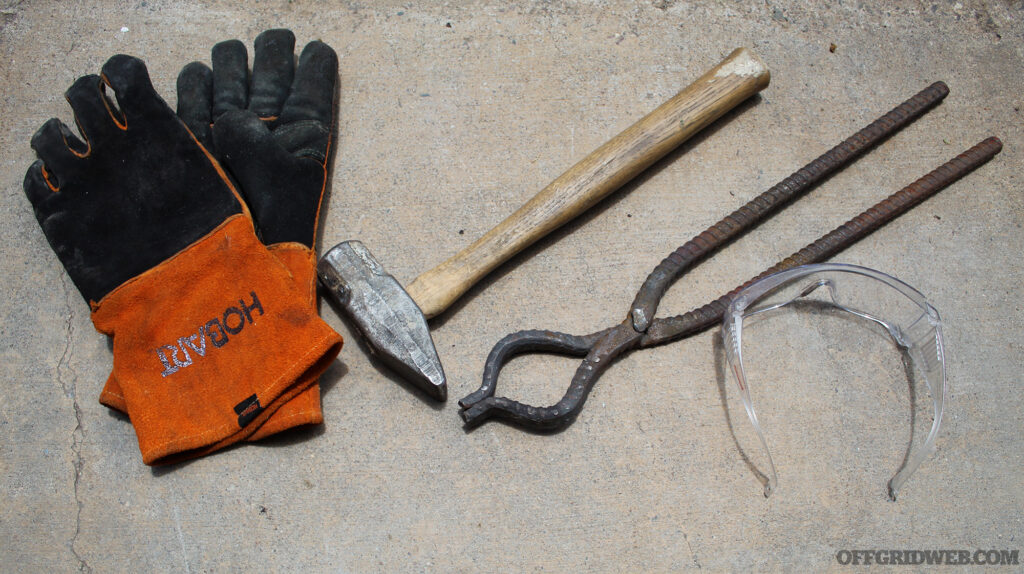
Above: The bare minimum safety equipment. It is also a great idea to find a leather apron, steel-toed boots or shoes, and to wear non-synthetic clothing. The high temperatures will melt synthetic fabric to your skin.
Lastly, you will need something to heat up and work into something useful, like a knife or a tool. For starting out, I recommend finding some iron rebar, which you can also find at a scrap yard or even waste from a local construction project. Don’t worry if its rusty, it will all get pounded off as you work the metal. Any rebar from ¼ to ½ inch is best, and if the pieces are too long, you can cut them to more manageable sizes with a hack saw or angle grinder. If blacksmithing is something you want to get more serious about, there is plenty of information about different types of metal and their properties, as well as what techniques are best for working with them. Do not worry about any of that for now, just get your forge fired up, put the metal piece in the coals and when its glowing hot, pick it out with the tongs and start hammering away!
Safety and Learning Resources
Like I mentioned earlier, working with fire and hot metal is inherently dangerous. Keep children away and always be mindful of the heat. Metal can reach temperatures of 900F before it even begins to glow a faint dark red, which is several times hotter than the self-clean mode on your oven! A good rule of thumb is to always assume metal is hot and treat it as such. When metal increases in temperature, hitting it can cause sparks to fly, and for this reason, a pair of safety glasses is highly recommended. Avoid wearing clothing that is made out of synthetic fibers that will melt to your skin when something hot touches them. Most blacksmiths wear exclusively cotton clothing and most wear a leather apron or even steel toed boots. Having a bucket of sand to smother the coals should a flare up occur and a fire extinguisher nearby are both recommended precautions. Blacksmithing is a fun and rewarding skill to learn but taking safety seriously cannot be understated.
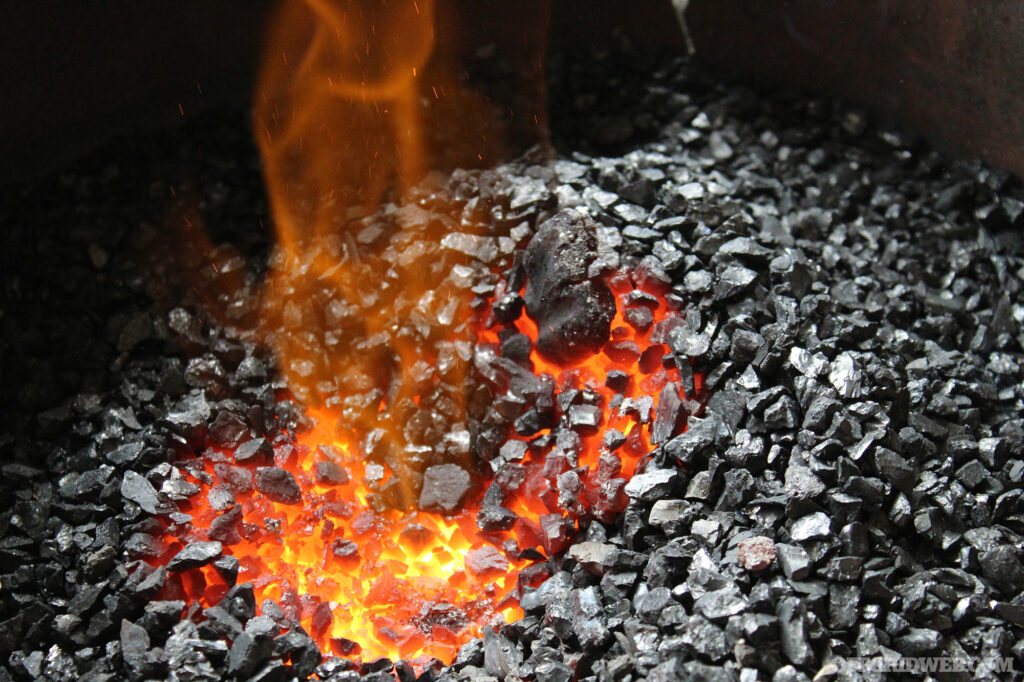
Above: If not carefully monitored, these coals can easily become hot enough to melt steel.
As you progress on your blacksmithing journey, you will want to learn how to do more than just heat metal and pound on it. Thankfully there is an almost unlimited supply of lessons and tutorials available for free online. Because blacksmithing is an ancient skill, doing an online search in the Library of Congress will yield fun and interesting results. There are also many phenomenal vloggers to inspire you and show you techniques. Ultimately, the best way to learn is by finding a practicing blacksmith in person to learn from and mentor you as you progress. One of the challenges of teaching yourself is that you will develop bad habits that a master blacksmith can show you how to avoid.
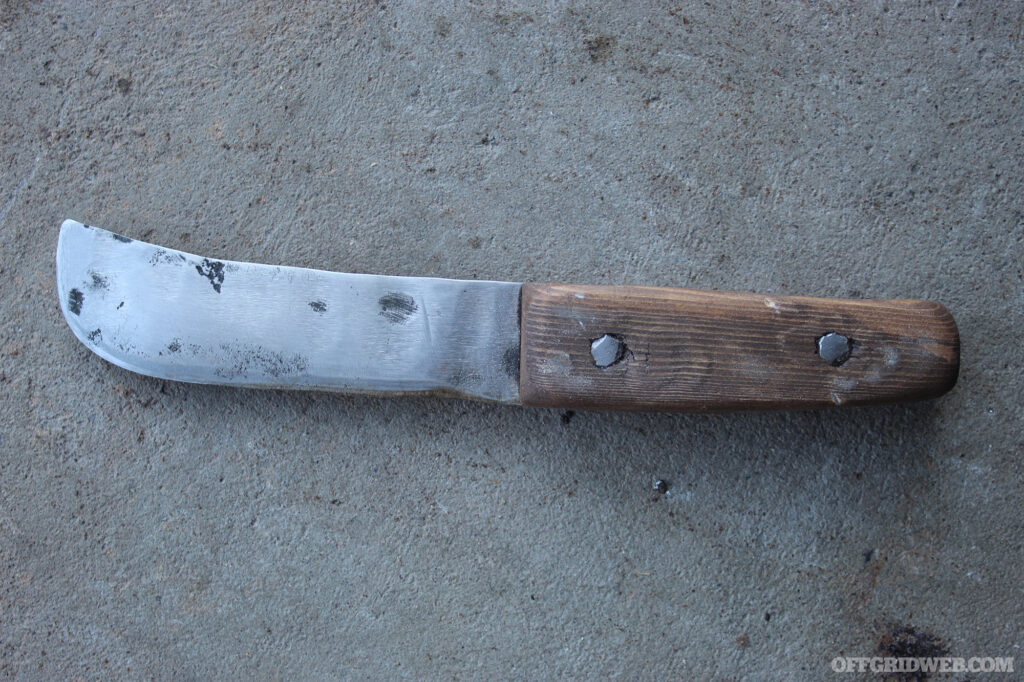
Above: This knife was forged from a chunk of rebar using the brake drum forge and train track anvil.
Most importantly, do not be overwhelmed with the amount of ideas and opinions of how to get started, and just start. You will learn as you go and improve as you learn. My oldest daughter and I created a simple knife just by messing around with some rebar one evening. Granted, it’s not perfect, but it will spread butter, and we were both able to learn knew skills in the process. As your proficiency increases, you will find comfort in knowing that if you needed something forged from metal, be it weapon, tool or hardware, you would have the skill set to do so. There is always something both satisfying and rewarding about working with your hands, to step away from the digital noise that often drowns our lives and focus our attention on something we are creating. Blacksmithing may be one of humanities greatest achievements, and practicing the craft is demonstrative of how we were able to control every element—water, wind, earth and fire—to improve every aspect of our lives.
Related Posts
- Video: Making a Simple DIY Forge
- Make a Custom Karambit Knife from a Wrench
- DIY Blade-Smithing
- Backyard Survival Training
Related Posts
New: Haley Strategic and Safariland Release the INCOG X HolsterHaley Strategic and Safariland developed the new INCOG X concealed carry holster, which will begin shipping on July 14th.

ProTek Watches: Mil-Spec Watchmaker Barry Cohen's Latest ProjectThe latest line of watches created by Barry Cohen delivers a time piece that is "Rugged at Heart" and illuminated with tritium.
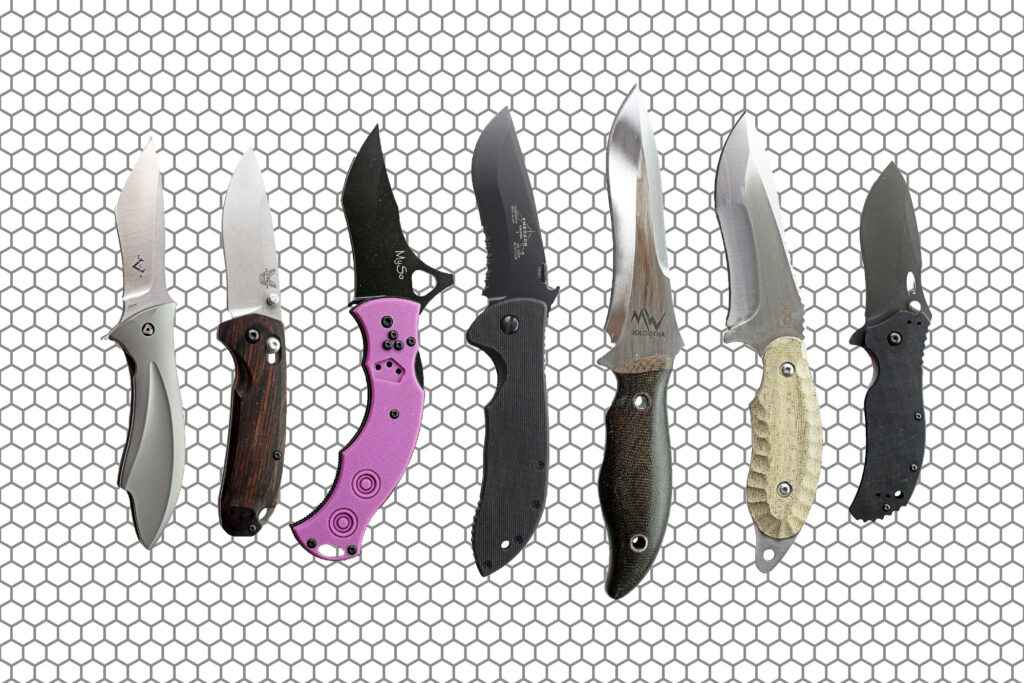
Pocket Preps: Recurve BladesIn this Pocket Preps, we take a closer look at recurve blades, a style that has been making a come back with knife enthusiasts.
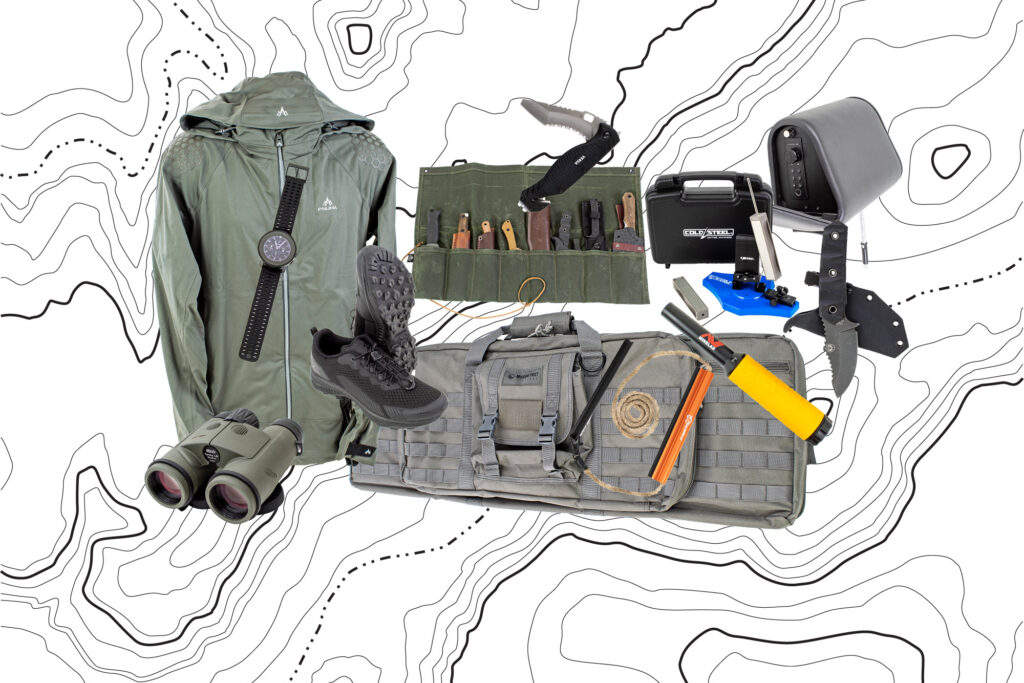
Gear Up: New Survival Gear For June 2023A quick look at some of the latest survival and preparedness gear.
Field Writing Caddy: Organization for the Tactical AdminPocket protectors aren't just for doctors and physicists anymore now that the Field Writing Caddy is here to keep things organized.
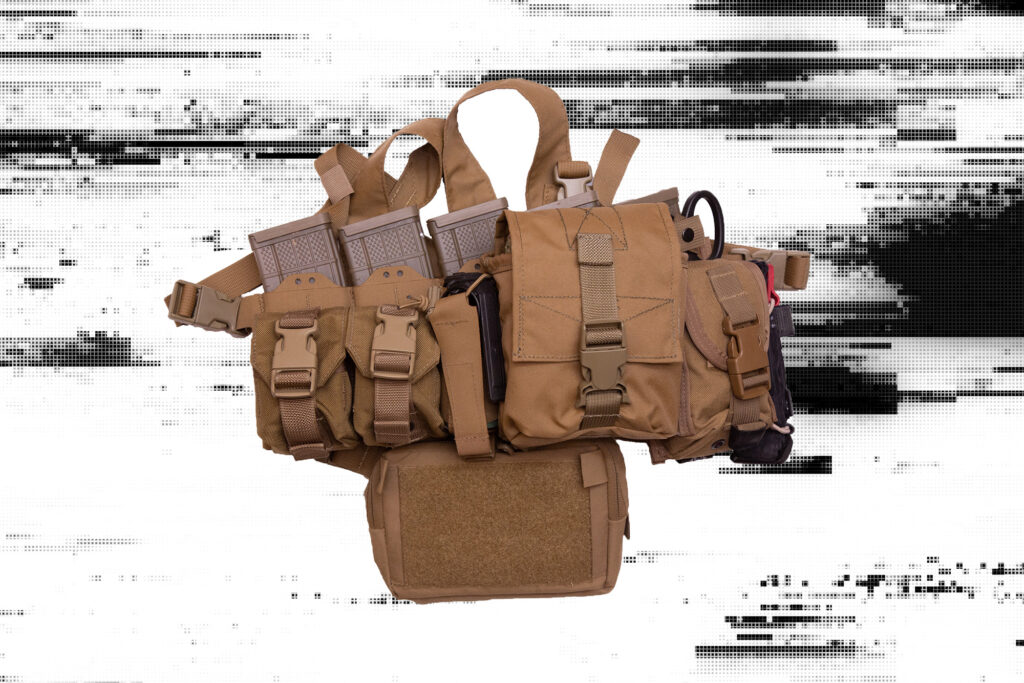
Parashooter Pathfinder: An Adaptable Chest RigNewly released chest rig, the Parashooter Pathfinder, takes a minimalist approach with this light-weight and easy to carry chest rig.
Multipurpose Survival Scarf: Tuff Possum's Swiss Army Knife of ClothingUsing a piece of clothing for many applications, such as a survival scarf, is an old concept. Soldiers and huntsmen have been using strips of their own shirts as impromptu bandages, pants […]
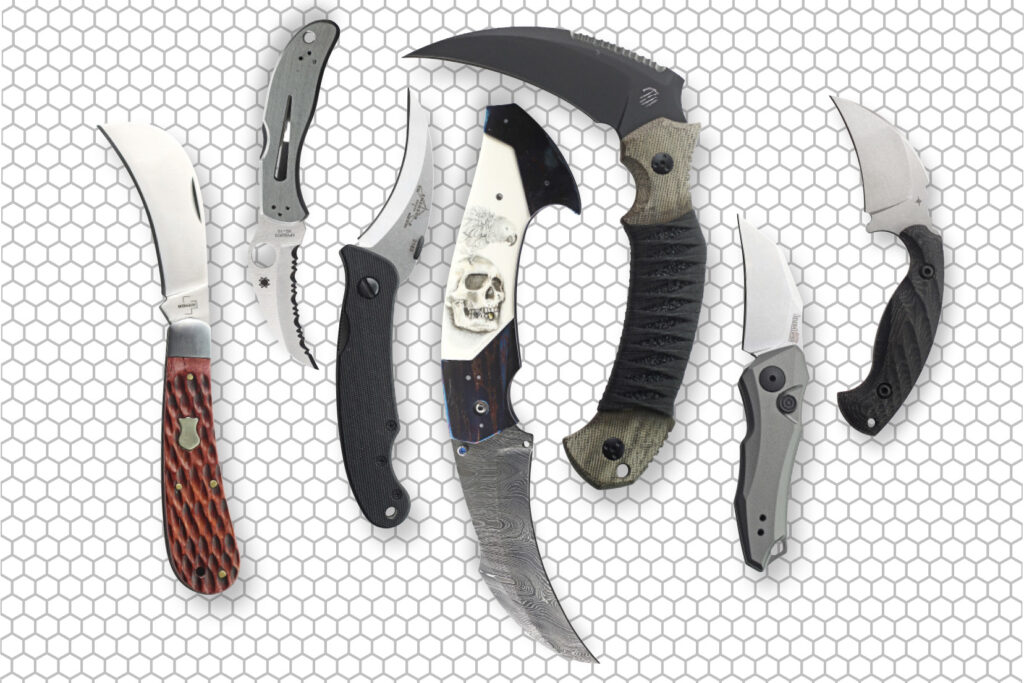
Pocket Preps: Hawkbill BladesOne of the more interesting blade styles is the Hawkbill blade. They have an old history and are used in everything from gardening to combat and personal protection. Of course, one of the […]
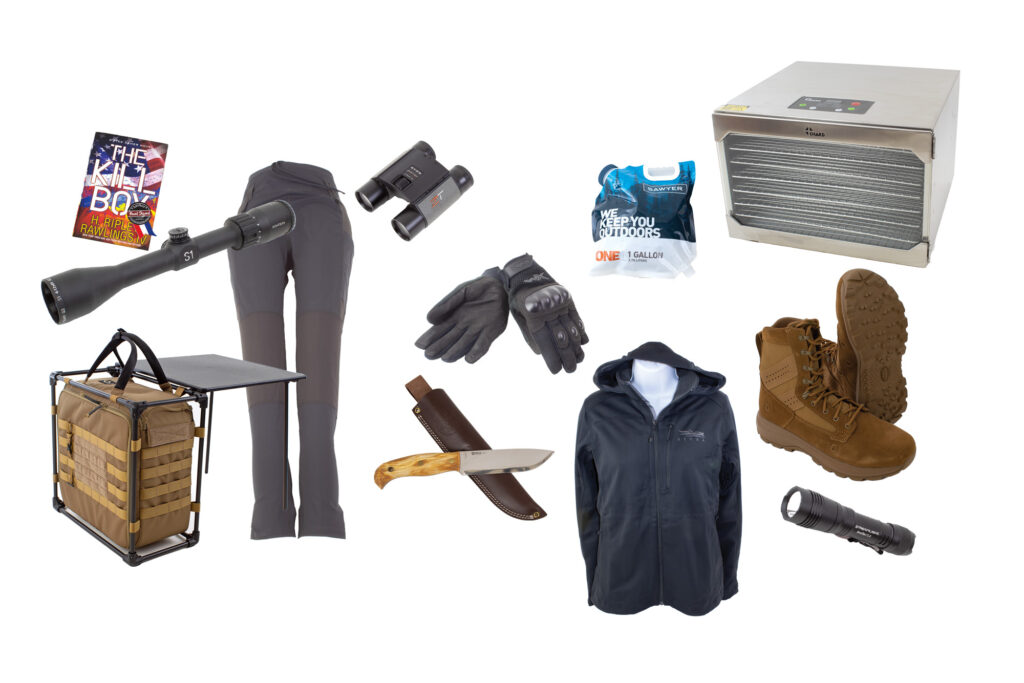
Gear Up: New Survival Gear for April 2023In this issue, we take a quick look at some of the latest survival and preparedness gear, including a new book, digital dehydrator, and more.
The post Learn How To Build Your Own Forge appeared first on RECOIL OFFGRID.
By: Patrick Diedrich
Title: Learn How To Build Your Own Forge
Sourced From: www.offgridweb.com/preparation/build-your-own-blacksmithing-forge/
Published Date: Wed, 28 Jun 2023 05:12:01 +0000
-------------------------------------------------------------------------
 CampingSurvivalistHuntingFishingExploringHikingPrivacy PolicyTerms And Conditions
