The best RV manufacturers have extensive quality control standards they check on each unit that comes off their production line. But Camping World takes quality control checks a step further by conducting a pre-delivery inspection (PDI) on each unit before it’s delivered to a customer.
Before a new or used RV is delivered to a customer, a trained Camping World service technician completes a thorough evaluation to ensure there are no defects or potential operational issues.
This PDI process is broken down into seven zones to create a detailed structure for technicians to check and test an RV. Here are the seven zones:
- Zone 1: Front
- Zone 2: Driver side
- Zone 3: Rear and the roof
- Zone 4: Passenger side
- Zone 5: Interior systems check
- Zone 6: Interior fit and finish
- Zone 7: Interior soft goods check
Zone 1: Front of the Unit
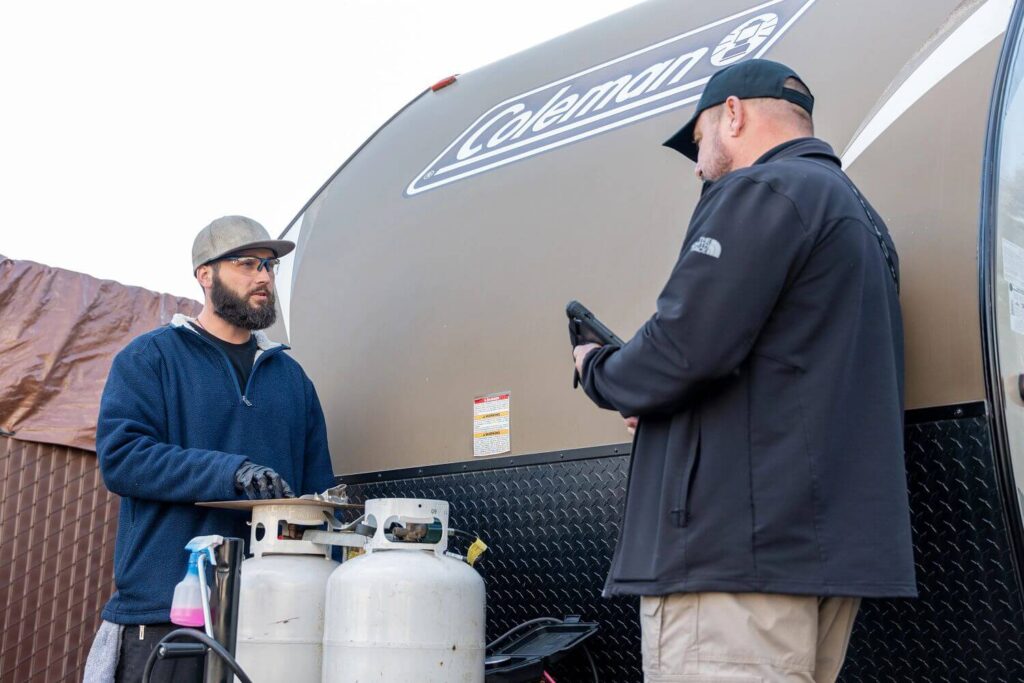
Photo by Camping World
Technicians begin inspecting and documenting their PDI process at the front of every RV. Here are their first checks:
- VIN number check
- Fill LP container(s)
- LP leak tests
- Perform LP gas test and pressure drop test
- Check the condition of the battery and battery cables and connections
- Check the condition of the trailer coupler (on travel trailers) or pin box (on fifth wheels)
- Check for missing or damaged links or hooks in the safety chains
- Check the condition and operation of the tongue jack/landing gear
- Check running lights, brake lights, and turn signals
- Test amps and condition of breakaway cable and brakes
- Check the condition of metal, fiberglass, decals, and light lenses on the front wall
Zone 2: Driver Side of the Unit
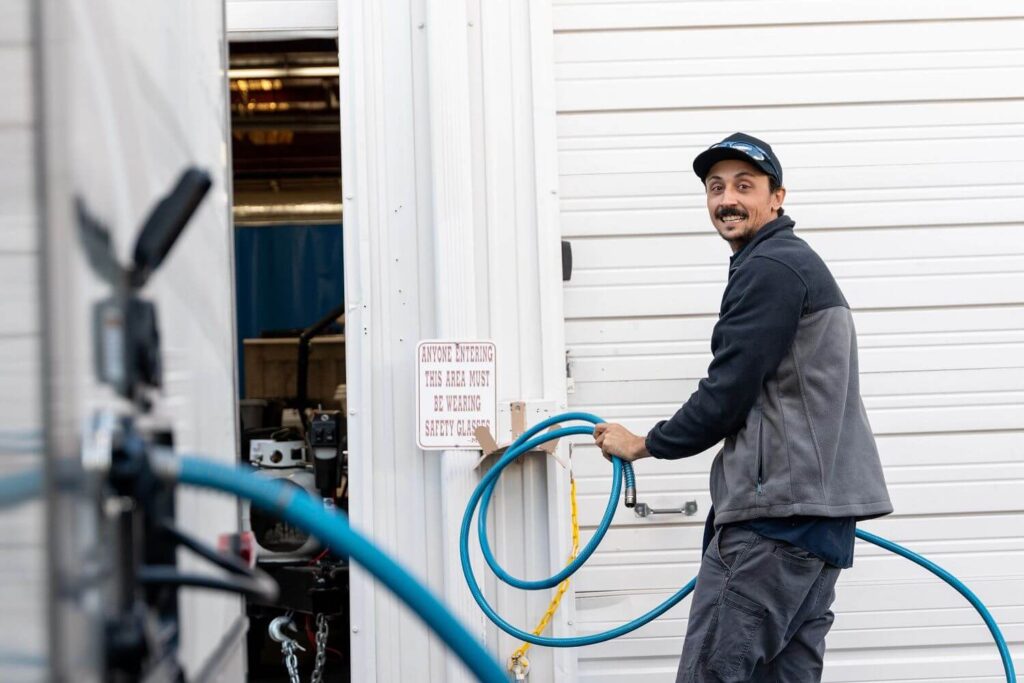
Photo by Camping World
The technician will then move to the driver’s side to perform the following tests:
- Plug in the shore power cord
- Perform the five AC power system tests (safety ground conductor test, pedestal 120VAC inspection and test, hot skin test, GFCI test, receptacle polarity and voltage test)
- Install/check fresh water drain caps
- Install wastewater cap and close waste system valves
- Fill the fresh water tank
- Inspect brake wires, shackles, axle, and camber
- Inspect LP lines and clamp spacing
- Inspect the underbelly for holes, gaps, and loose materials
- Pressurize the city water system and check for leaks/missing caps on drain lines
- Inspect and clean out exterior appliance compartments (refrigerator, water heater, furnace)
- Check the automatic leveling system if applicable
- Check the condition and operation of stabilizing jacks/landing gear
- Check exterior lights
- Inspect windows and vents for fit and finish
- Inspect storage compartment doors
- Check the condition of perimeter molding, decals, metal, and/or fiberglass
- Perform torque procedure on wheels
- Check tire pressure, tire condition, tread depth, and date codes
Technician Tip: Some of these checks may take place on the passenger side depending on the RV’s floorplan and the location of exterior access panels to appliances and RV water systems.
Zone 3: Rear of the Unit and the Roof
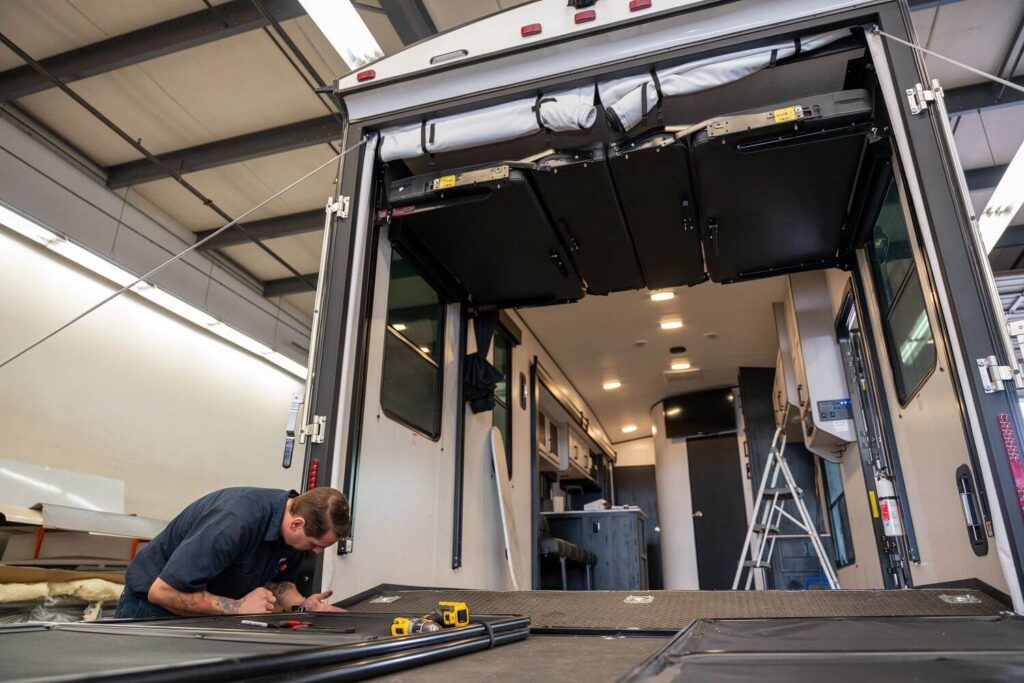
Photo by Camping World
Continuing to the rear of the unit and then ascending to the roof, here are the next checks that our technicians document:
- Check ladder
- Check the roof for cracks, damage, and missing sealant. If no ladder is installed, assume the roof is non-walking and inspect from a step ladder or use plywood sheets to protect the roof
- Inspect the seals and condition of all roof-mounted accessories
- Check for condition, fit, and finish for factory options such as spare tire mount, hitch receiver, and end caps on the rear bumper
- Pair and test backup camera, if equipped
- Check the condition of the rear wall for dents, cracks, or other signs of stress
- Check for missing rear lights or decals
Zone 4: Passenger Side of the Unit
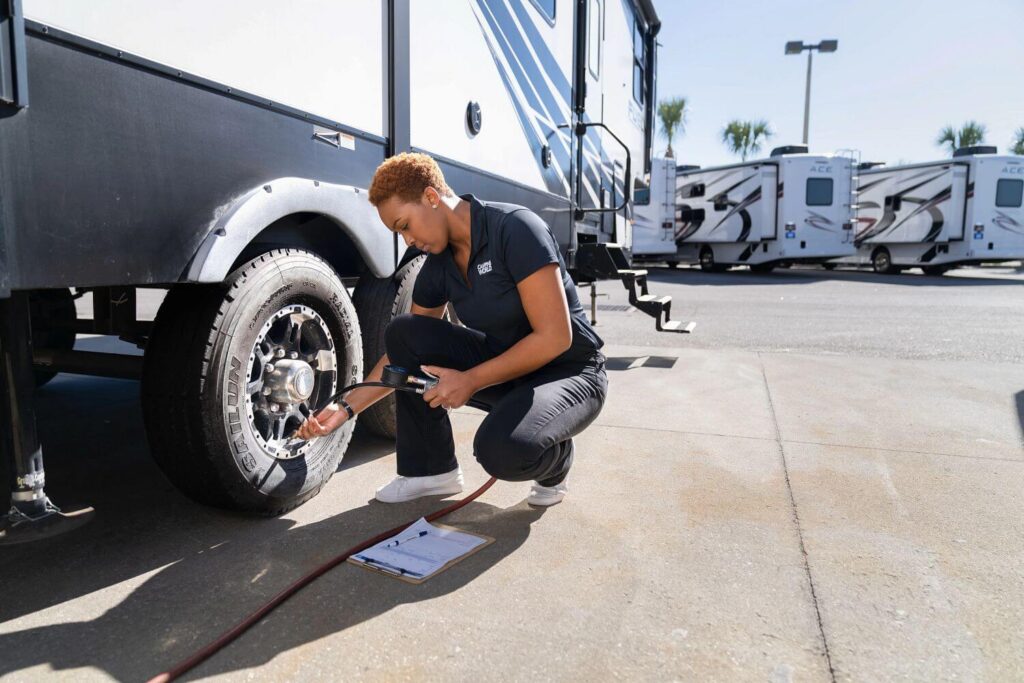
Photo by Camping World
Moving around to the camp side of your vehicle, the technician repeats several tests conducted on the driver side, but there are also a few additional checks.
- Check the condition and operation of stabilizing jacks/landing gear
- Check fit and finish on windows and vents
- Inspect compartment doors
- Inspect awning operation and condition
- Inspect entry step operation and condition
- Check tire pressure, tire condition, and date codes
- Perform torque procedure on wheels
- Inspect the condition and operation of the entry door, screen door, and door locks
- Check the condition of perimeter molding, decals, metal, and/or fiberglass
Zone 5: Interior Systems Check
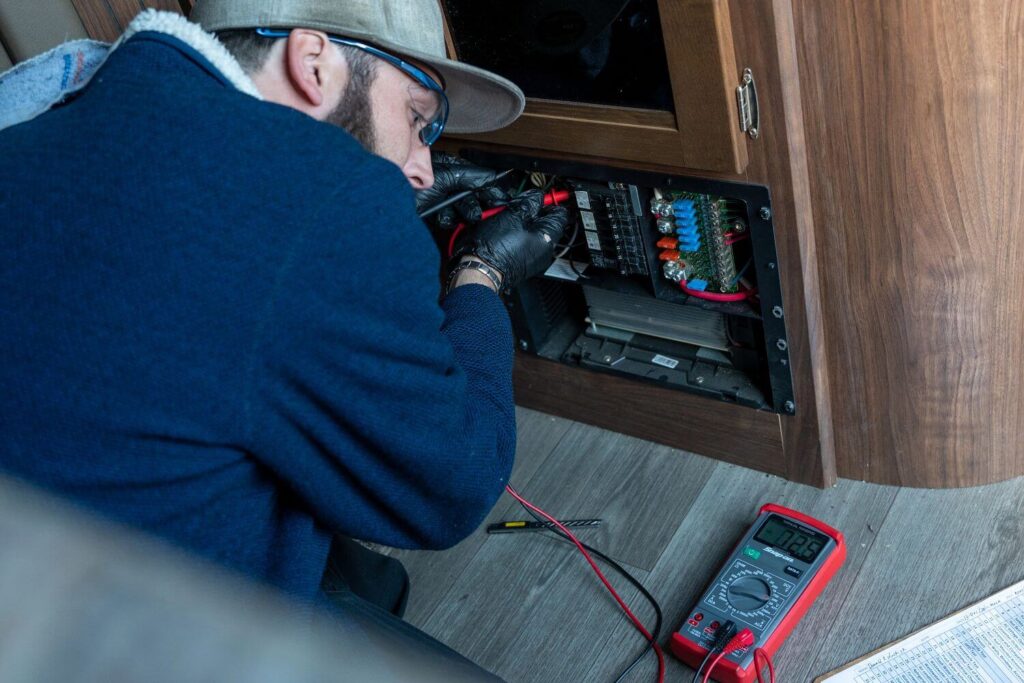
Photo by Camping World
The technician then proceeds to test all of your RV’s interior systems. This includes operating and inspecting all appliances to ensure they work with AC, DC, or LP where applicable.
- Perform fixture flow test
- Perform flood tank test
- Inspect 110-volt components (fireplace, microwave, refrigerator, TV, AC receptacles, breakers, and fuses)
- Check the labeling on fuses and breakers
- Perform water heater test on electric and gas operation
- Check lights and ceiling fan/vent fan operation on AC power
- Check 12-volt components (converter output, lights at wall switch and light switch, vent fans, range hood fan, monitor panel for battery output and generator levels)
- Check electric and manual slide-out operation
- Check furnace operation and installation
- Inspect and operate emergency exits
- Inspect carbon monoxide detector and date of manufacture
- Check the date on the fire extinguisher. Test pressure and installation within 24” of the main entry door
- Operate and check the date on the smoke alarm and LP detector
- Test operation of all entertainment electronics. Test batteries in all remotes
- Perform a freshwater system test
- Test the toilet to ensure it holds water and flushes properly
- Inspect visible water lines
- Drain the water system (gray, black, and fresh tanks) and test the black tank flush
Zone 6: Interior Fit and Finish
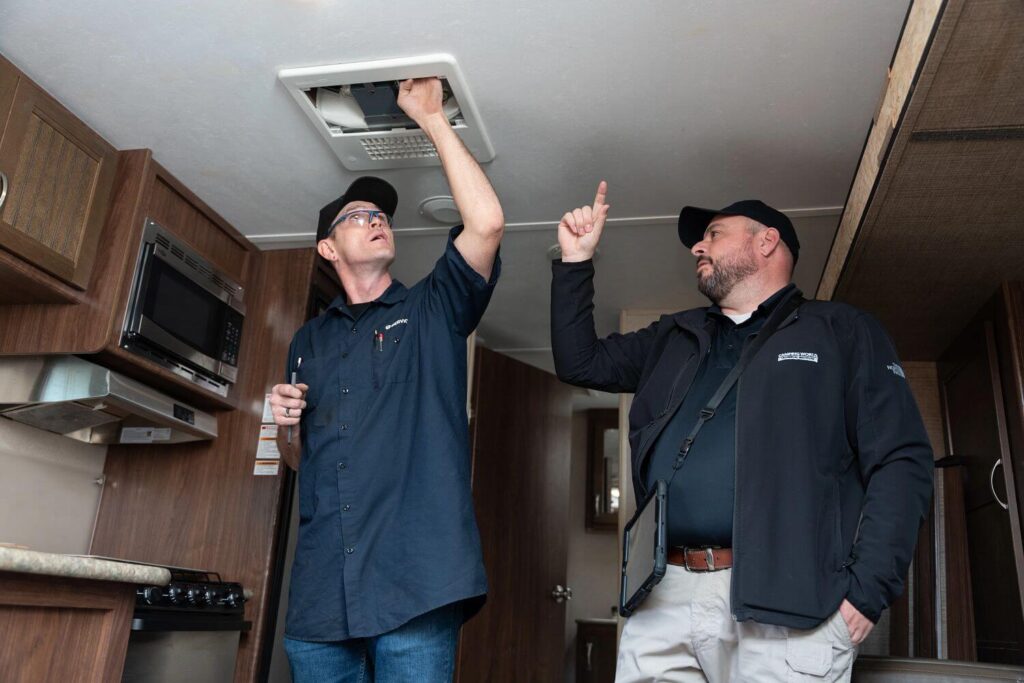
Photo by Camping World
For this zone, technicians begin at the front of the entry door and work clockwise to check the following:
- Overhead cabinets
- Booth dinette or freestanding dinette
- Cabinet doors (hinges, stripped screws, door hanging even)
- Bunk beds
- Bathroom vanity and overhead cabinets
- Shower surrounded, base, and shower door
- Refrigerator cabinet
- Kitchen counter, cabinets, and drawers
- Ceiling panel and seam moldings
- Wall seams, border paper (if applicable), and moldings
- Floor registers and tape at cut-outs
- Linoleum and carpet condition
Zone 7: Interior Soft Goods Check
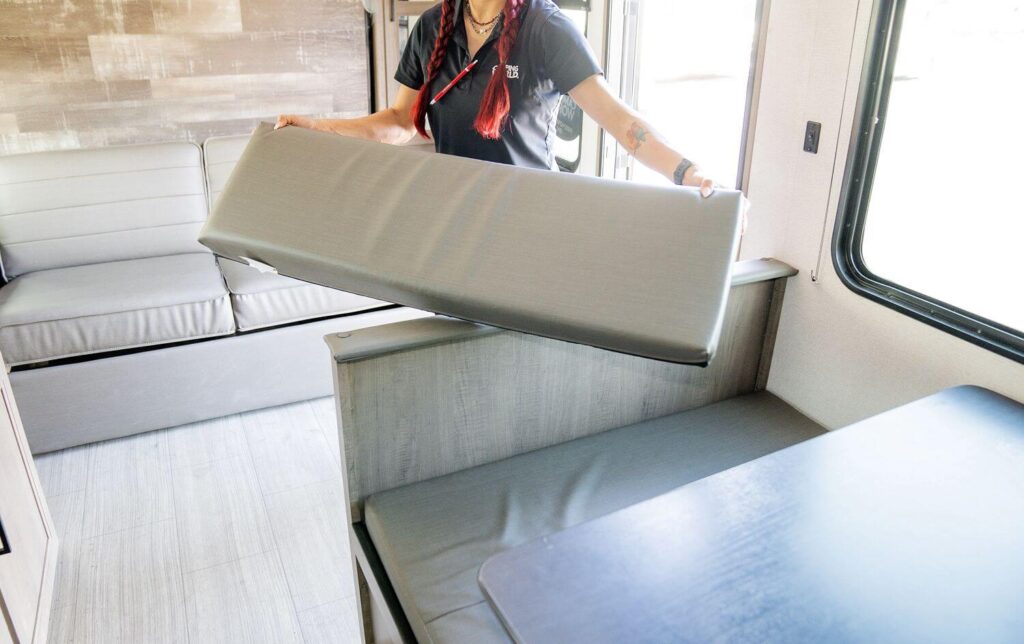
Photo by Camping World
In this final stage, technicians inspect the operation, condition, fit, and finish of the following interior soft goods:
- Sofa
- Dinette cushions
- Chairs
- Window shades/blinds and travel clips
- Window valances/shams
- Mattresses
- Comforters and pillows
Ensuring that each RV is ready for the road before it’s turned over to a customer is very important to us. If you notice anything once you have the keys to your new or used RV in hand, please contact your sales representative immediately.
If you, or someone you know, is interested in becoming a trained RV technician, learn more about Camping World’s Technical Institute.
What questions do you have about our PDI process? Share them in the comments below.
The post What is the Camping World PDI Process? appeared first on Camping World Blog.
By: Camping World
Title: What is the Camping World PDI Process?
Sourced From: blog.campingworld.com/find-your-rv/what-is-the-camping-world-pdi-process/
Published Date: Mon, 03 Jul 2023 08:00:00 +0000
---------------------------------------------
 CampingSurvivalistHuntingFishingExploringHikingPrivacy PolicyTerms And Conditions
