Before the 1950s, slowing down a trailer or towed vehicle was the sole responsibility of the towing vehicle. The Kelsey Hayes Company is credited with inventing the first trailer brake controller, but early designs were mostly hydraulic as opposed to the electric designs we see on most modern towable RVs.
Towing safety has improved dramatically since then, and this component is an important reason for those improvements. Here’s everything you need to know about trailer brake controllers.
What is a Trailer Brake Controller?
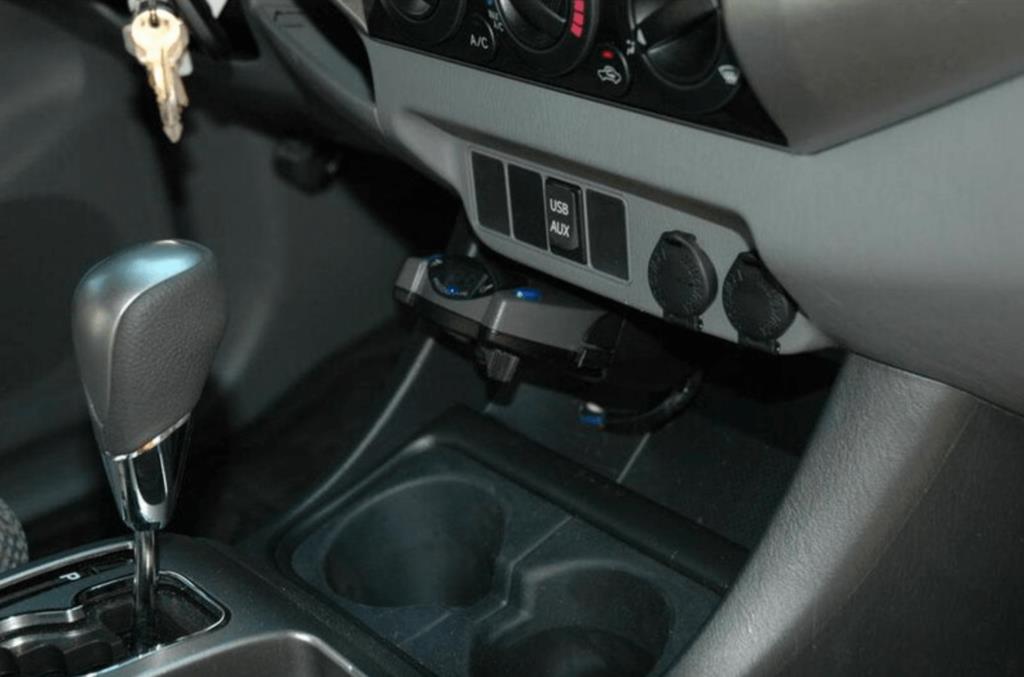
Photo by Camping World
A trailer brake controller is an electronic device that controls the braking system on your towable RV. The controller sends a signal to activate the trailer brakes when you apply the brake in your tow vehicle.
Most designs include an interface in the cockpit of the tow vehicle. This interface allows you to control the gain setting – defined as the amount of power applied to the trailer brakes.
How Does a Trailer Brake Controller Work?
There are two main types of electronic brake controllers for trailer towing: proportional and time-delayed.
Proportional trailer brake controllers apply force to your trailer’s brakes proportional to the amount of force being applied to your tow vehicle’s brakes. The harder you brake, the more force the controller applies to your trailer’s brakes. Newer controllers utilize an accelerometer to detect deceleration and apply the appropriate amount of brake force.
Time-delayed trailer brake controllers allow you to select a gain setting that tells the controller the amount of braking force to apply. Once set, this force will be applied whether you’re coming to a slow stop or braking abruptly. This can cause jerky stops and push-pull between your trailer and tow vehicle, but you can adjust the gain setting in transit.
Do I Need a Trailer Brake Controller?
Federal law requires trailers with a loaded weight exceeding 3,000 pounds to have a braking system. This system requires a trailer brake controller to operate the trailer’s brakes effectively.
Beyond loaded weight, any trailer with electric or electro-hydraulic brakes requires a trailer brake controller. Without one, there’s no way for your tow vehicle to tell your trailer’s brakes when to operate.
How to Use a Trailer Brake Control
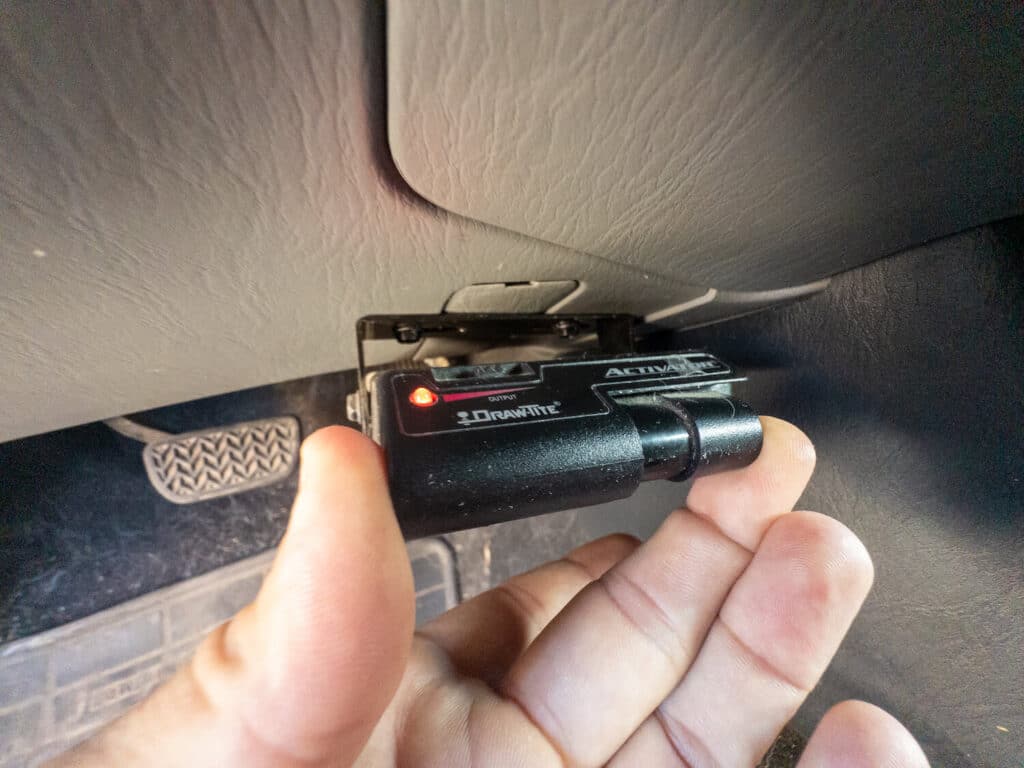
Photo by Camping World
Every manufactured model operates slightly differently, making your owner’s manual the best resource to learn how to operate a trailer brake control. However, most models require the following steps to set them up and begin using them:
- Set up the controller and choose your personal settings.
- Adjust the brake gain setting.
- Adjust braking sensitivity.
- Manually activate the trailer brakes as needed.
Once you’ve installed your trailer brake controller and chosen your settings, using it is simply a matter of driving your RV safely. If you have a time-delayed model, you may need to adjust settings occasionally, but using a brake control requires minimal additional effort after the initial installation.
How to Adjust a Trailer Brake Controller
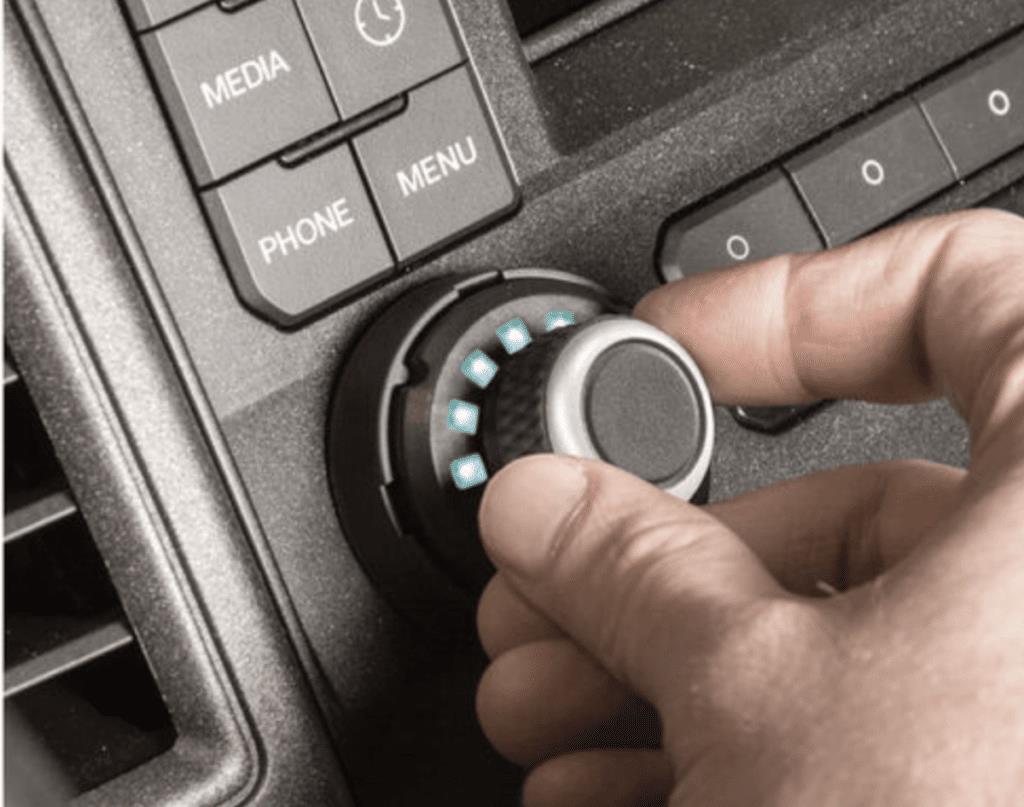
Photo by Camping World
To adjust a trailer brake controller, your tow vehicle must be hooked up to your towable, and the wiring harness must be plugged in. Park on a level surface and ensure you have a safe area with plenty of stopping distance ahead. Then, follow these steps:
Step 1: Calibration
Luckily, most trailer brake controllers calibrate automatically, and some don’t even require calibration. With self-calibrating brake controllers, wait for the interface’s flashing light or signal stating calibration is complete. Consult the owner’s manual for the appropriate light or signal to look for.
Step 2: Select Settings
Some interfaces offer a variety of personal settings. These include, but are not limited to, the brightness and viewing angle of the interface. Choose your personal settings before moving on.
Step 3: Adjust Maximum Braking Output
Maximum output is the upper threshold for the force the controller will apply to your trailer’s brakes. Adjust this setting according to the size of the load you’re towing. To start, depress the brake pedal and adjust the output setting according to the manufacturer’s setup instructions.
Then, test the output by accelerating in a safe, open area to about 25 miles per hour (mph) and applying the brakes. If you’re stopping too slowly, increase the maximum output setting. If you’re stopping too suddenly, decrease it. This is also referred to as the gain adjustment.
Step 4: Adjust Braking Sensitivity
Your brake controller’s sensitivity setting controls how aggressively the interface applies your trailer brakes. Most models allow you to adjust this setting using the same method used to adjust braking output.
Set the sensitivity to the manufacturer’s initial setup recommendation. Then, accelerate up to 25 mph and apply your tow vehicle’s brakes. If you stop too quickly, reduce the sensitivity setting. If the interface feels too slow to respond, increase the setting.
Technician Tip: Braking will feel mushy or delayed when set too low and jerky when set too high.
As you become more comfortable with your trailer brake controller, conduct this test at varying speeds to dial in your preferred settings and ensure the smoothest possible stopping in all driving conditions.
How to Install a Trailer Brake Controller
Brake controllers are a critical hitch and tow accessory. They ensure your stopping power when towing, and the safety of your RV road trips rely heavily on this device. For those reasons, we highly recommend trusting the installation of this braking safety device to a trained RV technician.
Contact a Camping World Performance Center to have your trailer brake controller installed.
That said, here are the basic steps to install most trailer brake controllers. Remember, the process varies based on the device’s manufacturer.
- Disconnect your tow vehicle’s negative battery cable.
- Choose where to mount the controller’s interface.
- Carefully drill holes into the dash for the mounting bracket.
- Mount the interface bracket and secure the interface.
- Connect the interface using a vehicle-specific wiring harness.
Here are a few safety tips to remember for this installation:
- Disconnecting your battery helps to prevent personal injury and/or damage to your vehicle’s electronics, including the new brake controller you’re installing.
- Avoid installing a brake controller next to sensitive electronics like a CB radio or RF transmitter.
- Mark the mounting location before you drill. Be extremely careful when selecting the drilling location. Remove the panel and drill holes for the mounting bracket outside your vehicle to avoid costly damage.
- Take care not to overtighten the screws when installing the mounting bracket.
- The location of the factory wiring harness varies. Consult your vehicle’s owner’s manual to find the location of yours.
- Check the space behind the dash to ensure that no wiring or components will be in the path of the drill bit.
The Best Trailer Brake Controllers from Camping World
Whether you’re installing a trailer brake control for the first time or upgrading an existing controller, here are some of our favorite models:
Primus IQ Trailer Brake Control
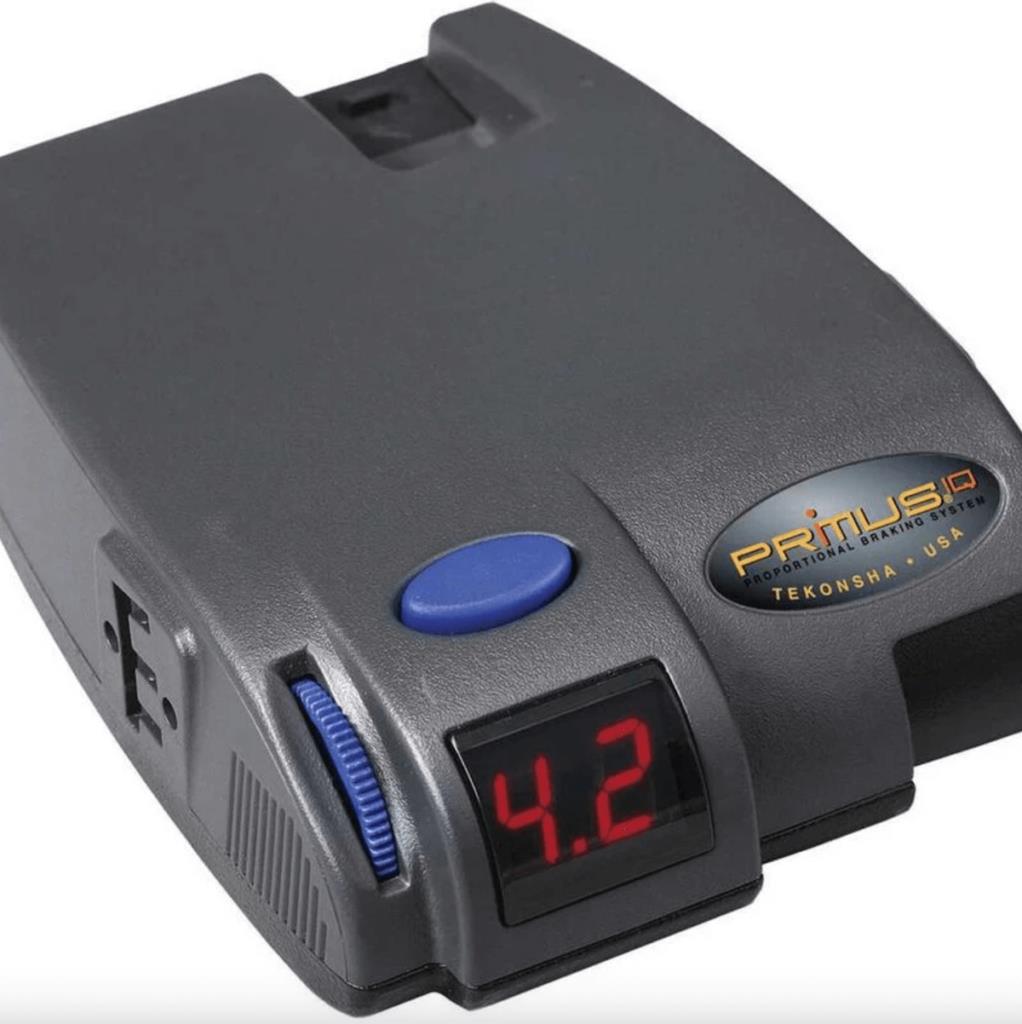
Photo by Camping World
The Primus IQ is a proportional trailer brake controller that supports trailers with up to three axles. Installation is easy with a snap-in dash mounting clip and the included hardware.
The digital LED readout tells you the amount of voltage being delivered to the trailer brakes. It also signals a secure electrical connection and includes a self-diagnostics feature that illuminates the LED readout if issues occur.
Learn more about this brake controller.
CURT Echo Mobile Trailer Brake Controller
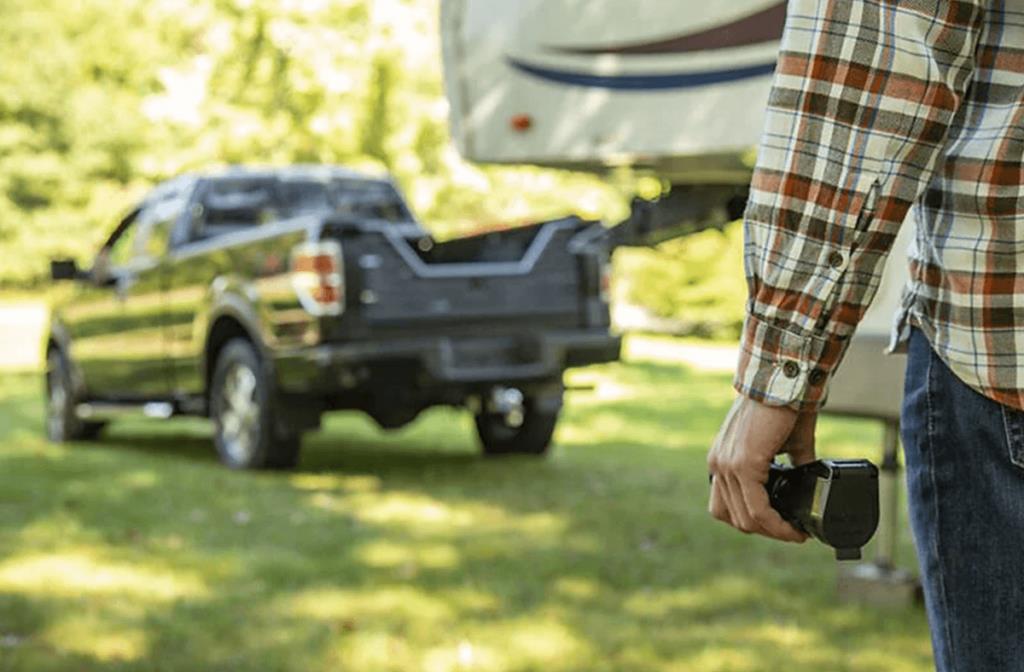
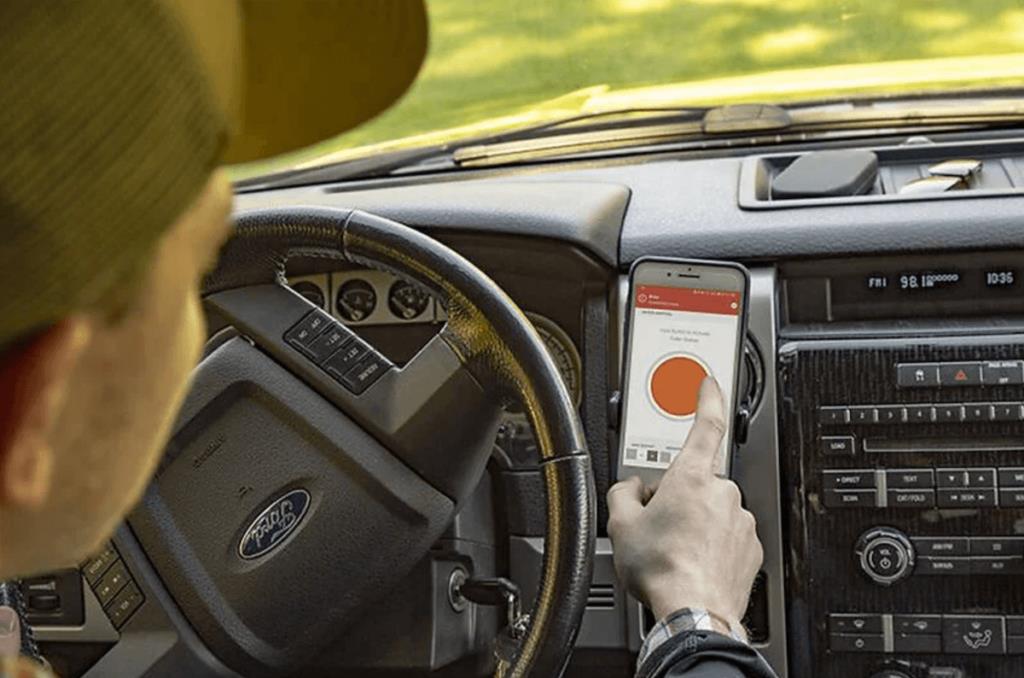
The CURT mobile brake controller is designed for the modern RVer. It utilizes Bluetooth technology to connect with your smartphone so you can control the brake settings without needing an additional interface installed in your tow vehicle.
It’s a plug-and-play adapter that installs between your trailer-to-vehicle 7-pin electrical connector. Once installed, this high-tech brake controller utilizes a triple-axis, motion-sensing accelerometer to deliver smooth, responsive braking.
Check the price of this brake control at Camping World.
REDARC Tow-Pro Elite V3 Electric Brake Controller
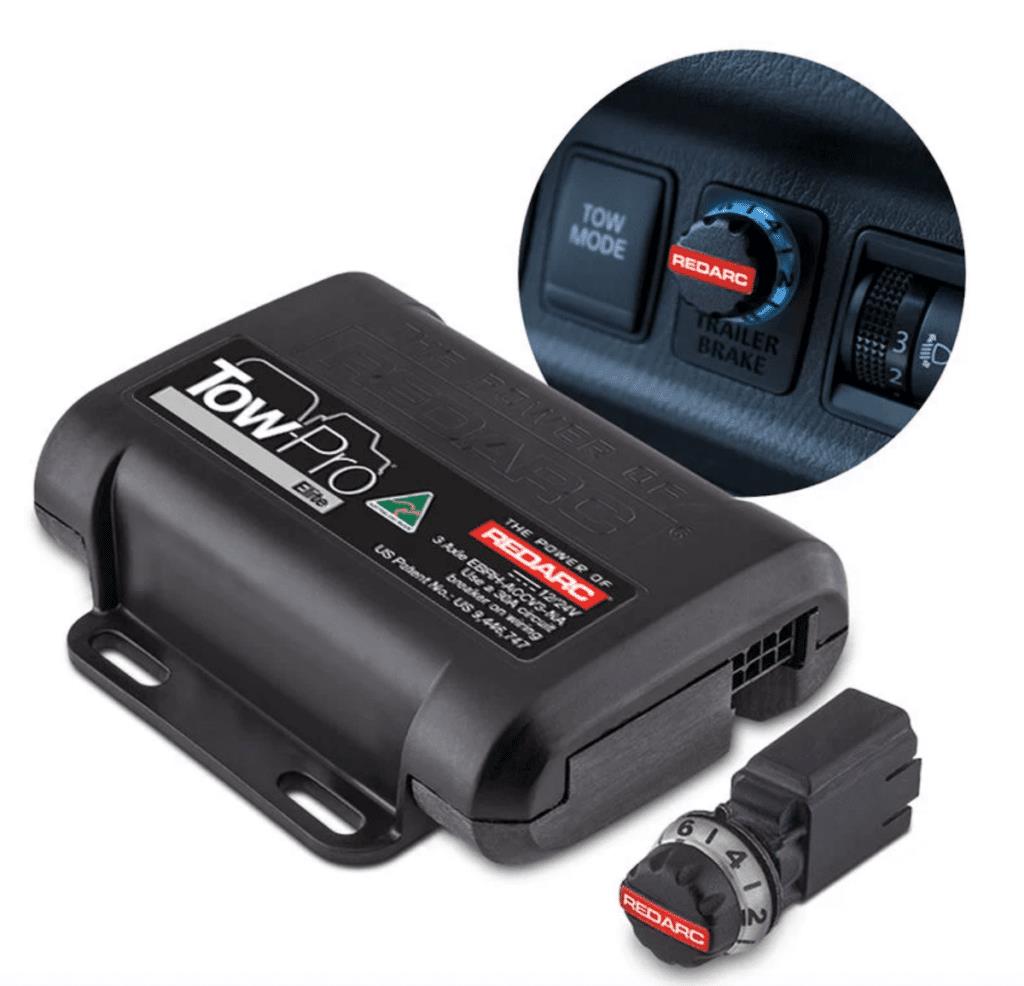
Photo by Camping World
REDARC’s Tow-Pro Elite provides excellent versatility for the experienced RVer. The dial allows you to choose between two modes of braking: a proportional mode for highway driving and a user-controlled mode for boondocking and off-grid adventures.
This braking system comes with a free switch insert panel that’s compatible with most tow vehicles, and it works with 12-volt or 24-volt electrical systems. While towing, the controller’s three-axis accelerometer detects acceleration in any direction, and self-leveling technology senses your vehicle’s rate of deceleration without or without a trailer in tow.
See if this is the right trailer brake controller for your RV.
Safety is critical when pulling a towable RV or towing a vehicle behind a motorhome. Here are a few more resources to help you tow safely:
- How to Safely Load a Travel Trailer
- 60+ Must Have RV Tools for Safe Travels
- How to Pack a Toy Hauler with Flammables Safely
Do you have any questions about trailer brake controllers? Let us know in the comments below.
The post What Is a Trailer Brake Controller and How to Use One appeared first on Camping World Blog.
By: Tucker Ballister
Title: What Is a Trailer Brake Controller and How to Use One
Sourced From: blog.campingworld.com/learn-to-rv/what-is-a-trailer-brake-controller-and-how-to-use-one/
Published Date: Wed, 05 Jul 2023 08:00:00 +0000
---------------------------------------------
 CampingSurvivalistHuntingFishingExploringHikingPrivacy PolicyTerms And Conditions
