A Bola is a three-legged spider sling. It is made up of three lengths of cord attached to a rock on either end to weight it down. These cords are bound together at one end.
The three joined lengths, weighted at each end, are swung overhead and released just before the weighted ends are directly in front of your face in the direction of your target.
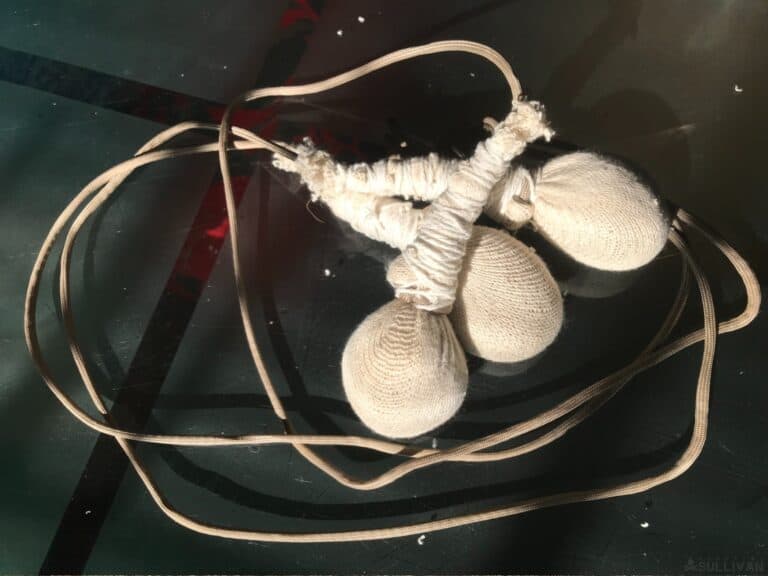
diy bola with made with paracord and rock weights
As the Bola travels through the air the three legs spread and wrap around the target. The weighted end can also inflict a heavy strike to the body of a game animal or bird.
I certainly made these as a child using some heavy ball-type buttons I swiped from my grandmother’s sewing machine.
I started by tying thread to one button, and swinging and launching it at the peach trees in the front yard.
From there it seemed logical to attach more than one of these single “bolas” together. As a child designing a toy, I have to assert that humans must have discovered the bola in the same way.
The bola is an action diy weapon. Viewed in slow motion this weapon is as impressive as it is effective.
The weights can be as basic as rocks of similar size, with groves through the middle, to attach the cordage to.
A more reliable attachment is to wrap the rocks in leather, canvas, or material. Tie off the ends, and attach those to your lengths of cordage.
Sand can be packaged in the same way or lead weight; these packages will add balance to your bola rig.
History of the Bola
The bola is a primitive hunting weapon so simple that, at first glance, it would seem improbable that it couldn’t have been invented earlier.
Physical evidence is vague as the leather or sinew cords that joined the weighted ends to make the Bola would have certainly rotted over any length of time.
However, the Americas have a rich history of using the Bola dating back to 2,500 BC – 3,000 BC.
Inca and other South American tribes have a well-documented history of bola use as well as what is now the USA.
The Inuit Eskimos have been using the bola to take down birds in flight, especially the migratory waterfowl that visit the tundra.
The Chinese have used the bola over the centuries with examples from many dynasties on display.
Overview Of the Bola
The bola, in my opinion, is vastly underrated in the survival community. Its effectiveness cannot be underestimated.
- Once built the bola requires the minimum of skill to throw. Young or old can make one.
- It can be used to take down birds in flight (ducks, geese), and small to medium game animals. It’s also effective against larger animals when the legs are targeted causing them to go down. You may be required to finish off game once they are disabled.
- A bola requires enough space to swing the weapon without fouling up in the underbrush or trees.
- The bola requires constant practice. You will develop muscle memory with practice, and the throw will become instinctive.
- The bola does require an understanding of animal behavior and anatomy when used as a hunting weapon.
Starting out, remember the old military maxim: slow is smooth, and smooth is fast.
How To Make a Bola With Stone Weights
Materials Needed
- Three lengths of three-foot-long paracord or similar.
- Three gold ball size stones or three piles of stones of the same weight or carved round wooden weights
- Three large square or round cut pieces of leather or material. Bear in mind cloth is not as hard wearing as leather – enough to wrap the stones in and tie off the leather or material.
- String to tie off the leather or cloth.
- Sturdy blade (hatchet, or small wood saw)
- Set of hardy gloves (optional – recommended if you are new to working your tools)
- Lightweight surgical mask
Method
Step 1. Measure out three, three-foot-long lengths of cordage, these will serve as your legs of the Bola. For a better fit for your body shape, you can measure the length of the cord from the center of your chest to the end of your hand.
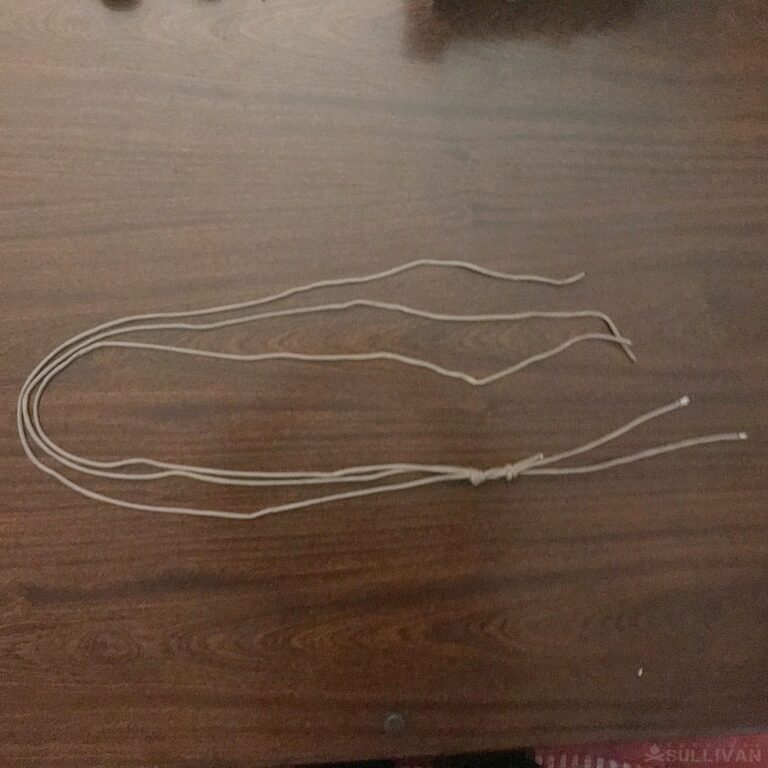
three cords
Step 2. Bind the three pieces of cord together at one end. This will form the grip end of your Bola:
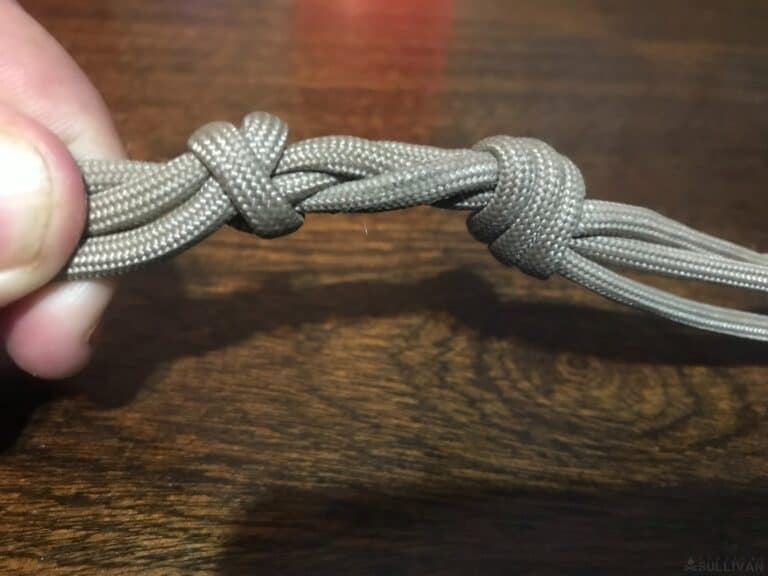
bola knotted ends
Step 3. Cut three pieces out of the leather or the material big enough to wrap around the stone:
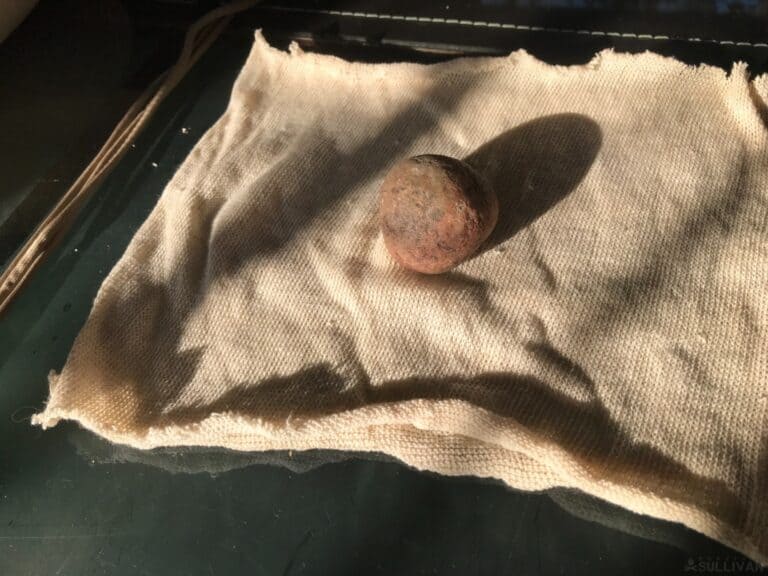
bola material cut to wrap stone weight
Step 4. Gather your wrap at the top, and tie it off with a piece of the string first:
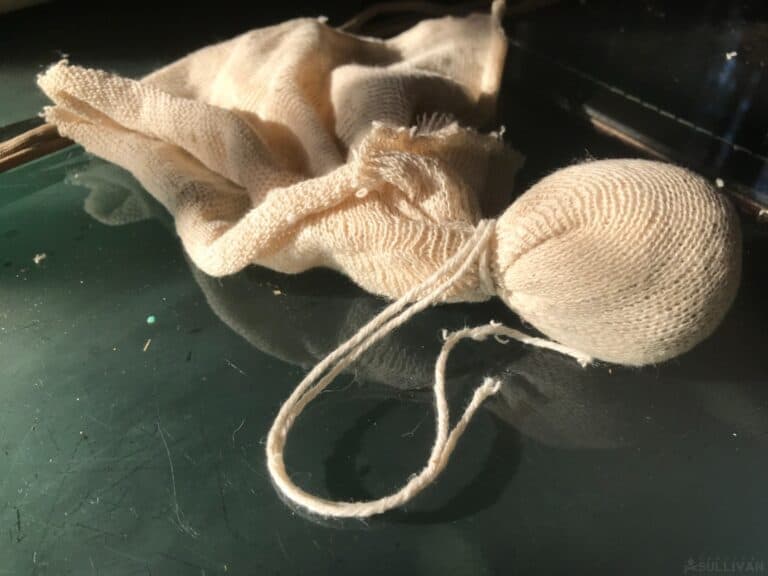
bola stone wrap and tie off
Step 5. Tie off the three weights, and prepare the three cords to be attached:
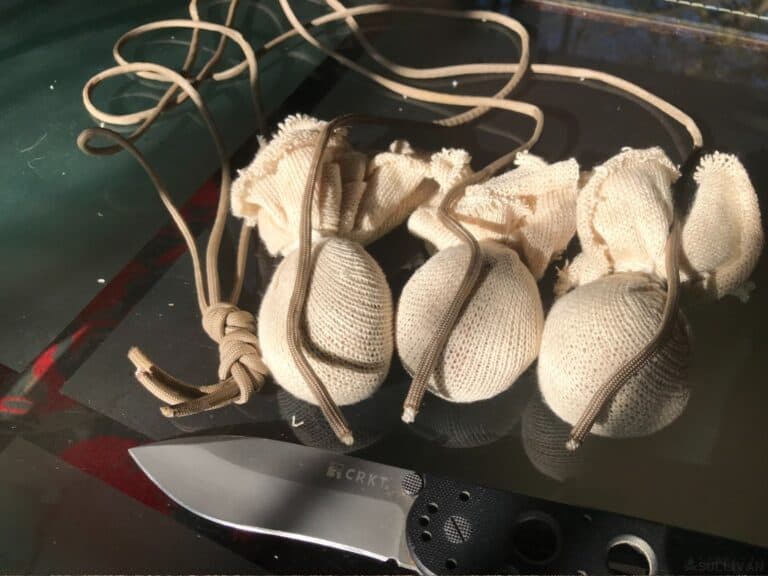
three wrapped weights three cords
Step 6. Attach the cords below the point where you tied off the material with the string:
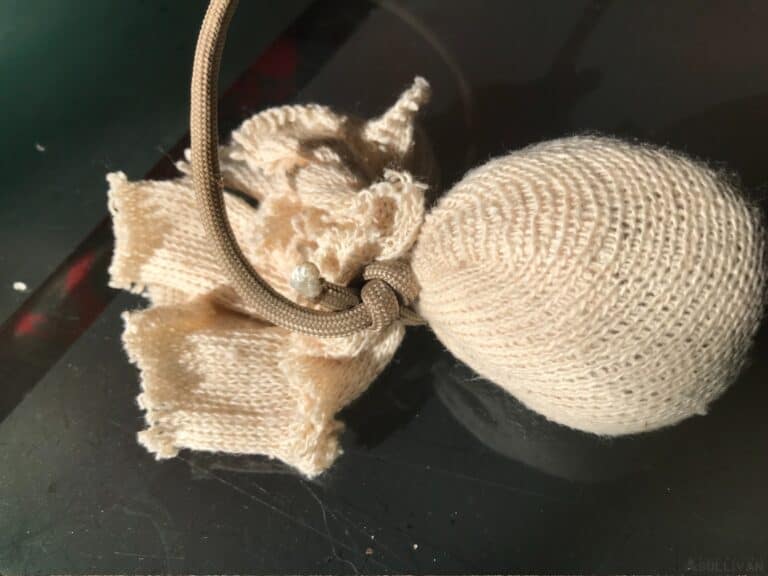
tie the cord to the weight
Step 7. Attach all three weights to the cords and wrap the excess material around the cords to protect them and further secure the weights.
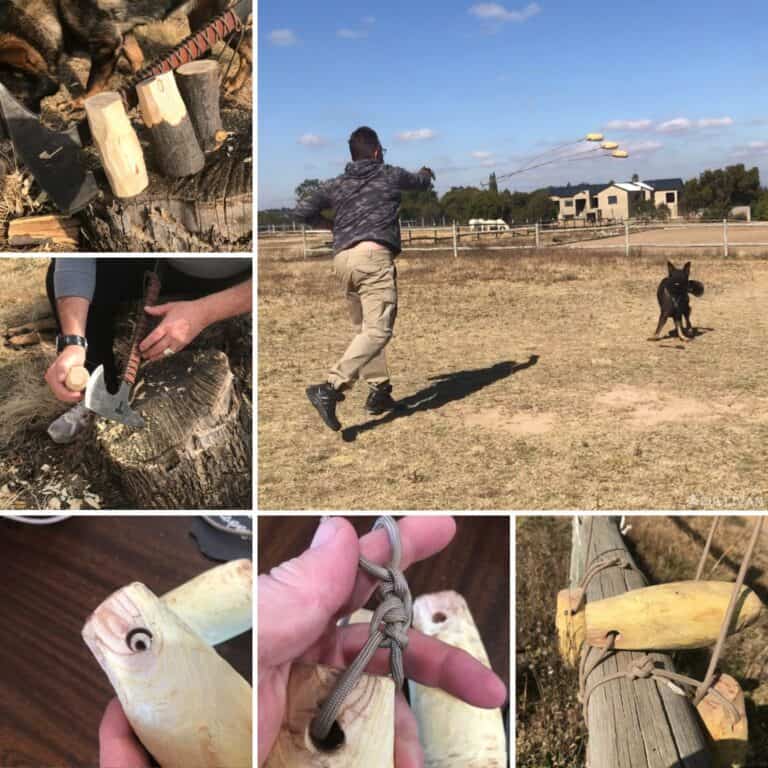
Wooden Weights Bola Variation
Step 1. Pick a straight branch that is as uniform in thickness as possible:
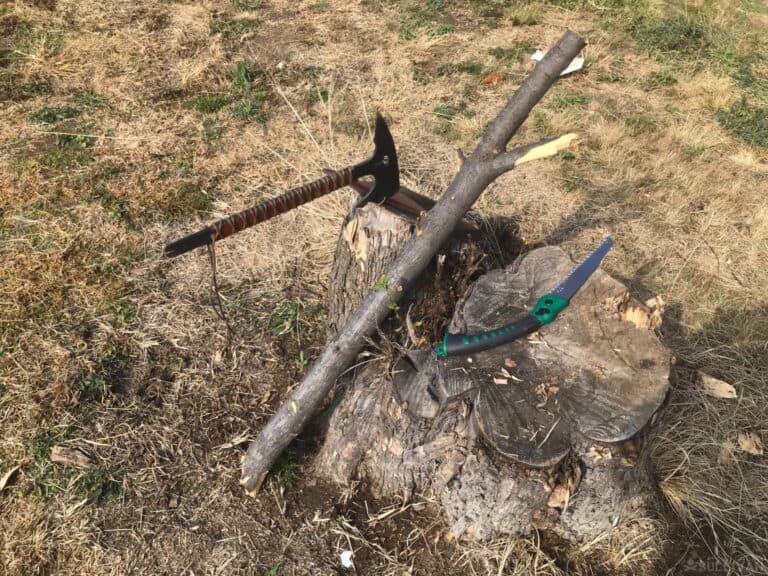
cut branch for bola weights next to folding saw and hatchet
Step 2. Cut three pieces roughly 3 to 4 inches long. Cut your pieces a little longer than necessary, you can always trim down the wood to shape and weight.
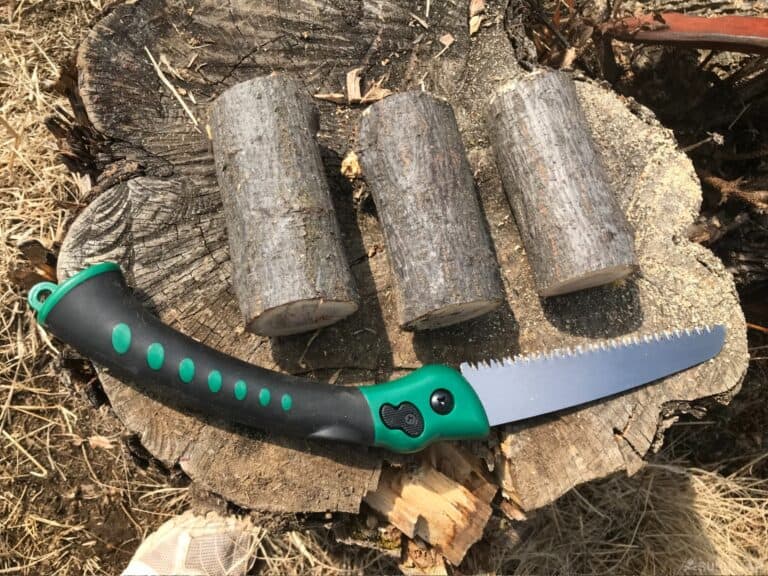
three equal pieces from a wood branch
Step 3. Clean off the bark, and shape the wood into a rough cone shape:
cleaning bark off wood branches
Step 4. Sand the wooden weights to make them more aerodynamic. In a push, you can use course rocks or bricks to shape the weight:
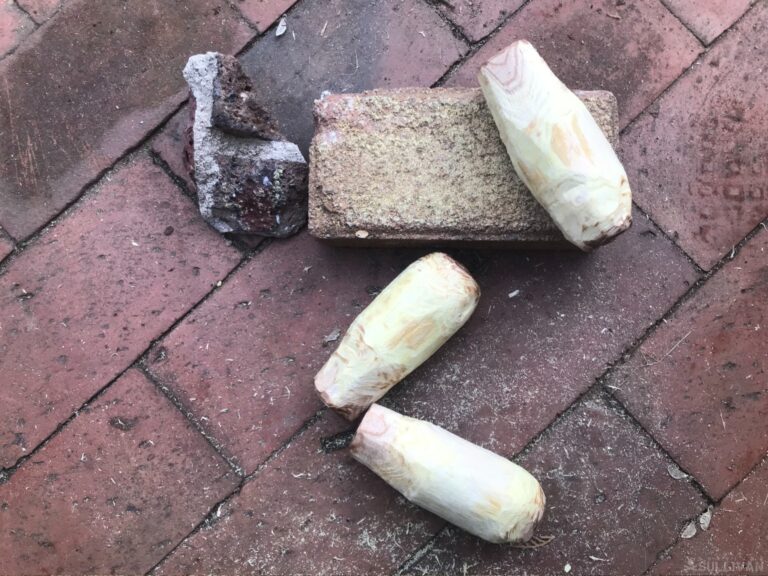
sanding cone-shaped wooden weights
Step 5. Flatten two of the sides, and drill holes through this end, flat side to flat side.
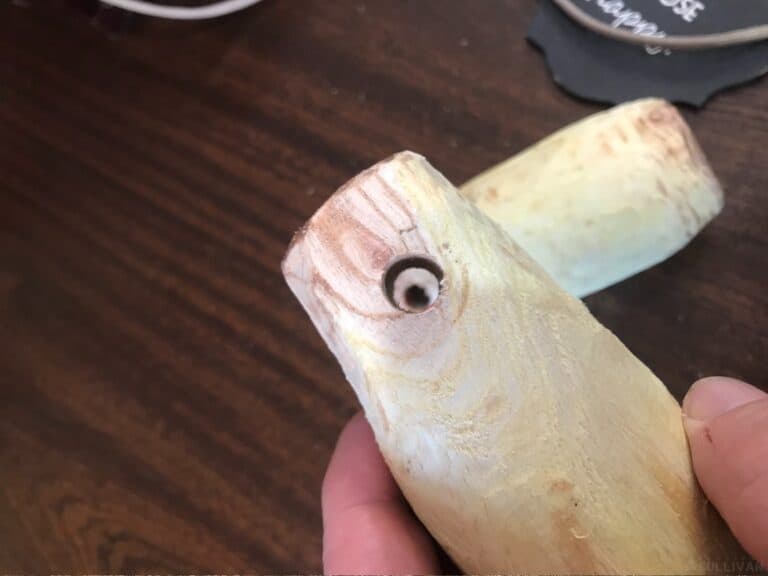
hole drilled in wooden weight
Step 6. Attach the wrapped stones or the shaped wooden weights to the other ends of the three lengths of cord.
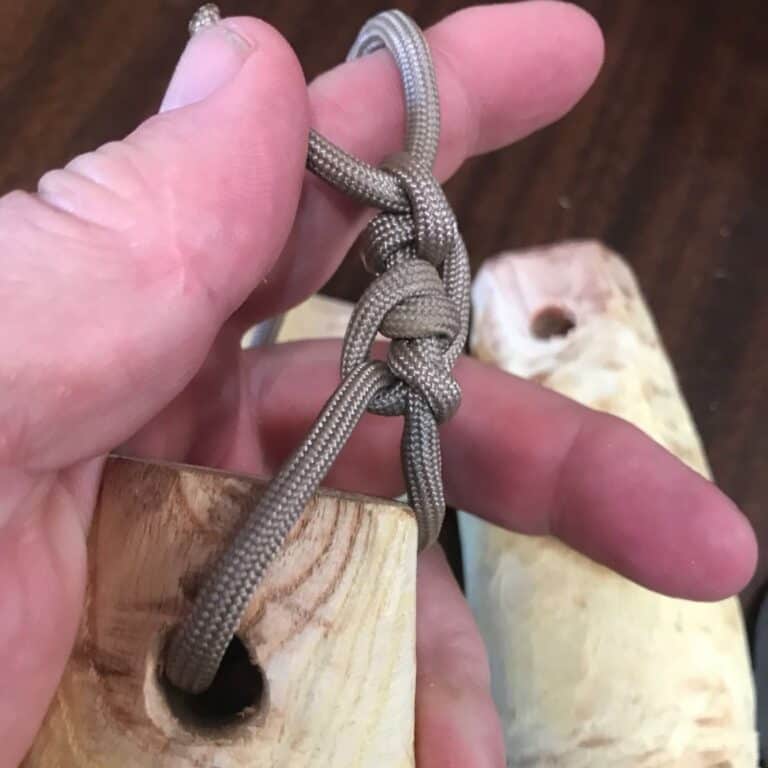
cord attached to wooden weight
Once you have connected the weights to the three lengths of cord, you are ready to go.
The final task now is getting a feel for the Bola. The weight should be comfortable and manageable. You can use bigger stones or smaller weights until you have fine-tuned your Bola.
For both of these Bolas, the knotted ends can be woven together using spare cordage to give you a firm grip or the knotted end can be looped through your fingers for a secure grip when swinging it.
I have seen a bola with a long, woven end, made into a long single piece with the three ends hanging off the mid-section.
Throwing a Bola
Step 1. Let the three cords hang between the alternate fingers from index to ring finger or over the little finger of the dominant hand:
gripping a bola
Step 2. With the Bola securely in your grip, hanging straight down, take a step forward with your non-dominant leg, shifting your weight over your rear leg.
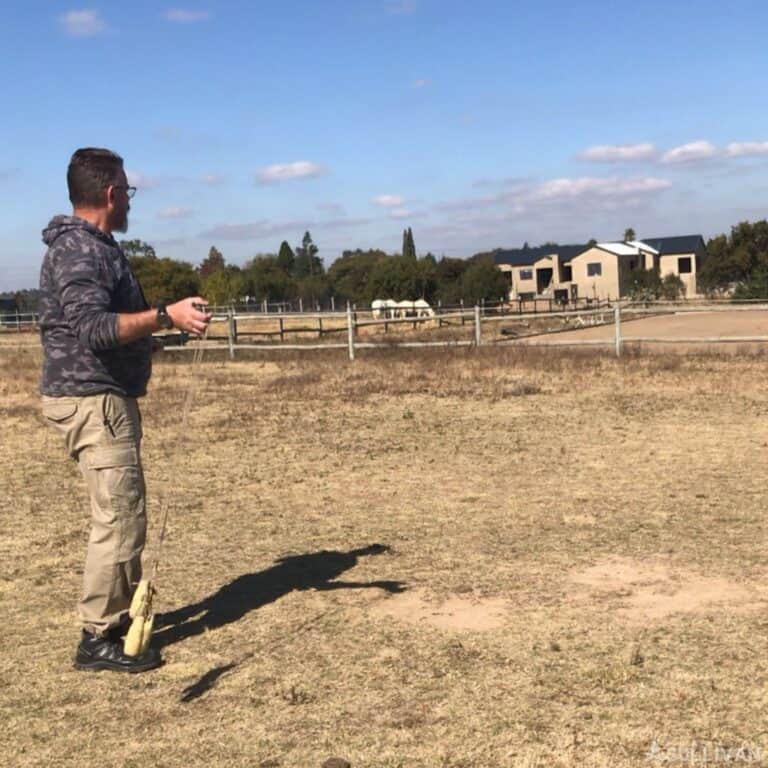
taking stance to throw a bola
Step 3. In one motion begin your rotation over your head, and tuck your left arm across your chest, ensuring you don’t get tangled. Don’t break the momentum, keep the movement smooth.
begin to swing the bola
Step 4. Keep swinging the bola. Keep your eye on the target, your body will follow the line of sight and maintain its orientation.
Your swing will bring it over the right shoulder. Shift your weight forward onto the forward leg to help power the bola forward.
swinging the bola
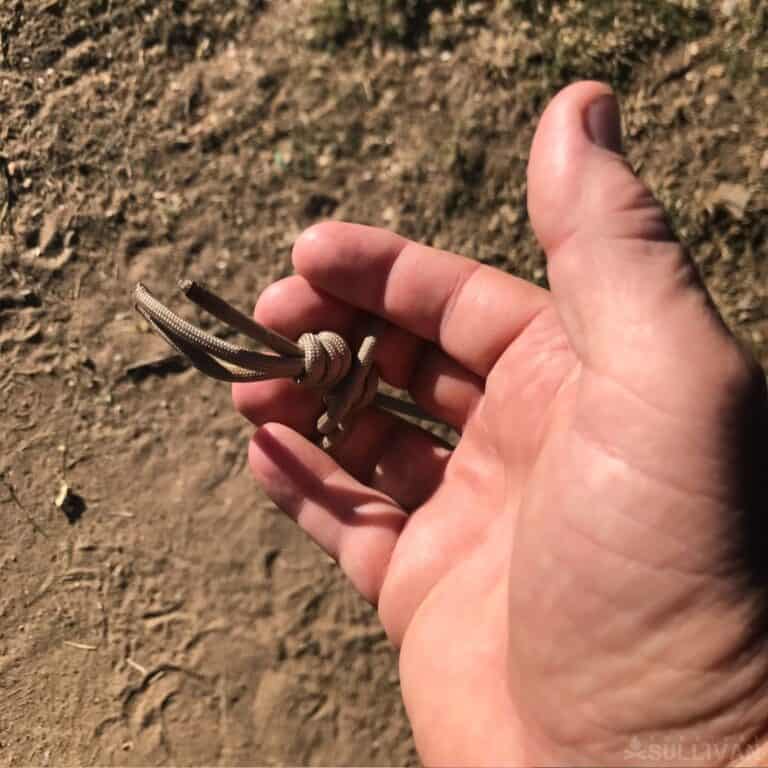
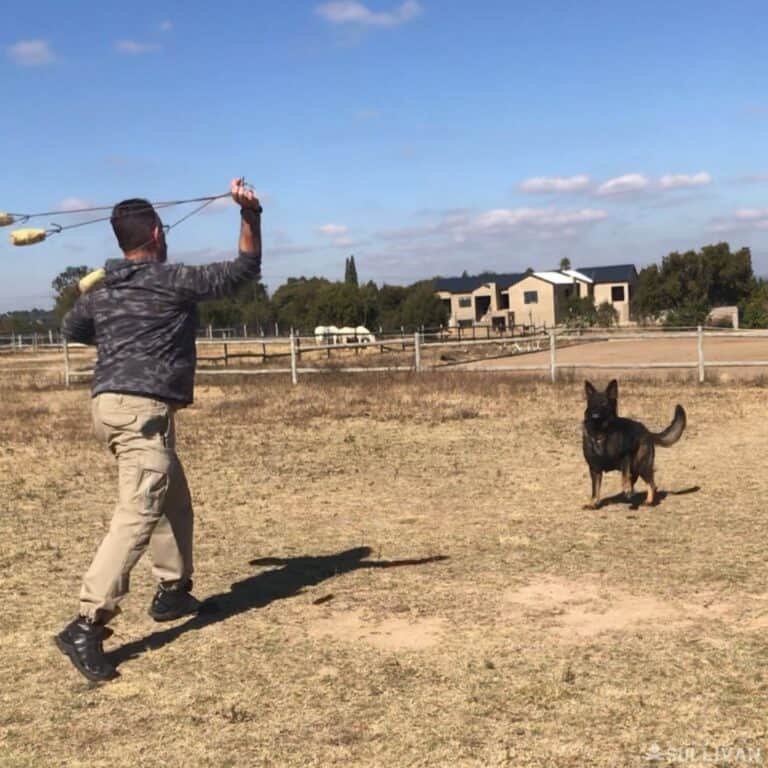
Step 5. Keeping the swing fluid, release the Bola just before it crosses your target. The Bola
will still pitch forward on its path as momentum carries it around and forward.
At the point of release, maintain the rotation with your hips and arm, this is called the follow-through.
releasing the bola
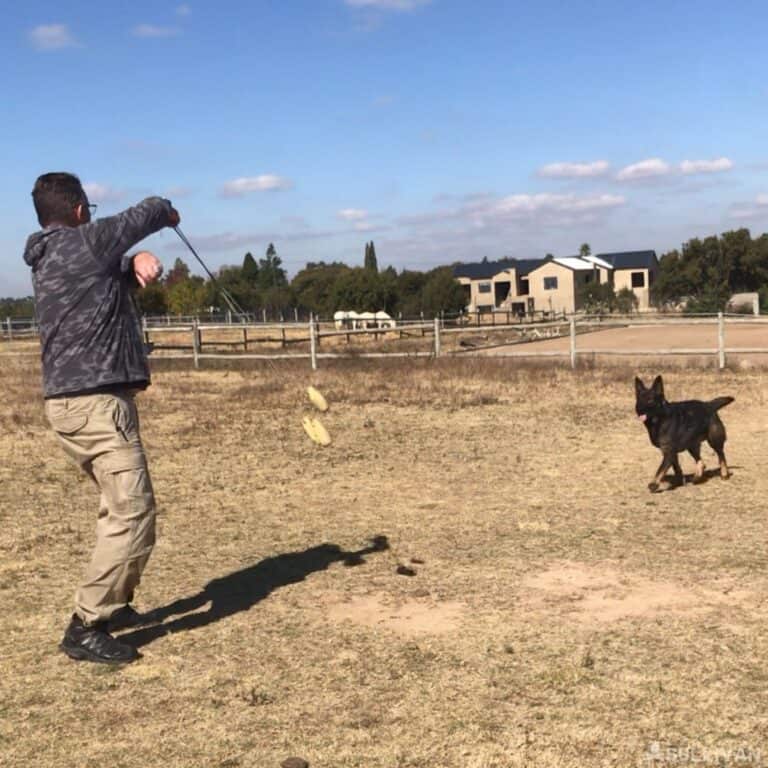
Step 6. A good release will have the Bola flying through the air with the three legs of the weapon spreading out in the air. If your target is a flock of birds the Bola is on track to ensnare one in flight.
thrown bola spreading in the air
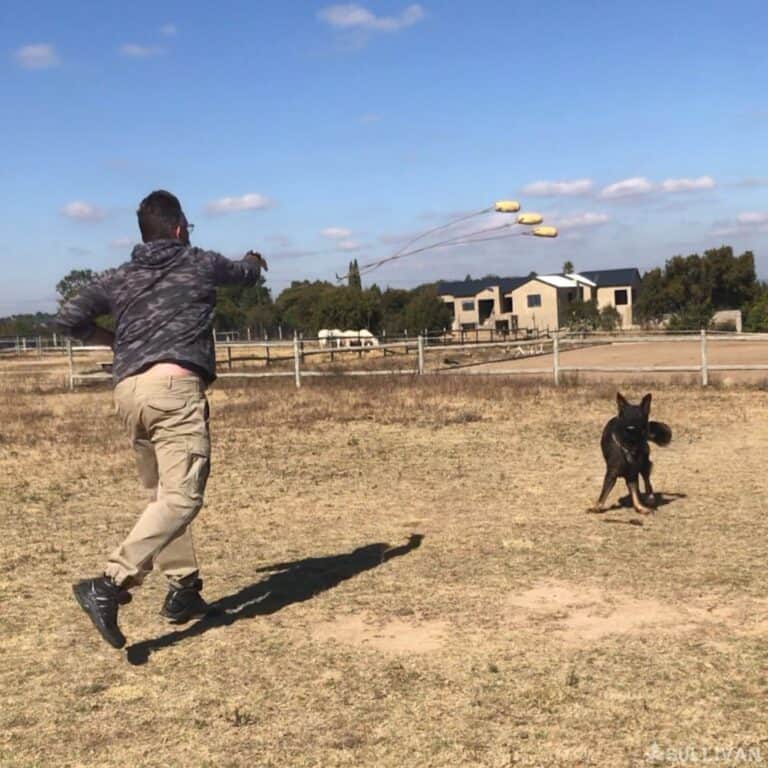
Step 7. Keep an eye on the flight of the Bola, the three-leg spider is on track to target.
It is vital to maintain eye contact, if you lose eye contact you can lose the bird or animal you spent so much time and effort hunting.
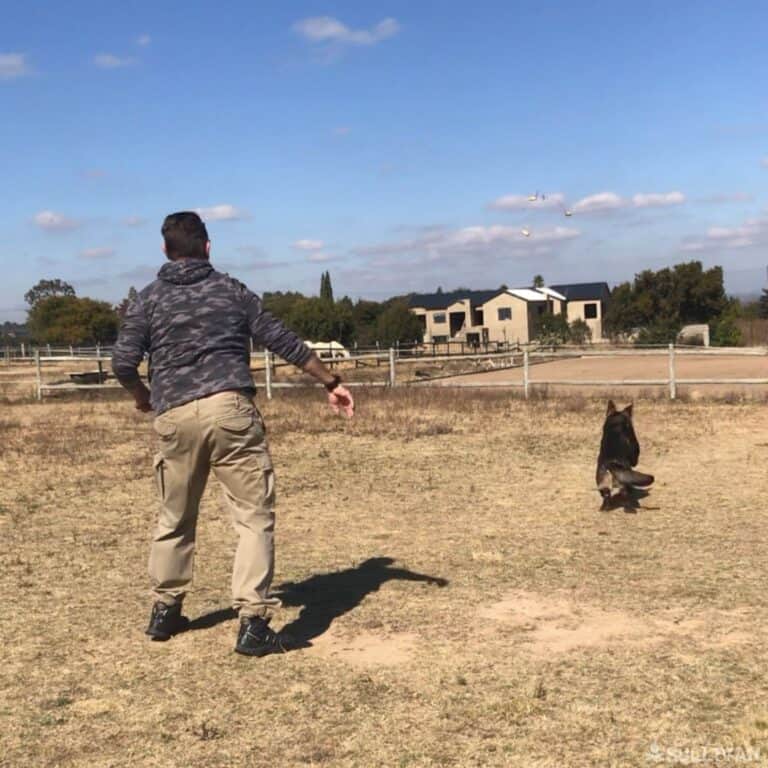
maintaining eye contact to target and follow through
Step 8. The result of a direct strike is the looped Bola around your target’s neck, and body, and preferred for medium to large game, the legs.
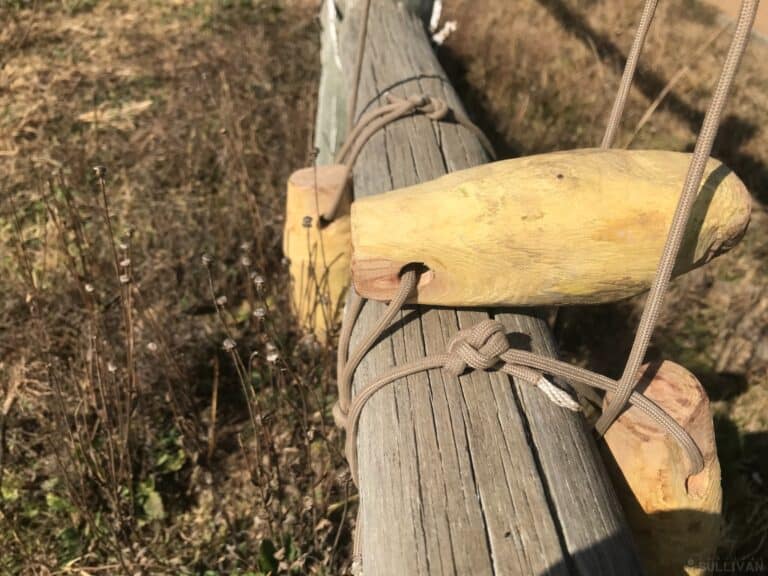
bola wrapped around wooden gate
The technique for throwing the Bola will vary from one person to another and is refined for yourself with constant and continued practice.
Final Thoughts
The Bola is a simple and effective hunting tool and can be made by anyone, pretty much from anything.
The Bola can achieve accurate and effective strikes at 100 to 150 feet (30 to 45 meters).
It is used for ground dwellers like rabbits and game as large as deer, moose, or elk. A Bola is effective for ground birds as well as birds in flight.
The great thing about combining multiple tools, like the Bola and a Spear, is that you are able to immobilize your quarry and then dispatch it while reducing the risk of injury to yourself.
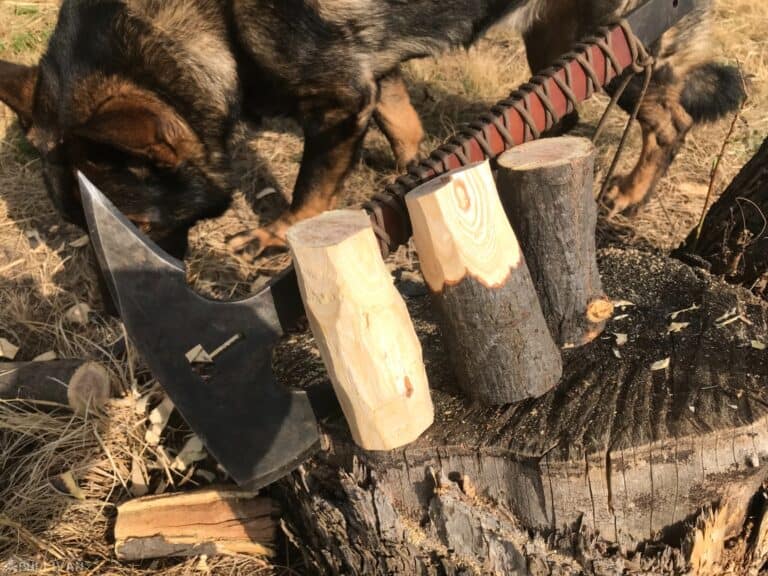
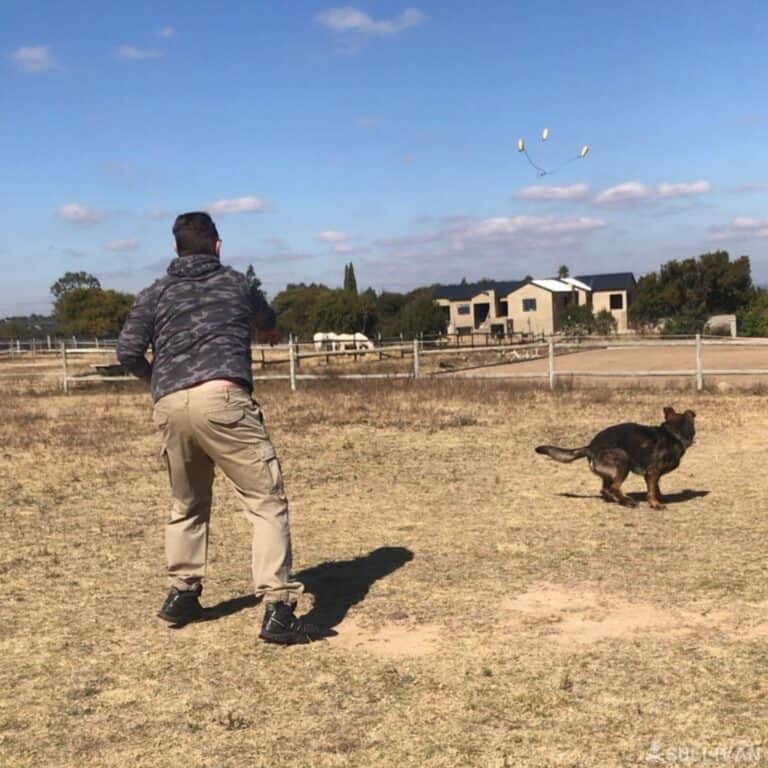
A Bola can be used on horseback or in conjunction with dogs. My dogs are trained to run down the Bola and ensure that my prize does not escape.
The post How To Make and Throw a Bola (Step-by-Step Photos) appeared first on Survival Sullivan.
By: Harrison Caine
Title: How To Make and Throw a Bola (Step-by-Step Photos)
Sourced From: www.survivalsullivan.com/how-to-make-and-throw-a-bola/
Published Date: Fri, 10 Feb 2023 00:00:00 +0000
-------------------------------------------------------------------------
 CampingSurvivalistHuntingFishingExploringHikingPrivacy PolicyTerms And Conditions
