If you want to get the most out of your paracord, you’ve got to have a thorough working knowledge of knots. But there are dozens and dozens of different knots out there, each with its own strengths, weaknesses, and peculiarities.
If you weren’t fortunate enough to grow up a fisherman’s son or in the boy scouts, just figuring out where to start and what not you need to know can be baffling in and of itself.
Don’t succumb to analysis paralysis: learning just a few tried and true yet adaptable and efficient knots will help you get down the road or get down the river, no matter the task.
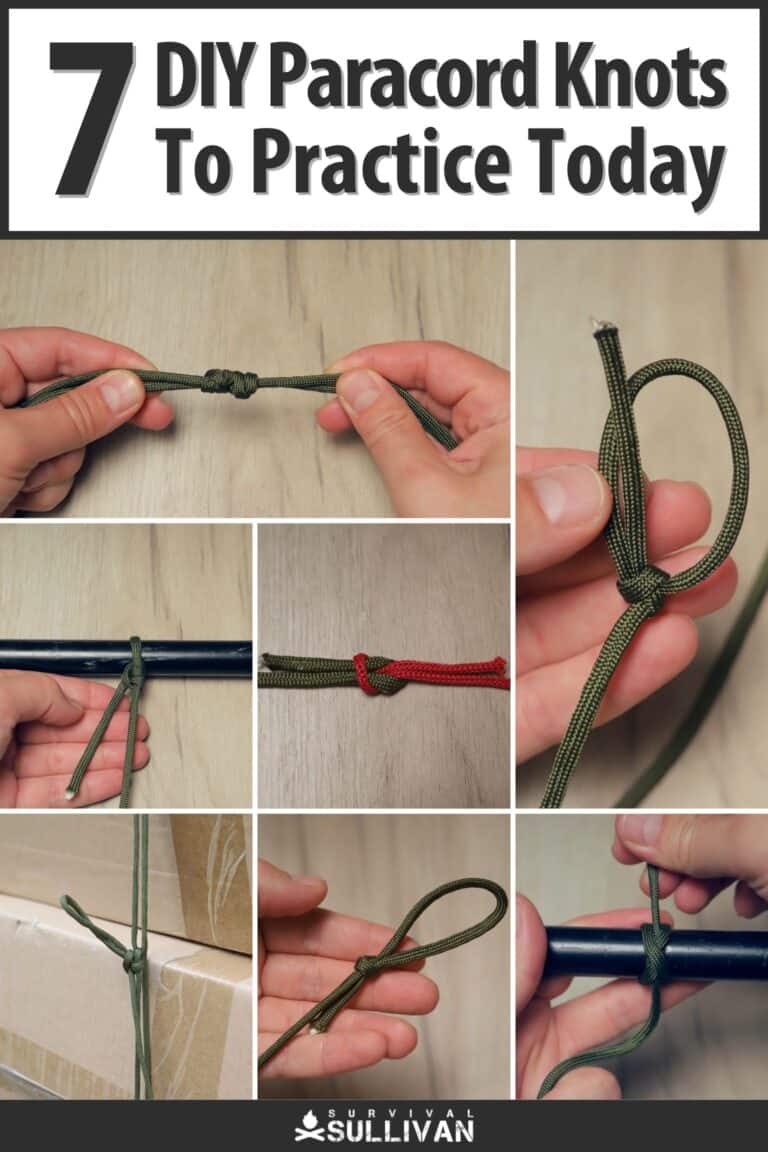
Below are 7 must-know knots for you to learn to maximize your paracord.
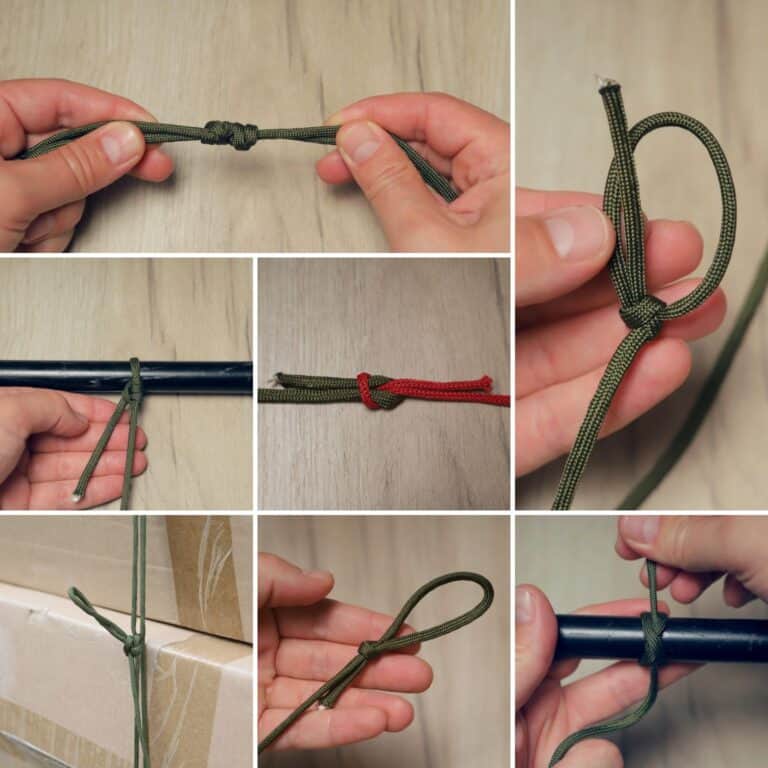
1. Bowline
A legendary and ubiquitous knot used for creating a fixed loop at the end of a rope or cord, the bowline (pronounced bo-lin) is one of the single most useful knots you can possibly learn.
It’s excellent for securing a line to any fixed point, for creating anchor points and cord or rope, lifting loads and a whole lot more.
There’s a reason why this knot is a mainstay in all sorts of professions and environments. If you learn no other knot, make it this one.
However, the bowline knot isn’t perfect: while easy to tie, and easy to untie, and also not prone to jamming, it has a tendency to loosen over time if not kept under tension.
It is also generally not counted upon as a truly reliable knot for climbing or other life and death applications. Nonetheless, it is truly indispensable. Learn how to tie it using the following steps:
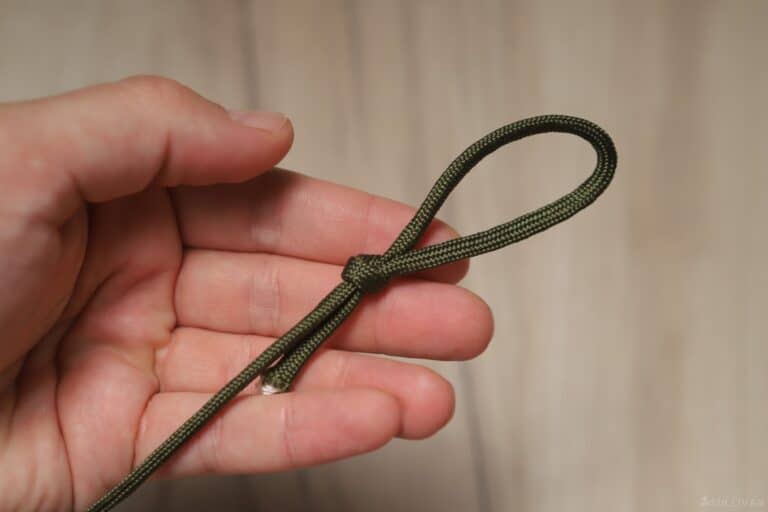
Step 1. Lay the cordage across your non-dominant hand with the free end hanging straight down.
Step 2. Create a small loop in the cord in your hand. Leave a good length of free end to work with.
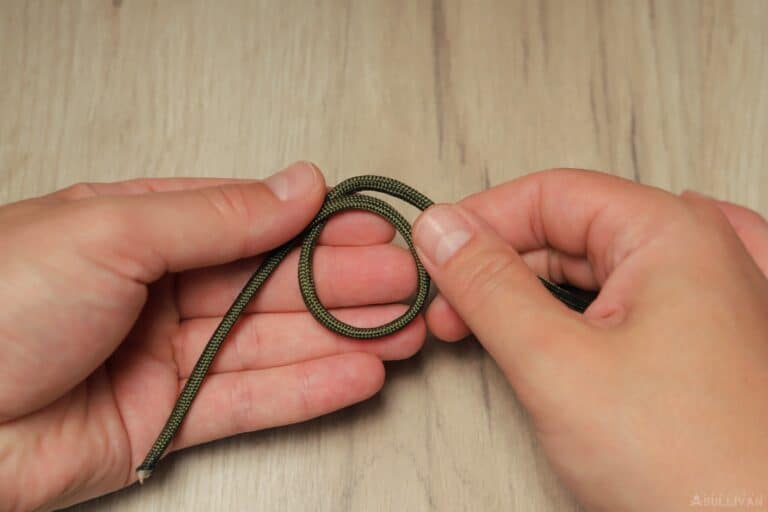
Step 3. Take the dangling free end, and pass it through the loop you just formed from beneath.
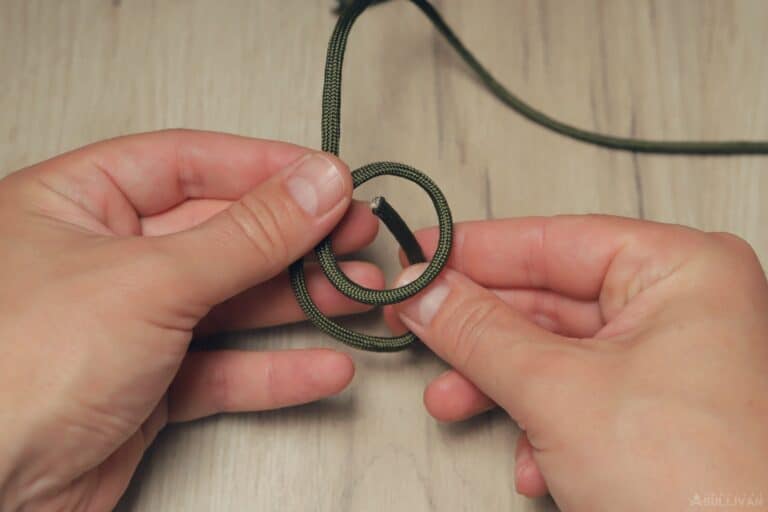
Step 4. The free end of the cord now passes under and around the standing part.
Step 5. Now, the free end doubles back down through the loop you formed in step 2.
Step 6. Tighten the knot by pulling on the free end while holding the standing part of the cord behind the knot. You will have a “tail” hanging out, that’s normal.
That’s it, you’ve got a bowline! You’ll find that despite its strength and security, it’s easy to untie even after you’ve placed it under heavy load.
2. Square Knot
A square knot, also known as a reef knot, is one of the simplest knots out there, and is usually the first not that most of us learn. From tying shoes to briefly joining two ropes together, a square knot can get it done.
Expert knot-tiers and aficionados will lament how weak and easily capsize-able this knot is, but it still has countless applications around the home, farm, and in the field. It is also fundamental knot to know for all sorts of decorative tying.
But do be warned: it will slip, it will work loose, it will come undone, and it can even jam. At the same time it’s easy to tie incorrectly and make a useless “knot” or a granny knot instead when unintended.
Any of these occasions can have negative or even disastrous consequences depending on how you are using it.
But so long as you use it responsibly you’ll find it is quick, easy and sometimes as importantly easy to undo in the blink of an eye.
You might already know how to make a square knot, but in case you don’t, here are the steps:
Step 1. Take two pieces of cord and lay them across each other, with the right hand cord should be on top. Both ends oriented slightly “up” or away from you.
Step 2. Working with the free end of the right-hand (upper) cord, turn it beneath the lower end to form a half knot.
Step 3. Take the free ends of both cords and, keeping your working cord on top as it last time, cross them again.
Step 4. Make another turn with your upper cord around the end of the other cord.
Step 5. Now pull the ends of both cords to tighten the knot, making sure to keep the structure of the knot tidy as you tighten.
And that is all there is to it. Quick, painless, and useful, just not that strong or secure. Still an indispensable knot and one you will use constantly with Paracord.
3. Constrictor Knot
The constrictor knot, sometimes called the miller’s knot, really does live up to its name. This is a knot that grips itself so tightly that it will, tied correctly, virtually never come undone.
It’s actually so secure, that much of the time it cannot be undone! You might have to cut it off…
And, as you might have guessed from its alternative name, this is a great choice for securely closing the end of any open sack. It also works wonders for tightly clutching stacks of long, thin objects like tubing, rods, sticks and so forth.
The trick with this knot is to not cinch it down crazy tight if you want to have any chance of untying it yourself. Even then, sometimes easier said than done because it has a tendency to tighten up over time!
Do the following to tie your constrictor knot:
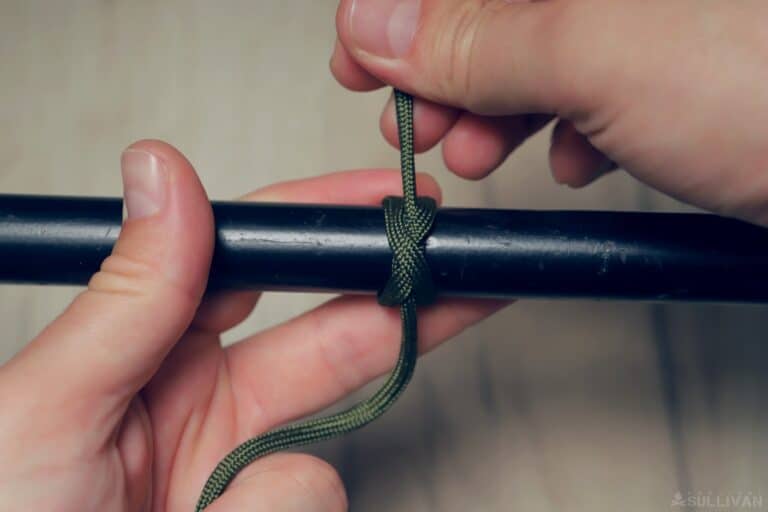
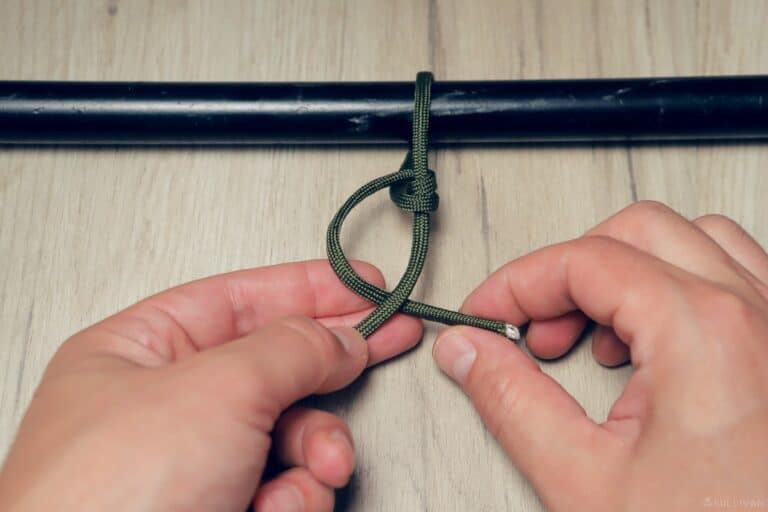
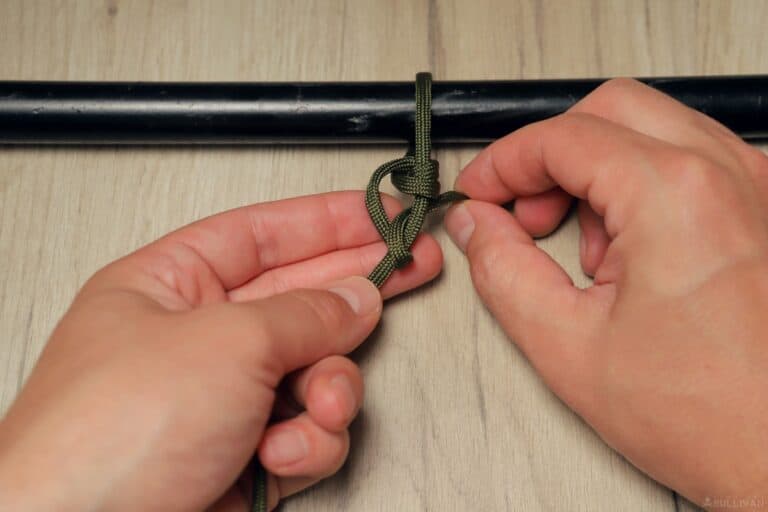
Step 1. Start with your cordage laid diagonally across the pole you wish to tie.
Step 2. Pass the free end around the pole and then cross back over in front where you started. At this point, it should look like a looped x around the object.
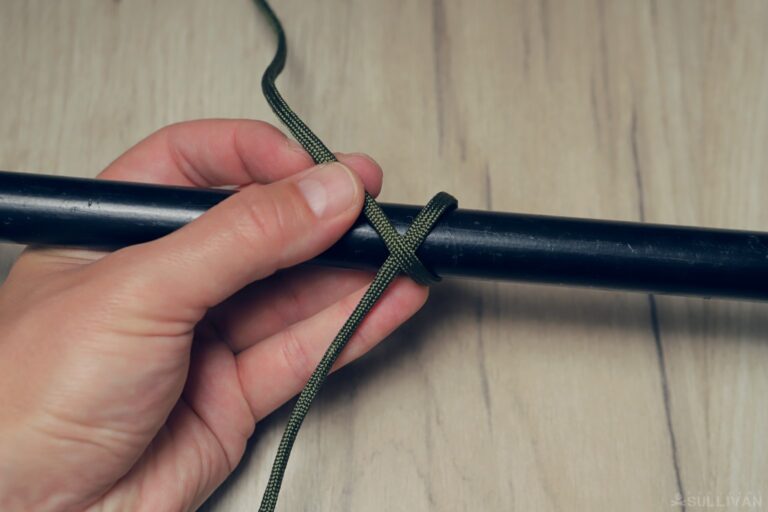
Step 3. Continuing in the same direction, loop the free end around the object once again to complete the second rap.
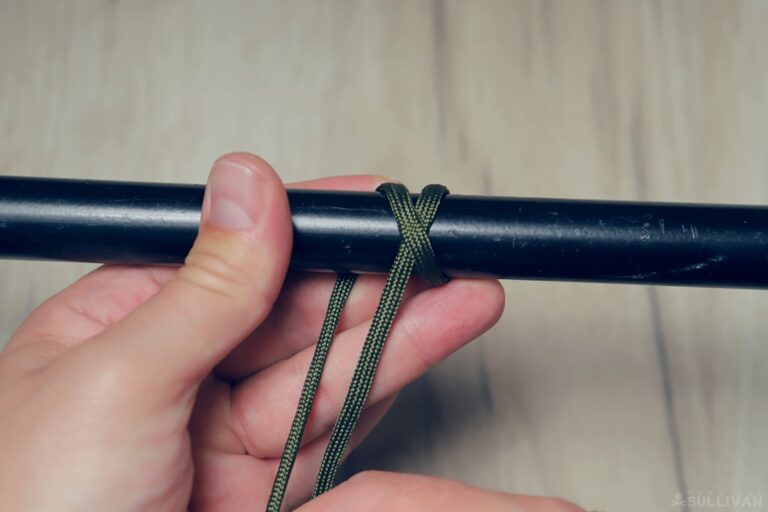
Step 4. Feed the free end beneath both wraps where they cross over, then pull both ends of the cord gently to incrementally tighten the knot.
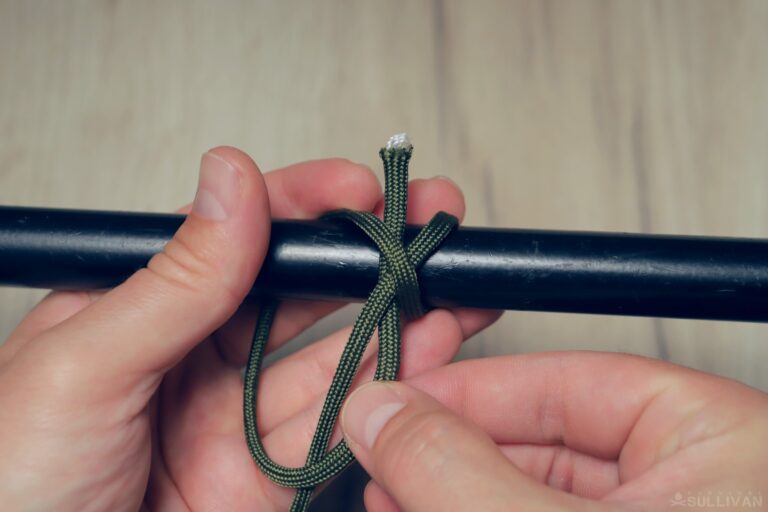
It sounds hard to explain, but once you’ve done it or seen it done a couple of times you won’t forget it; it really is a cinch, if you’ll pardon the pun. Just a reminder, tighten this gingerly if you don’t want to have to cut the cord away later.
4. Slip Knot
The slip knot is another classic that’s easy to learn, and one of the very first that most folks learn to tie.
It gets its name from the way that the noose it forms slips closed when the working end is placed under load. This makes it useful for a self-cinching application, and for a variety of other purposes…
Easily adjusted even once it’s been tightened, this is a very useful knot to have around the campsite and it also plays a valuable part in animal trapping.
Basically, anytime you need an adjustable loop, a slip knot is probably what you were going to call on.
But, everything bad you need to know about it is in the name: they do indeed slip and can come undone when not properly secured or anchored.
For long-term high-security attachment, this is not the knot you want.
Still, it’s super-easy to tie and highly effective with Paracord. Here’s how:
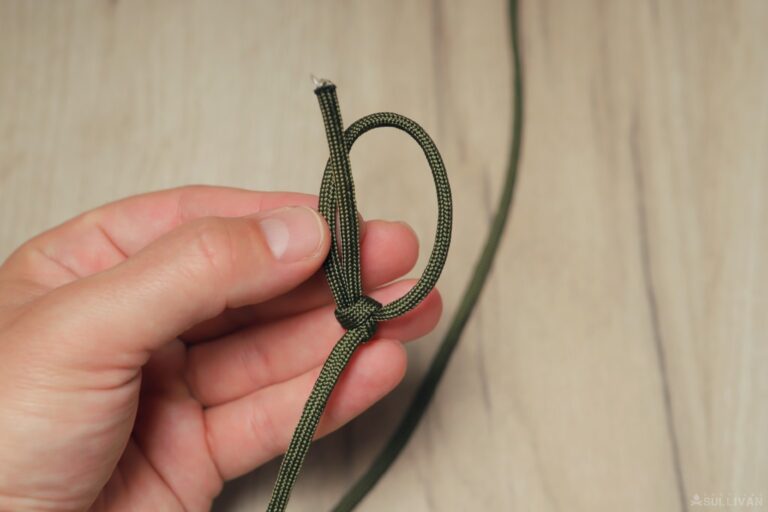
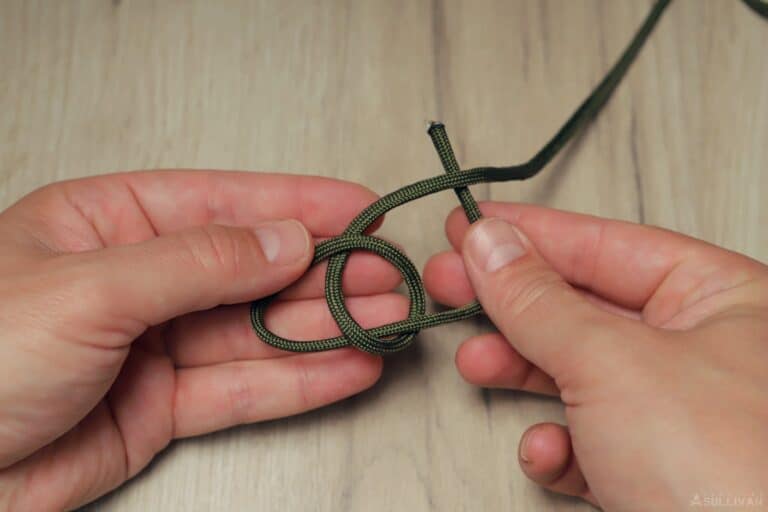
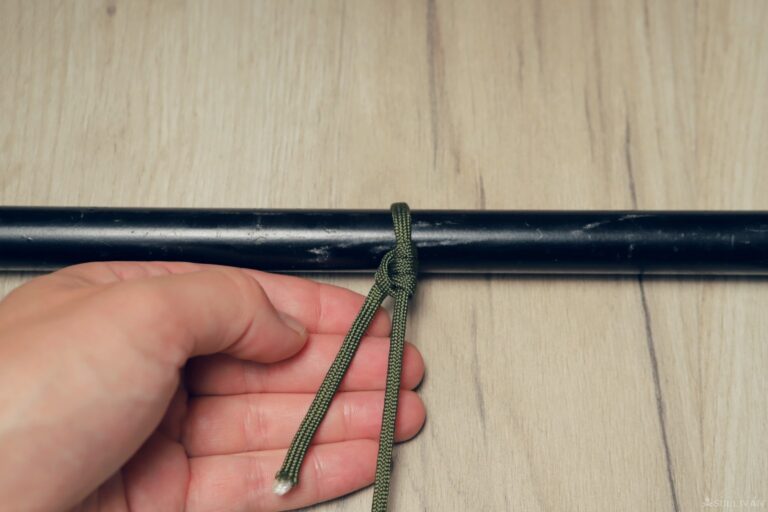
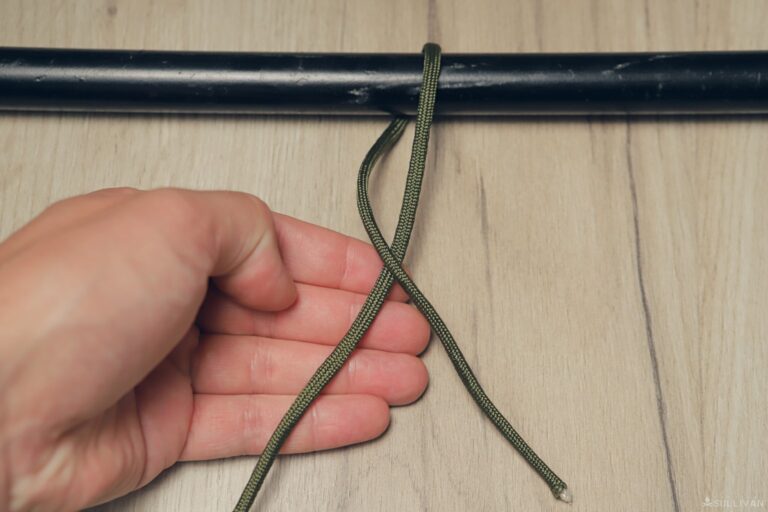
Step 1. Form a loop in your left hand, running end beneath the standing part.
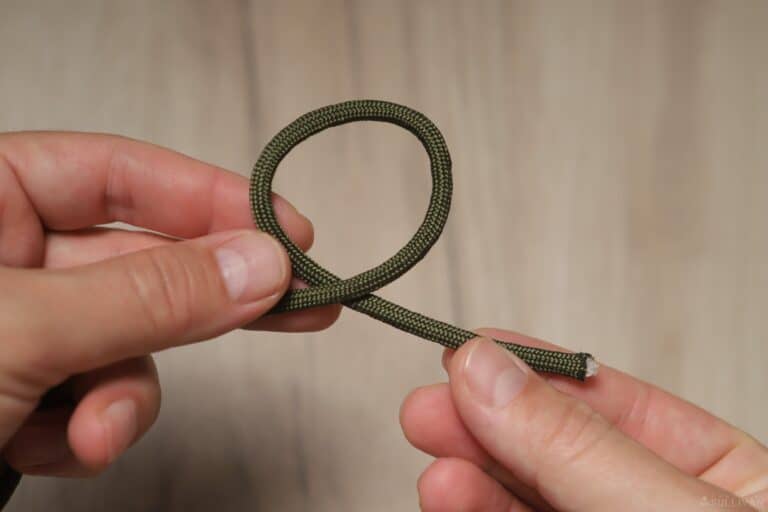
Step 2. Curling a bight into the free end, pass the bight through the loop formed in Step 1.
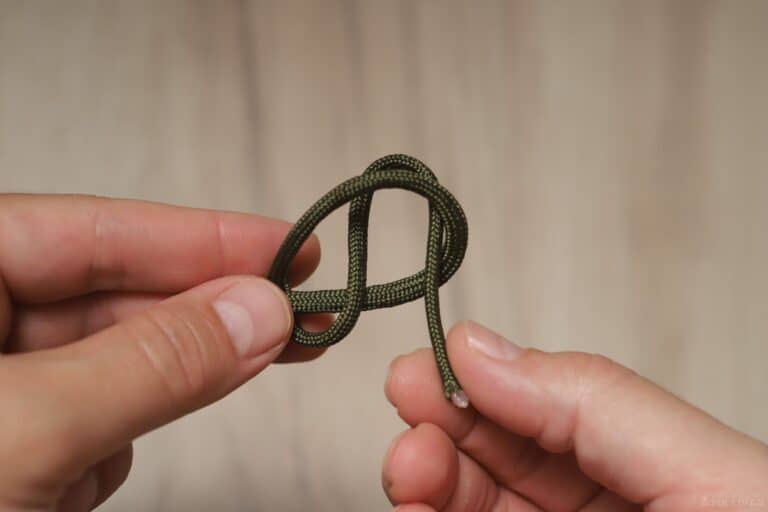
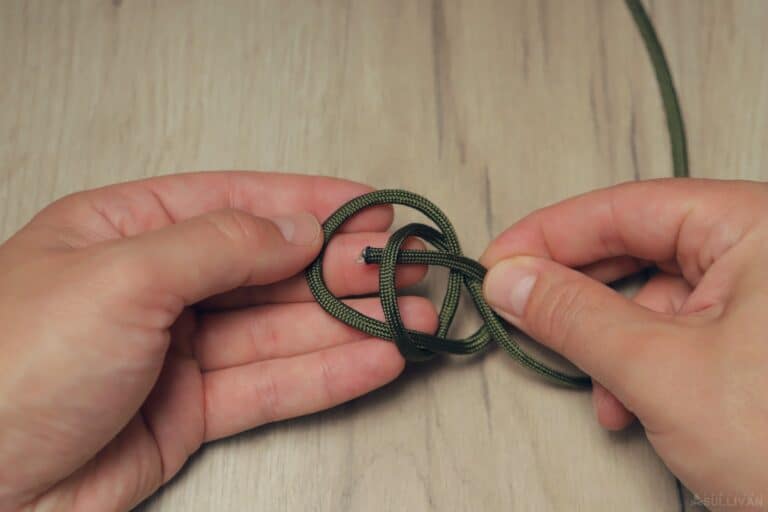
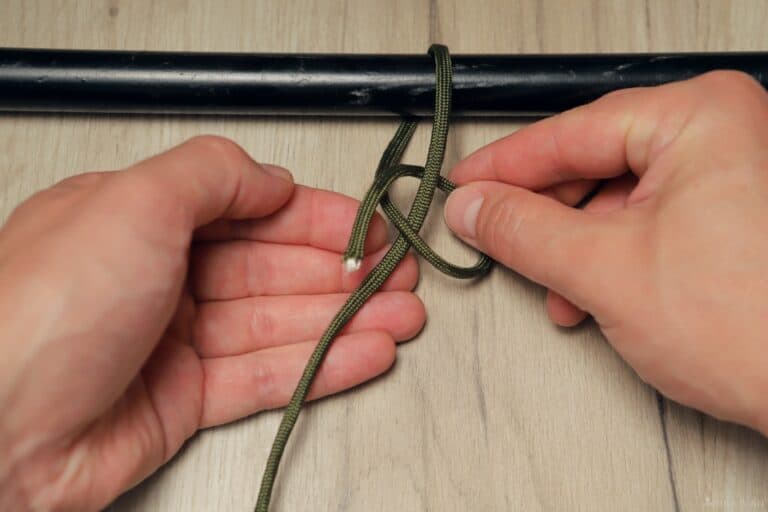
Step 3. Start tacking the slack out of the standing part of the cord while keeping the bight inside the loop.
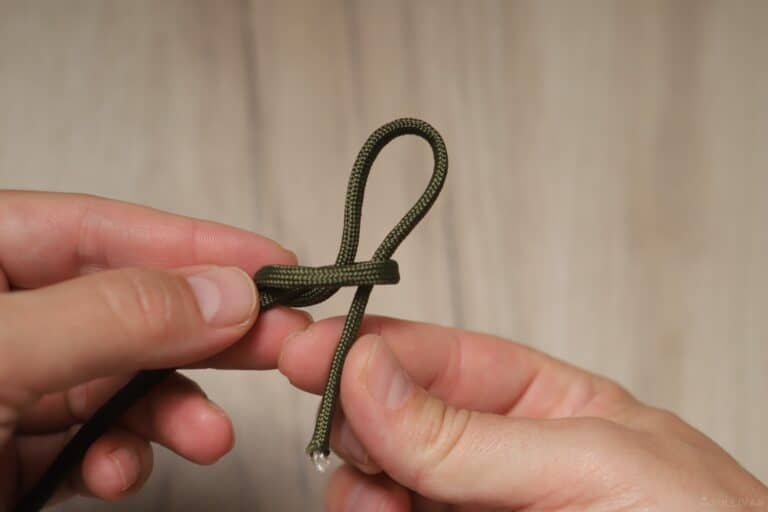
Step 4. Tighten the knot, keeping it tidy as needed.
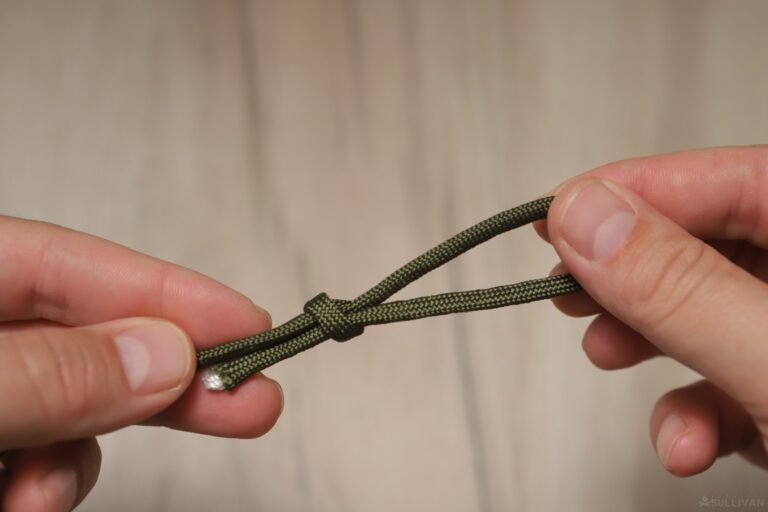
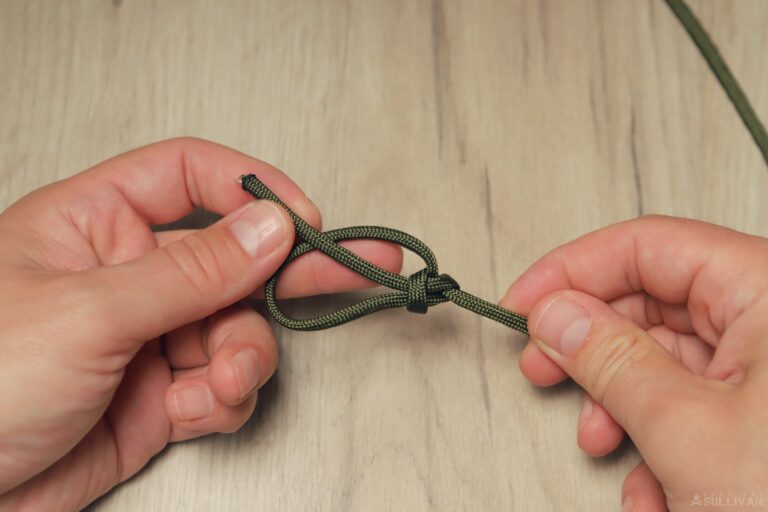
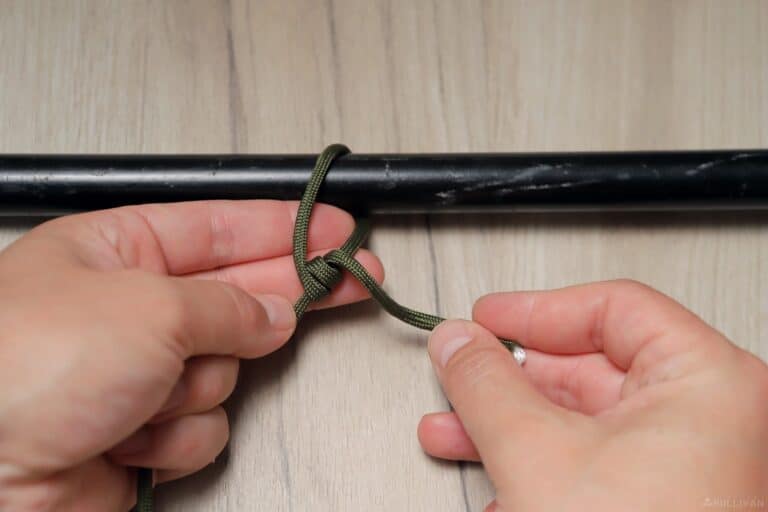
Step 5. The size of your loop can easily be adjusted by holding the now-formed loop and pulling the standing end from either side of the knot. See picture #5.
You’ll notice that these slip knot will easily adjust, particularly when made with paracord. This makes it especially handy on a small scale for attaching gear to packs, hanging items conveniently and a lot more.
Just keep an eye on it, because this is not a knot that is made to last.
5. Trucker’s Hitch
For securing cargo, nothing beats the trucker’s hitch knot. The trucker’s hitch cleverly uses mechanical advantage to allow you to cinch down anything once it is secured to a hard point.
Indisputably the single most useful hitch in anybody’s arsenal, the elegance of the trucker’s hitch is rivaled only by its sheer versatility: Light loads, heavy loads, it doesn’t matter.
The trucker’s hitch will allow you to cinch it down and get the line as tight as a bowstring before you secure it in place.
To make this knot actually work for you, you’ll need to implement other hitches and knots in the process.
So, technically, this is more of a composite knot system than a true knot, but don’t worry about that. It is easy to use on-demand with just a little bit of practice.
Find out how to do it with the following steps:
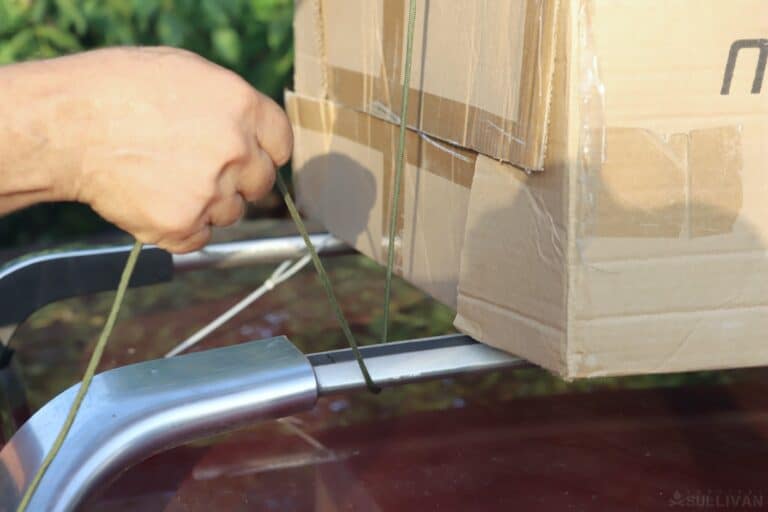
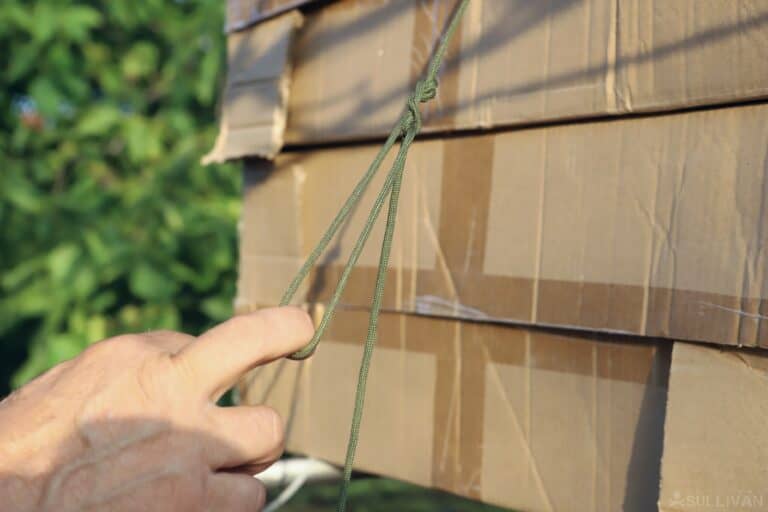
Step 1. tie off cord on one side. Begin by tying off your cord securely on one side of the cargo you are strapping down and then run the cord to the opposite rail or tie-down point.
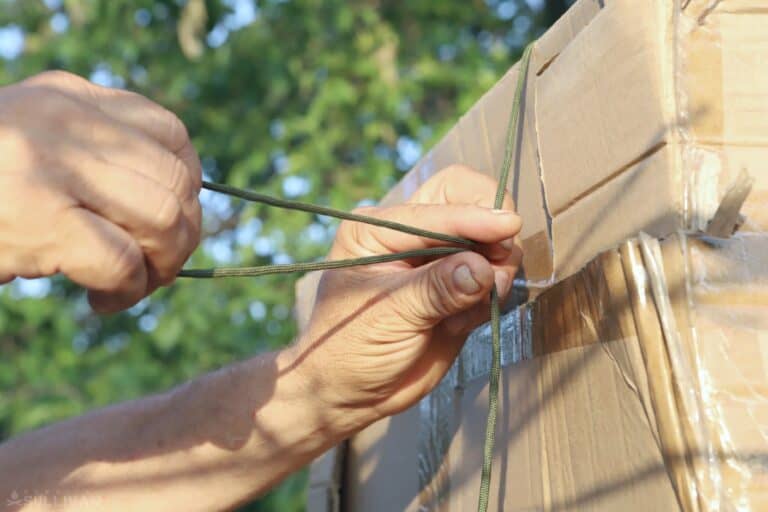
Step 2. pinch a bight in the standing part of the cord. Working on the side of the cargo you just moved to, form a bight in the standing part as shown about halfway up the side of the object.
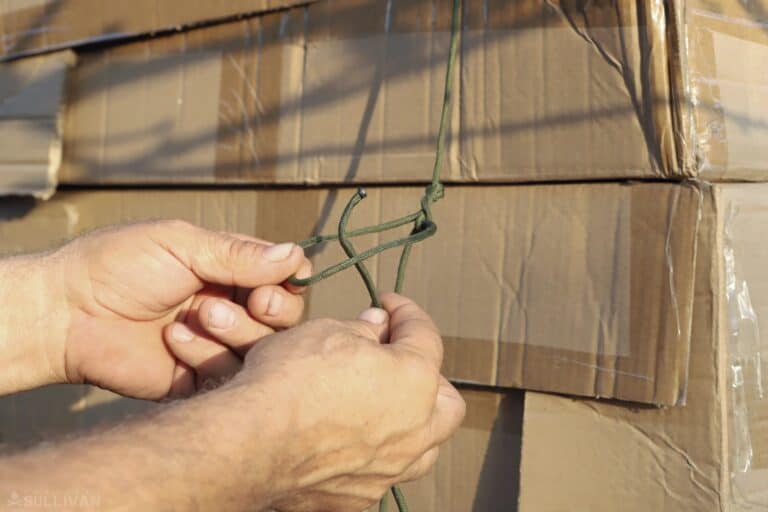
Step 3. make three or four turns in the bight you just formed. This will turn it into a loop that you’re using in the following step. Secure it by pinching it where it starts at the standing part of the line.

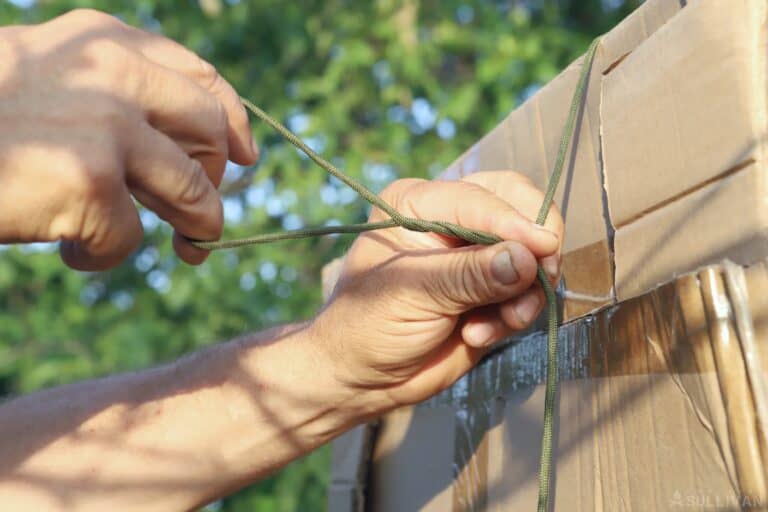
Step 4. reach through the loop you just formed with your other hand and take hold of the standing part before pulling it back through the loop.
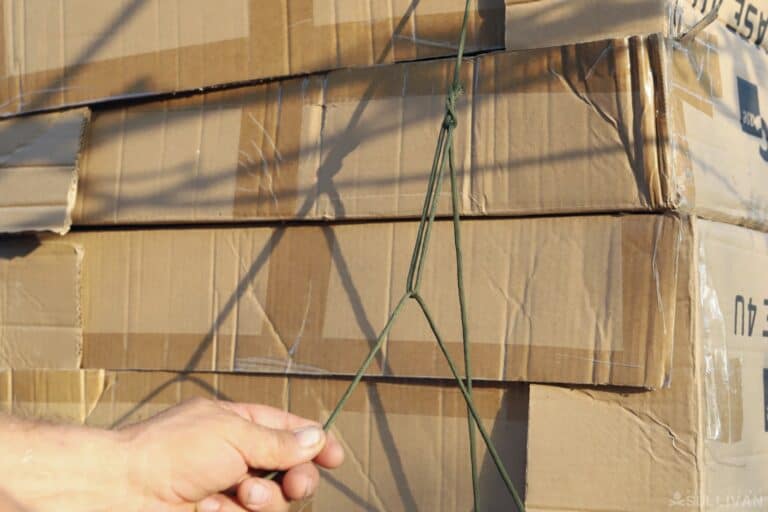
Step 5. pull it all the way through until it snugs down and forms a knot to secure itself in the standing part of the line.
Step 6. after routing the working end of the line through your anchor point, bring it back through the loop you just formed. This turns the loop into a pulley you can use for maximum mechanical advantage.
Step 7. tug on the working end of the line to cinch down your cargo. The harder you pull, the more tightly your cordage will secure the cargo.
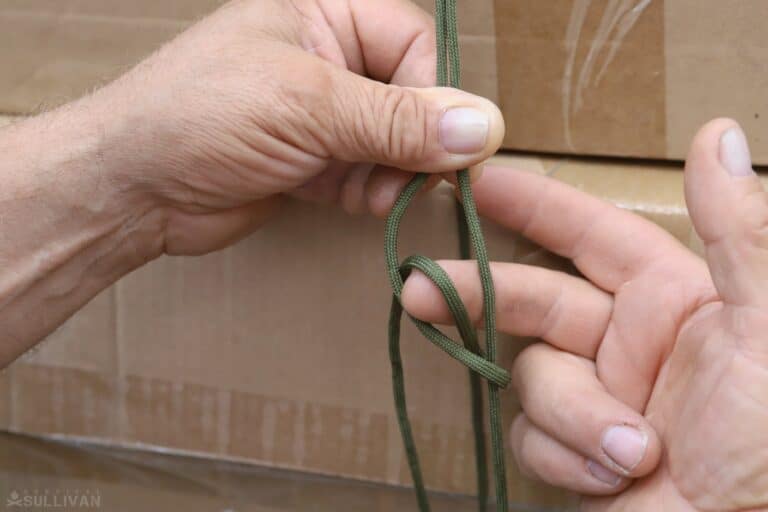
Step 8. to secure the line, bring a bight in the working end around the standing part and then back through the loop this creates as shown.

Step 9. tighten and dress the resulting knot as shown.
Step 10. to secure this knot and prevent it from slipping, you’ll need to tie another knot around it. Take the working end of the cord and make another loop around the one you just formed…

Step 11. before continuing on and passing the working end under itself again.
Step 12. pull on the loop and the working end to fully tighten down. This will secure your knot and prevent your cord from slackening and releasing its grip on your cargo. Make sure you check on the security of your line periodically while traveling!
It is a lot quicker to execute than it is to explain once you have a little practice and once you have the cord securely tied to the initial anchor point.
6. Double Fisherman’s Knot
When you need to securely join two pieces of cordage together or join both ends of a single piece of cord together while keeping strength and total security, nothing beats the double fisherman’s knot.
Essentially, this are two different knots that you’re going to tie, but they slide together under tension to form the finished knot.
You can also tie a single half of this knot to form a backup if you need to for truly important high-security applications. Learn how to tie this essential knot below:
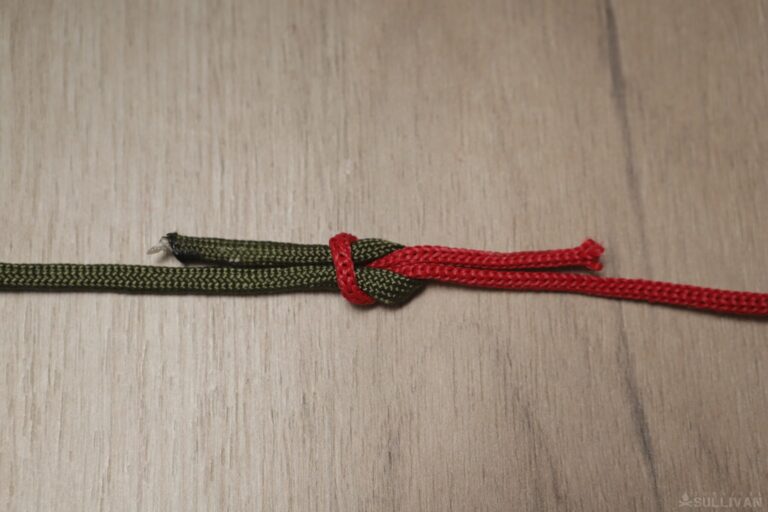
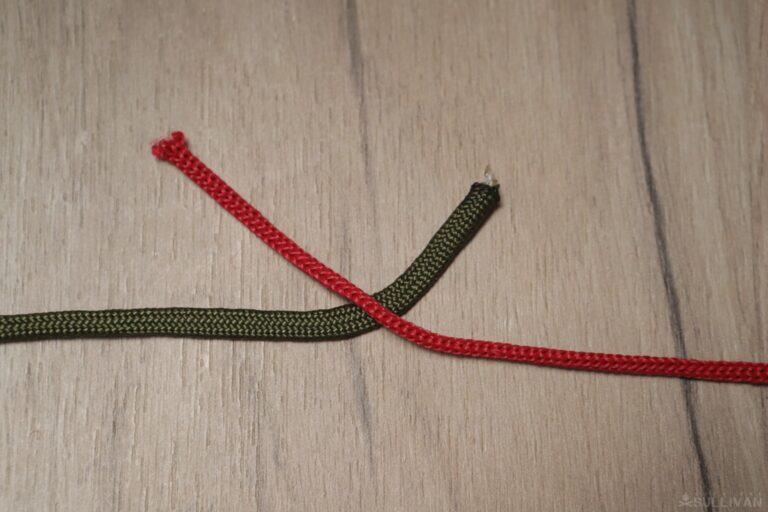
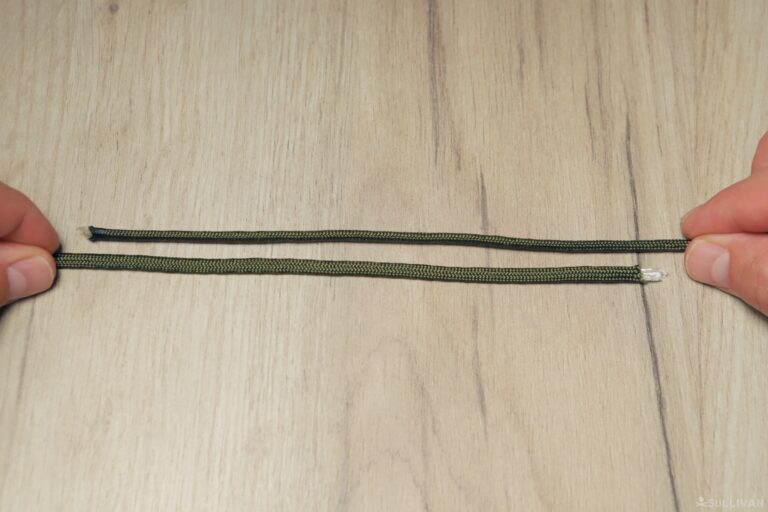
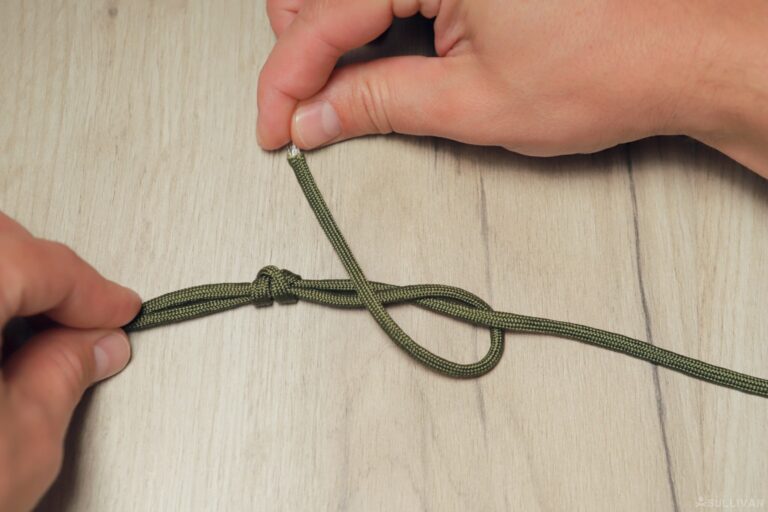
Step 1. Lay the ends of your lines, or line, parallel to each other, pointing in opposite directions.
Step 2. Taking one end, coil it around the opposite.
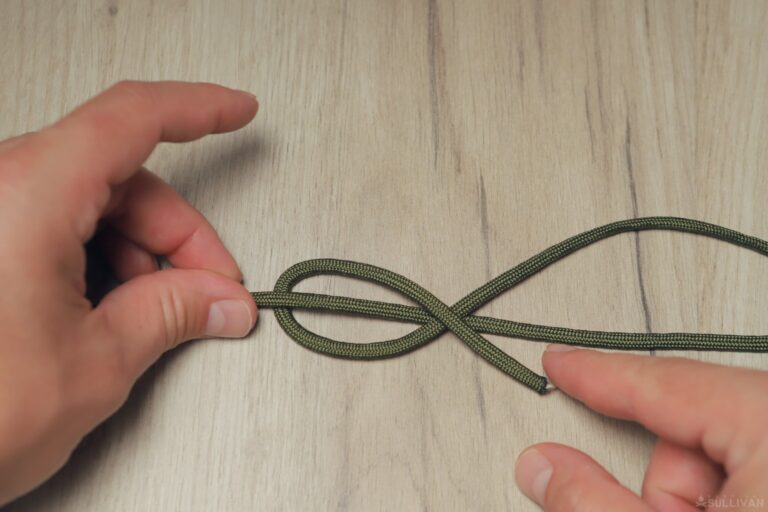
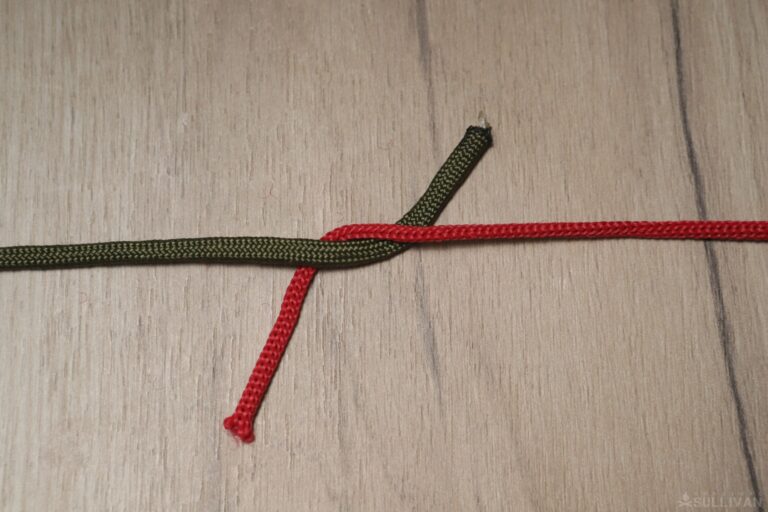
Step 3. No coil it around the opposite end a second time.
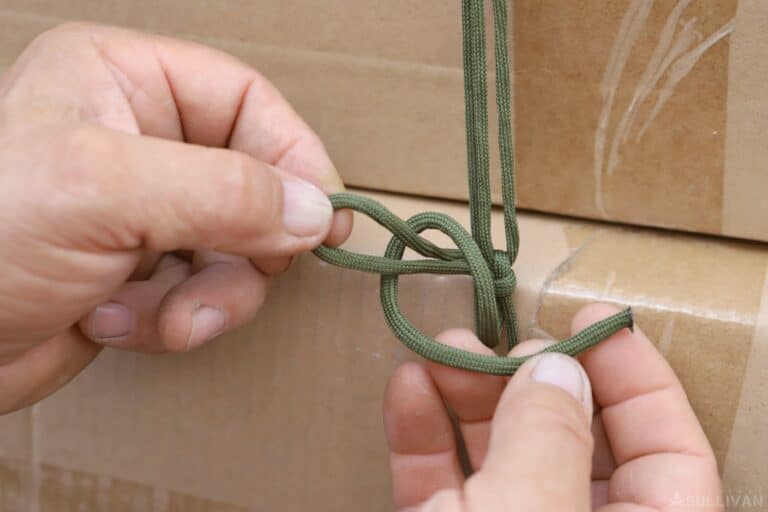
Step 4. Then pass it back through inside both loops you just formed. To do this, the trick is to pass it through the X that was just formed. This is very important.
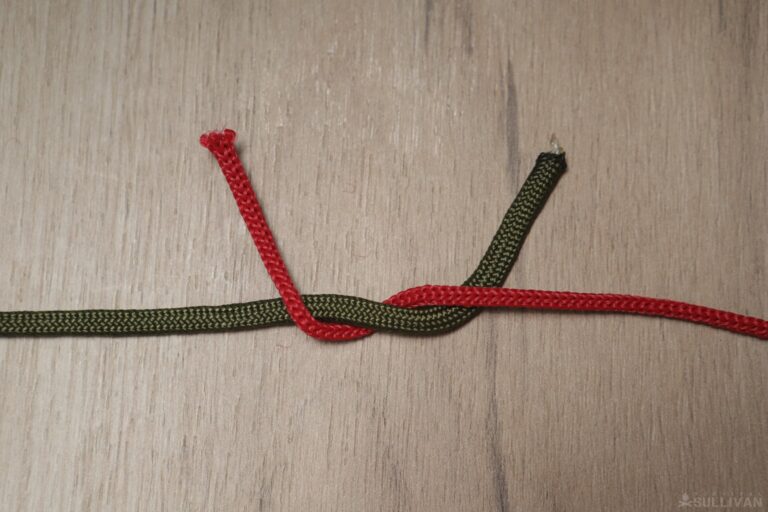
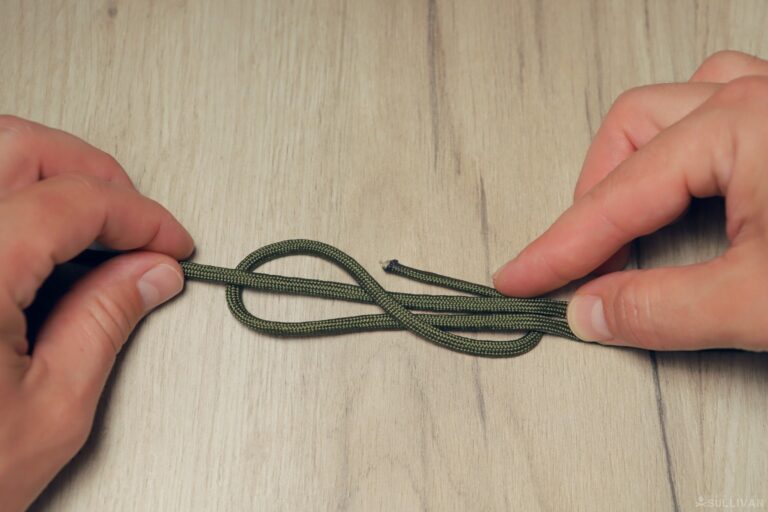
Step 5. Tighten the know but not fully, but dress the knot down on the standing part of the opposite line.
Step 6. Do the same knot with the other end on the standing part you just finished with. Do the first coil…
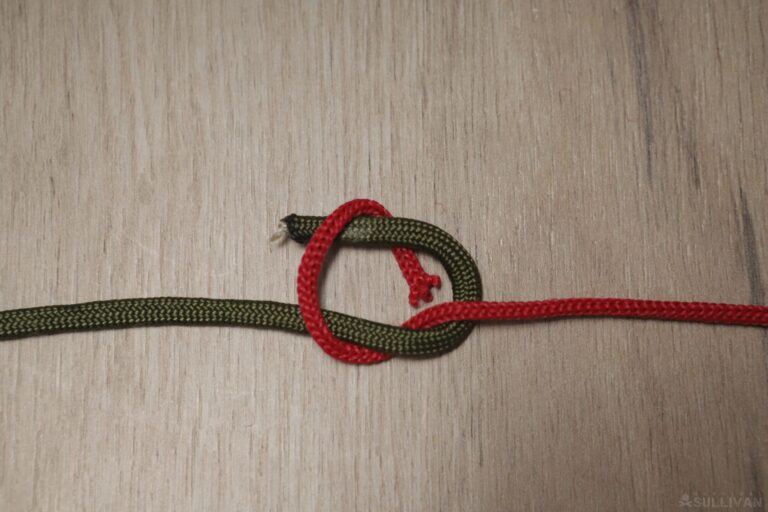
Step 7. Coil it a second time…
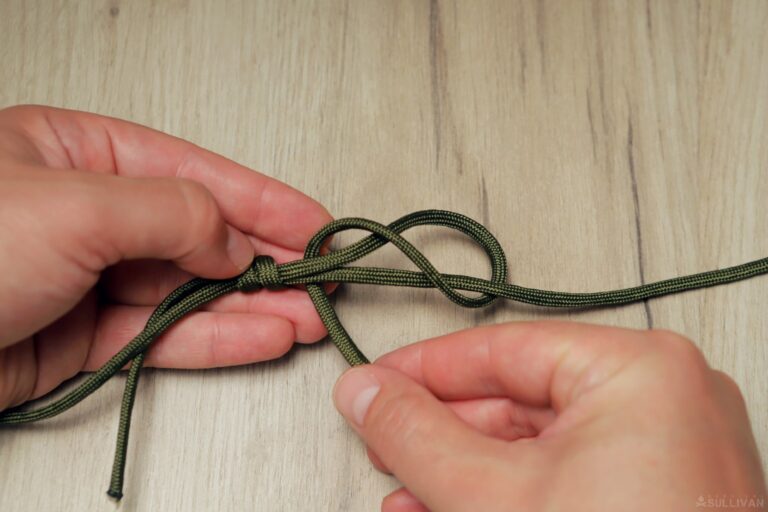
Step 8. Now pass the free end through both loops like you did moments ago. Remember to do it through the second X that was formed.
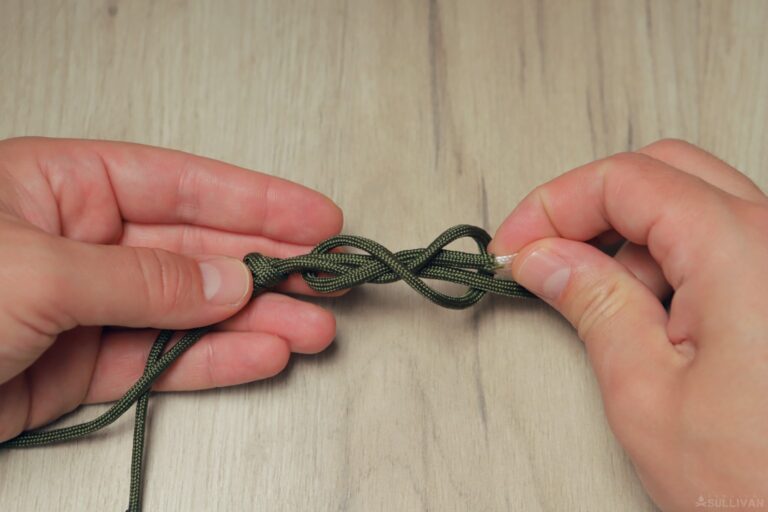
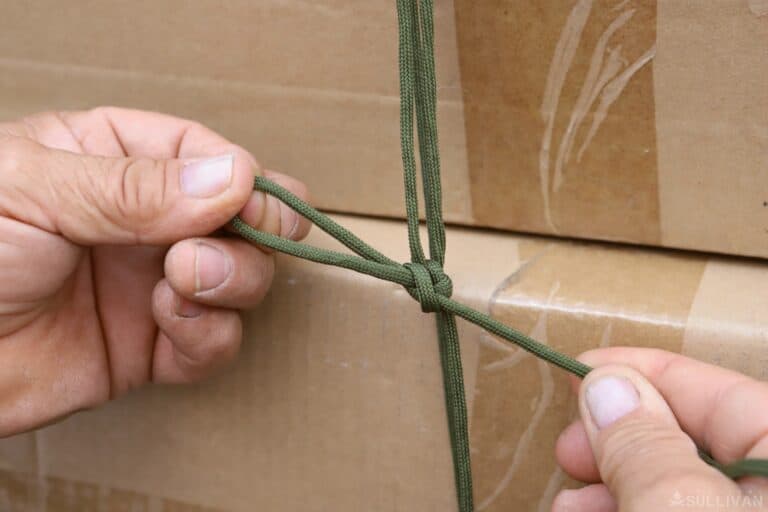
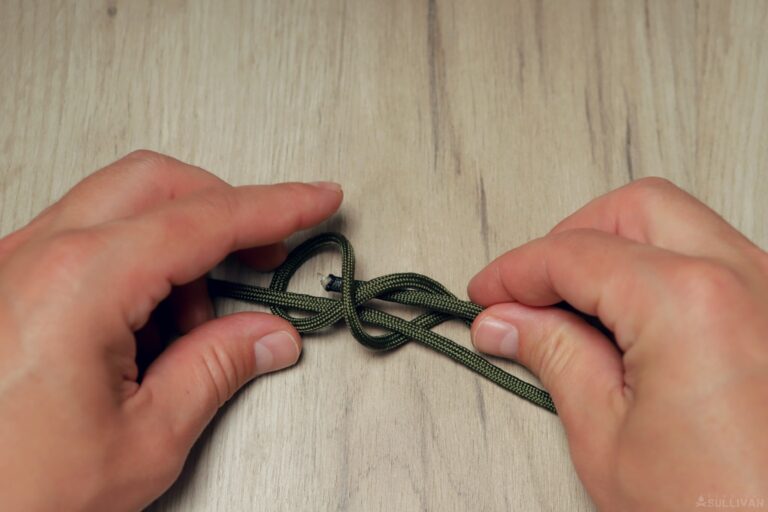
Step 9. Now pull on both free ends individually to further tighten each knot.
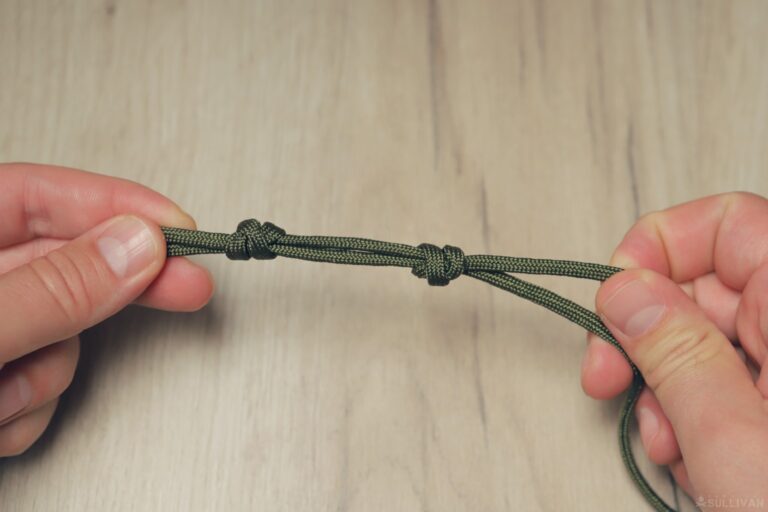
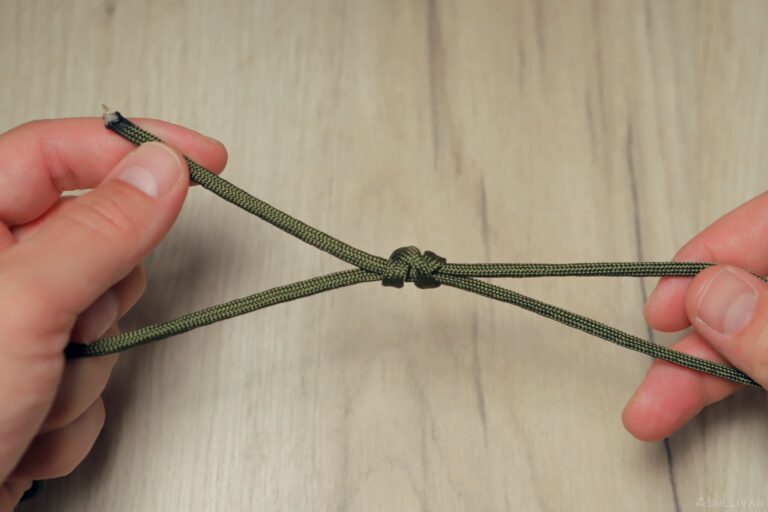
Step 10. With knots tightened, now pull the standing lines, and the knots should slide together and snug down.
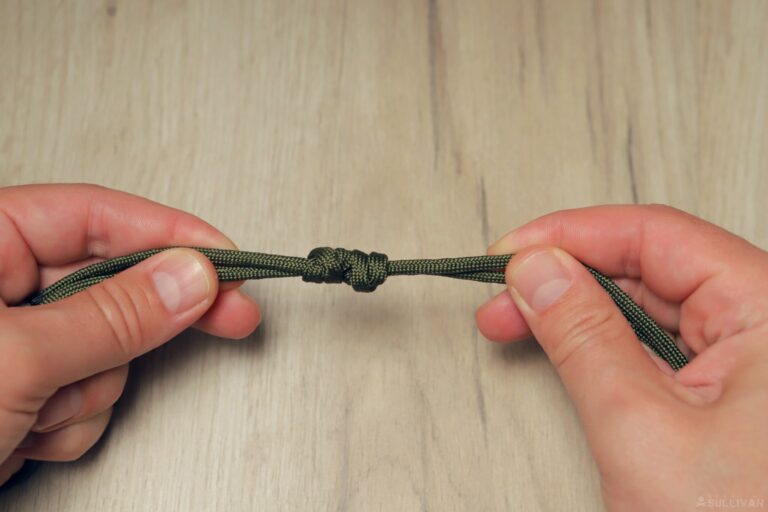
It is a lot quicker and easier than you might think, based on looking at the finished version of this knot, to tie it quickly and efficiently. But once you learn how, this is one you will use constantly, I promise!
7. Taut Line Hitch
An indispensable camping hitch, the taut line hitch, as its name suggests, can be slipped easily enough to tighten or loosen a standing line, and when placed under a load it will hold fast.
This makes it wonderful for any line that might require adjustment periodically, such as a tent guy line.
Something else worth noting is that you have a variety of options for finishing the knot if you want to get fancy: different knots, such as a reversed half hitch, can be used to eliminate torsion and twisting.
Extra security can be gained through the use of a midshipman’s hitch, though at the cost of easy adjustability.
But, we’ll start with the basic version below:
Step 1. Make your turn around a peg, post, or other anchor from the free end of your cord.
Step 2. Perform a turn with the free end around the standing part of the cord.
Step 3. Make a second turn in a similar way, working towards your anchor point.
Step 4. Make a loop with the working end of the cord.
Step 5. Passing through the loop formed above, make a third turn further up the working end past the two turns you just made in the prior step.
Step 5. Tighten the knot.
Step 6. Slide the knot to adjust tension in the line. The greater the tension, the more secure this knot is.
Using the tautline hitch you might be surprised to learn just how easy it is to set up a tent or lean-to in a variety of circumstances and keep it ship-shape no matter the weather and conditions.
The post 7 DIY Paracord Knots to Practice appeared first on Survival Sullivan.
By: Tom Marlowe
Title: 7 DIY Paracord Knots to Practice
Sourced From: www.survivalsullivan.com/diy-paracord-knots/
Published Date: Mon, 09 Oct 2023 16:00:00 +0000
-------------------------------------------------------------------------
 CampingSurvivalistHuntingFishingExploringHikingPrivacy PolicyTerms And Conditions
