Don’t be fooled by the word “tankless.” RV tankless water heaters still hold a small amount of water, usually about a liter. During freezing temperatures, this water can freeze and crack the pipes leading to or from the water heater if it’s not properly winterized.
With manufacturers going tankless on more of their RVs, you should know how to winterize an RV tankless water heater.
How to Drain an RV Tankless Water Heater
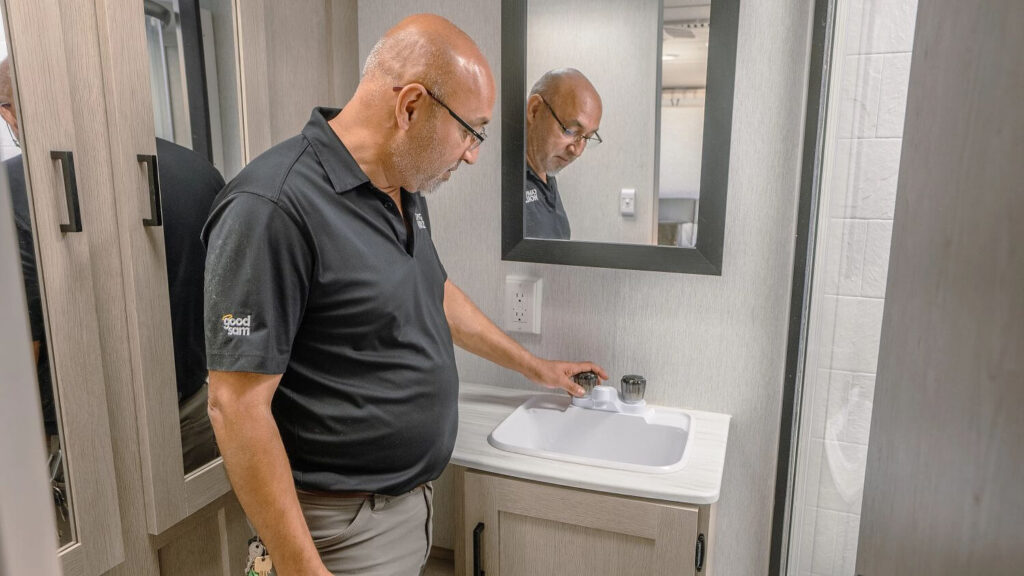
Photo by Camping World
Tankless water heaters must be drained regularly according to the manufacturer’s recommendation. These water heaters don’t give up all their water when gravity-draining or using air to blow water out of the tank and plumbing lines. This means you’ll need to add RV antifreeze to winterize them properly.
That said, the process starts with draining the water heater and your water system. Here’s how you can use gravity to drain your tankless water heater:
- Open the hot water faucets inside your RV and let them run until the water turns cold, allowing 2-3 minutes for the tank to cool if it has recently been heated.
- Turn off the gas and power to the water heater and water pump.
- Disconnect from city water.
- Remove the drain plug and filter to allow the water to drain.
That method is adequate when performing basic maintenance, after which the system will be refilled with water. More is required when winterizing your RV, and Camping World prohibits using or selling a basic winterizing package on units with a tankless water heater.
Our upgraded winterization service includes blowing air out of the tank and lines, followed by filling your unit’s water system with RV antifreeze. Contact your local Camping World RV Service Center to learn more about this service and get a quote today.
How to Winterize an RV Tankless Water Heater
Tankless water heaters from different manufacturers require varying winterization procedures. Check with your water heater manufacturer for their most up-to-date winterization recommendations.
Here are the four basic steps that RV service technicians will take when winterizing a tankless water heater:
1. Turn off the Propane and Power
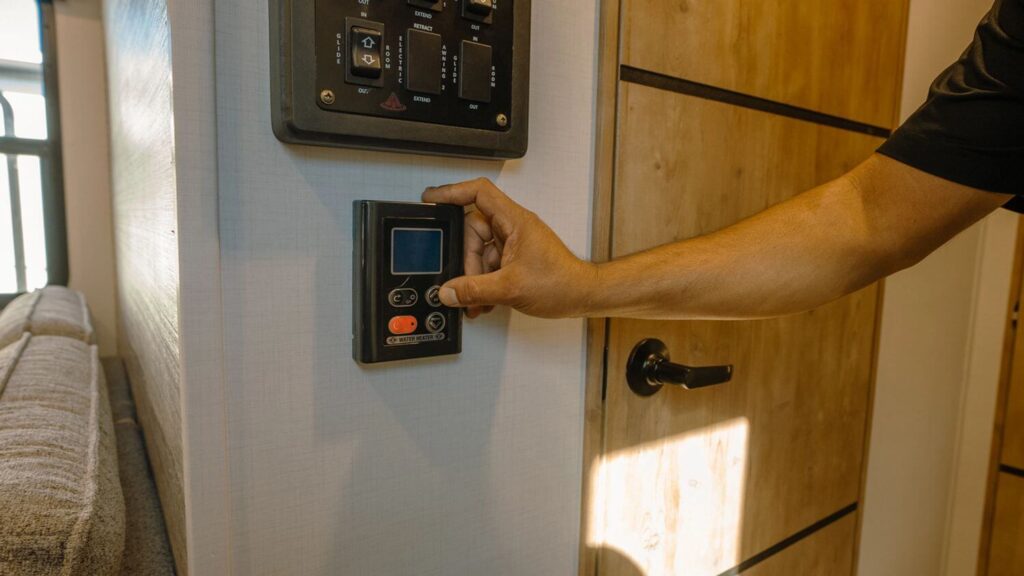
Photo by Camping World
This keeps your water heater from attempting to reheat an empty tank or heating RV antifreeze once added.
2. Disconnect from Water and Allow it to Cool
You must be disconnected from city water and have your water pump turned off to prevent your tank from being refilled as you drain it. Run hot water for 2-3 minutes, or until it’s cool to the touch, before draining.
3. Drain the Entire Water System, including the Water Heater
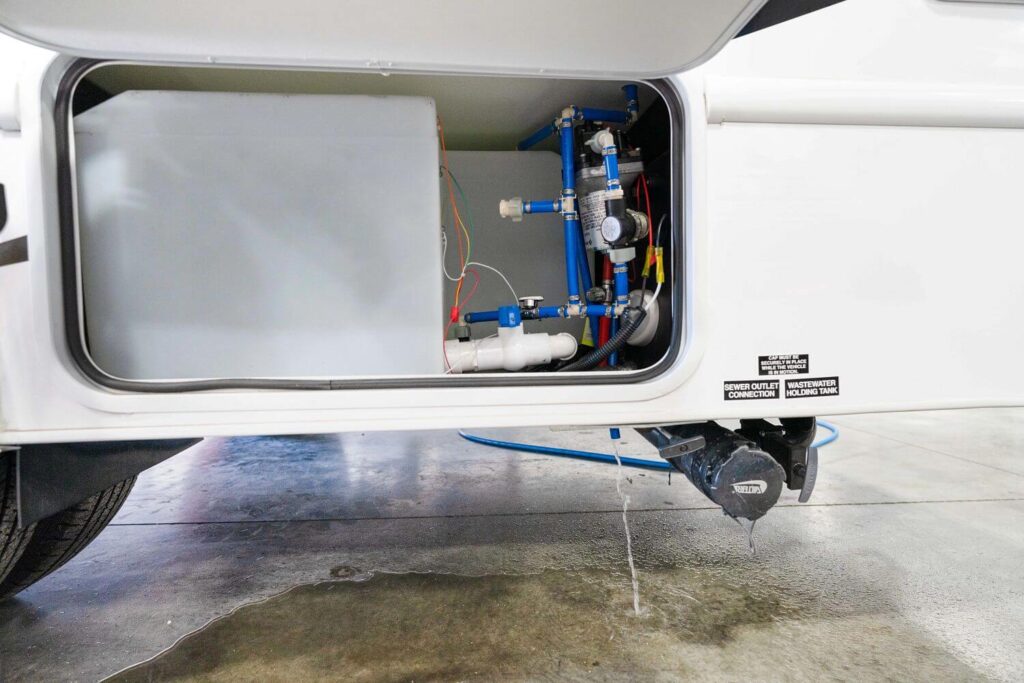
Photo by Camping World
Remove the water heater’s drain plug and open the fresh water tank drain and low-point drains. Allow gravity to drain most of the water from your system. Close these valves after draining to prevent the loss of antifreeze in the next step.
Technician Tip: Trained RV technicians often connect compressed air to an RV’s city water inlet to blow the water out of RV plumbing lines and water heater tanks (on models with DSI and tankless water heaters). This requires a special device that regulates air pressure so it doesn’t exceed 30 PSI, which could damage your RV’s plumbing system.
4. Run Antifreeze Through the System
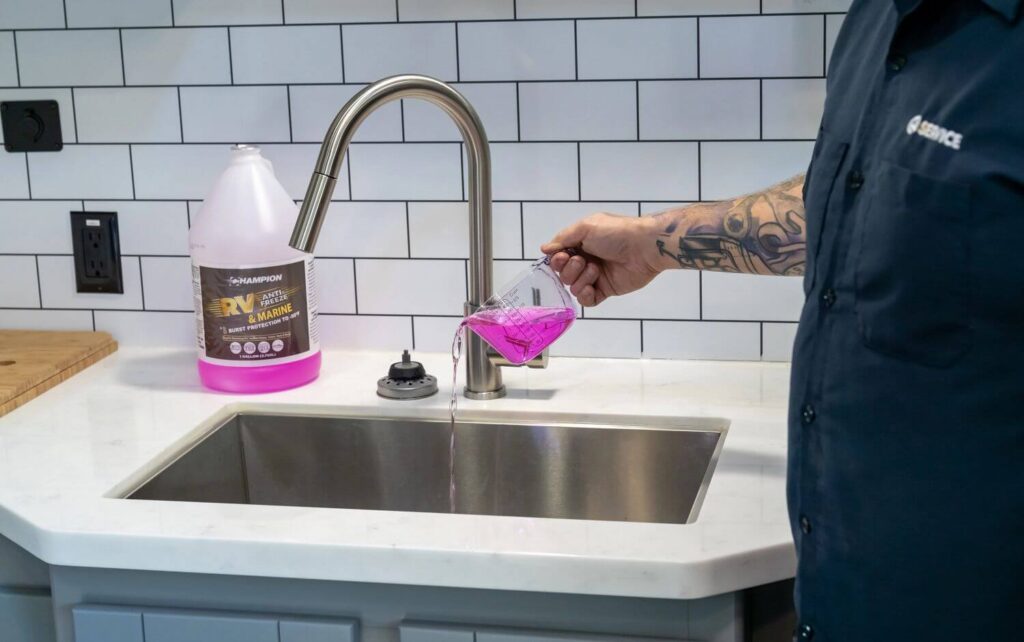
Photo by Camping World
Consult your owner’s manual for the recommended amount of antifreeze to add to your system, as it will vary based on the size of your holding tanks. Most RVs will use 2-4 gallons of antifreeze for proper winterization.
Set the water heater’s control panel to city water (if applicable). Add antifreeze to your system by pumping it from the bottle into your city water inlet. You’ll also need to pour a small amount (1-2 cups) down each fixture – sinks and showers – to add antifreeze to the P-traps.
Antifreeze must be run through the entire system to prevent pipes from cracking in freezing temperatures. Run each faucet until the fluid exiting turns pink. Unlike traditional water heaters, you should NOT bypass a tankless model during winterization because this would prevent the proper distribution of the antifreeze.
Learn more about RV antifreeze.
When it’s time to prepare your RV for winter storage, here are a few more useful resources:
- How to Winterize Your RV
- How to Winterize an RV Generator
- How to Maintain RV Tires While in Storage
What brand of tankless water heater do you have and what questions do you have about winterizing yours? Let us know in the comments below.
The post How to Winterize an RV Tankless Water Heater appeared first on Camping World Blog.
By: Tucker Ballister
Title: How to Winterize an RV Tankless Water Heater
Sourced From: blog.campingworld.com/learn-to-rv/how-to-winterize-an-rv-tankless-water-heater/
Published Date: Mon, 30 Oct 2023 08:00:00 +0000
---------------------------------------------
 CampingSurvivalistHuntingFishingExploringHikingPrivacy PolicyTerms And Conditions
