There are many brands of RV covers out there, but ADCO is one of the most popular. They make covers for travel trailers, fifth wheels, pop-up campers, and all types of motorized RVs.
If you’re new to RVing, you might wonder why you need an RV cover. RV covers protect against rain, snow, dust, UV exposure, and other debris when you’re storing your RV. Learn more about why you should cover your RV before you start shopping.
And when you’re ready to buy, explore your options for keeping your RV covered when not in use so you can find a high-quality RV cover to protect your investment.
How to Prepare Before Installing an ADCO RV Cover
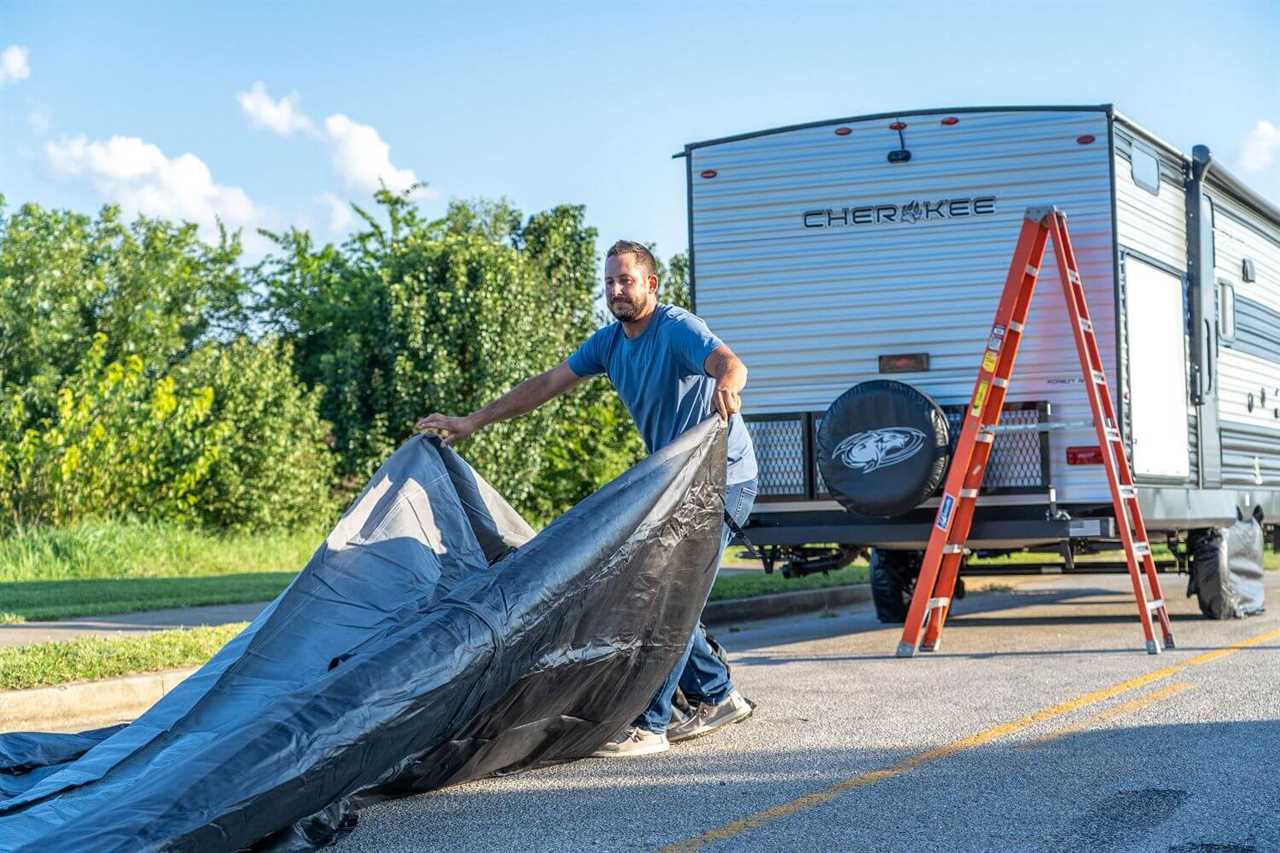
Photo by Camping World
Before you throw your cover on, perform these pre-checks. They’ll help ensure proper installation and protect your RV and cover from potential damage.
- Make sure you have the correct size cover. Measure your RV front to back, including mirrors in front of the front bumper and any accessories (spare tire, ladders, etc.) extending beyond the rear bumper. Consult ADCO’s website for more sizing tips.
- Wash your RV. Clean your RV from top to bottom to minimize the risk of black streaks developing once your cover is installed. Learn how to wash your RV properly if you aren’t already familiar.
- Pad sharp edges. Minimize the risk of tears or punctures by padding rain gutters, steps, ladders, and other abrasive corners. Some covers come with padding, while others require padding to be purchased separately. Cover your RV ladder last so you can use it during installation.
Note: Climbing onto your RV’s roof is NOT required for cover installation. A step ladder can be used, but climbing onto the roof is the fastest way to install an ADCO RV cover if your roof is fully walkable.
ADCO RV Cover Components
Not all ADCO covers are identical, but this image will help you identify some of the main components referred to in the installation and removal instructions below.
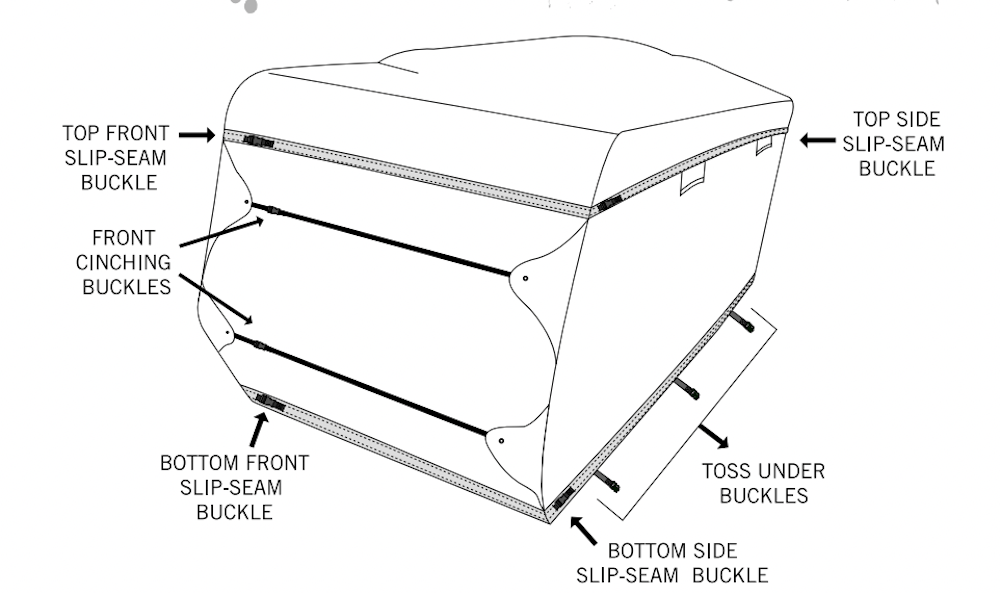
Photo by Camping World
How to Install a New ADCO RV Cover
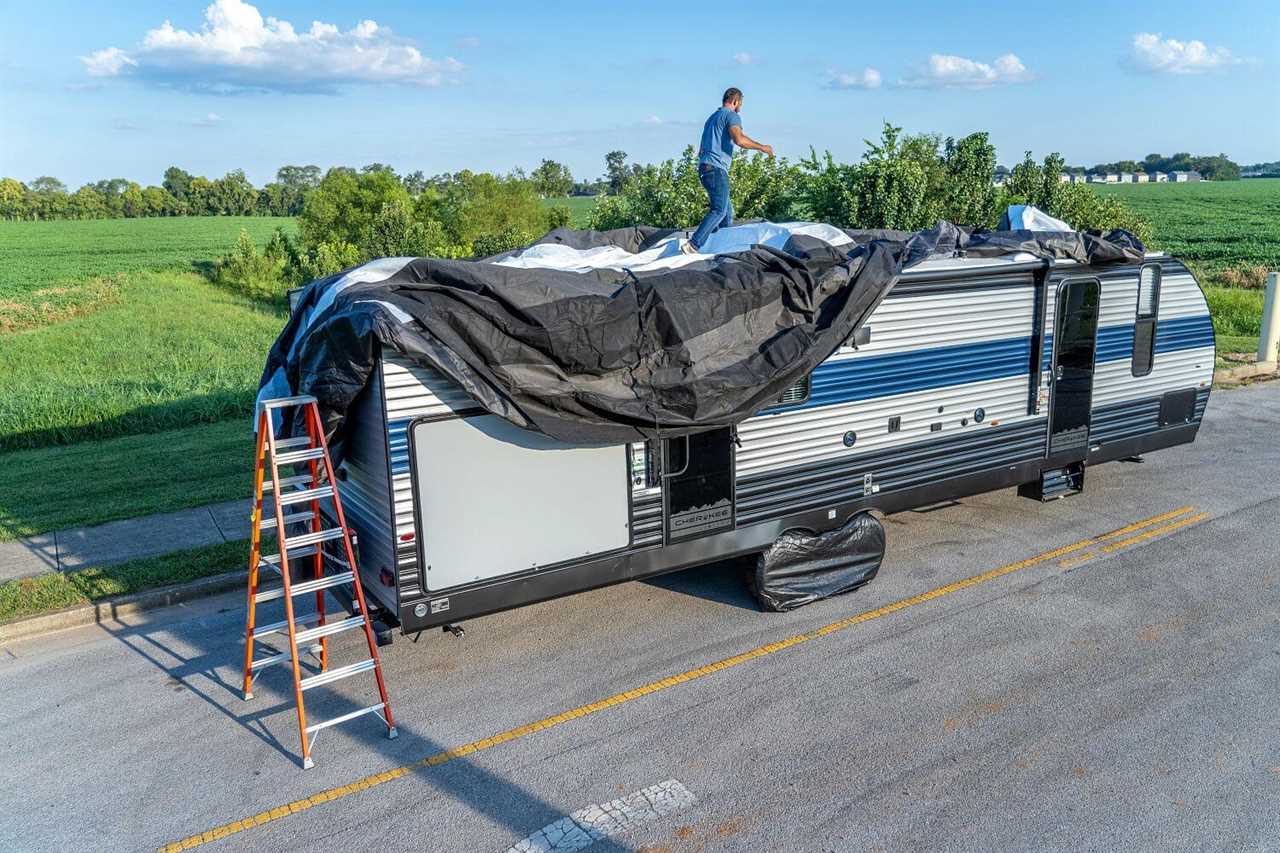
Photo by Camping World
If you do pick an ADCO RV cover, use these step-by-step instructions to install it properly:
1. Unroll the cover next to your RV, unwinding the straps and buckles as you go.
2. Turn the cover inside out on the ground.
3. Roll it back up so that the FRONT tag is the last thing left exposed (rolling loosely is fine).
4. Place the cover width-wise behind your RV.
5. Grab the FRONT tag and ascend your RV ladder.
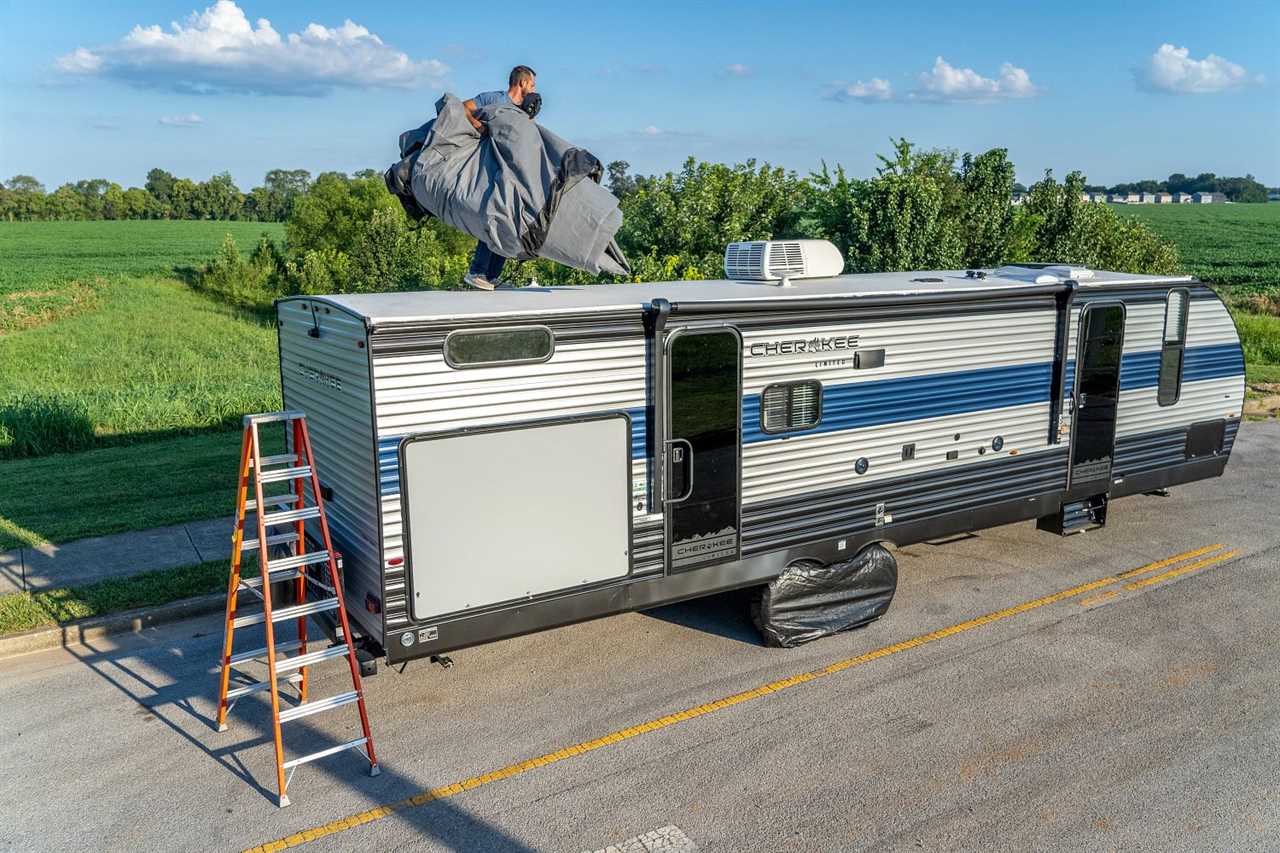
Photo by Camping World
6. Once you’re safely on the roof, turn toward the rear of your RV and pull up the cover (as if you were pulling up a fire hose).
7. With the front tag still in hand, walk the cover to the front of your RV.
8. Let the front of the cover drop over the front of your RV.
9. Spread the cover out over the top of your RV.
10. The sides will begin to fall into place naturally.
Ensure the sides fall down enough for you to reach them from the ground.
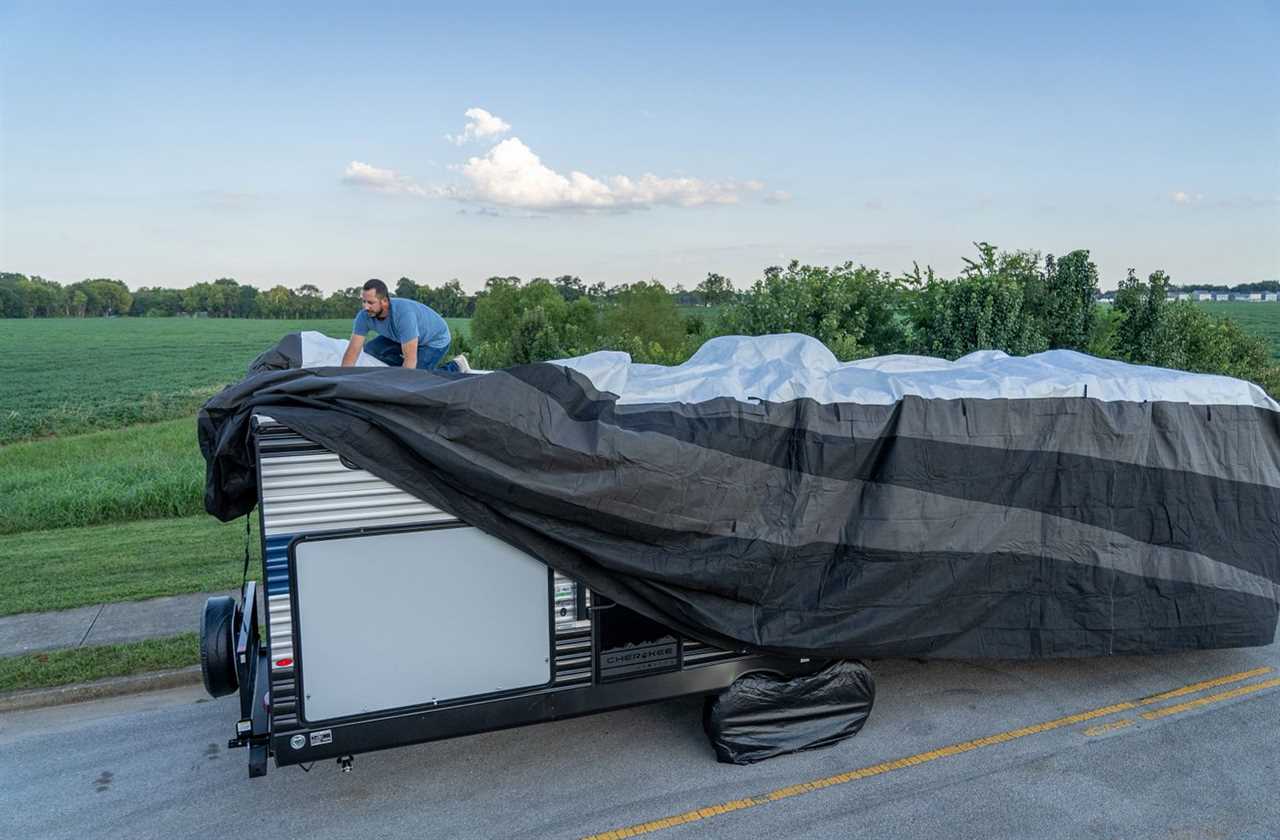
Photo by Camping World
11. Begin descending your RV ladder, installing the ladder cap along the way.
12. Pull the back of the cover down as you go.
13. Walk around your RV, straightening the cover so that it’s centered properly.
14. Secure the bottom corners AFTER you’re sure the cover is centered.
DO NOT make adjustments or pull the fabric after corners are secured, as it increases the risk of tearing the cover.
15. Connect the buckles and tighten the Slip-Seam straps running from the front to the rear of the cover.
Each cover should have two sets of straps on each side (top and bottom).
16. Connect the buckles and tighten the Slip-Seam straps on the front and rear of the cover (running from side to side).
Each cover should have two sets of straps on the front and back (top and bottom).
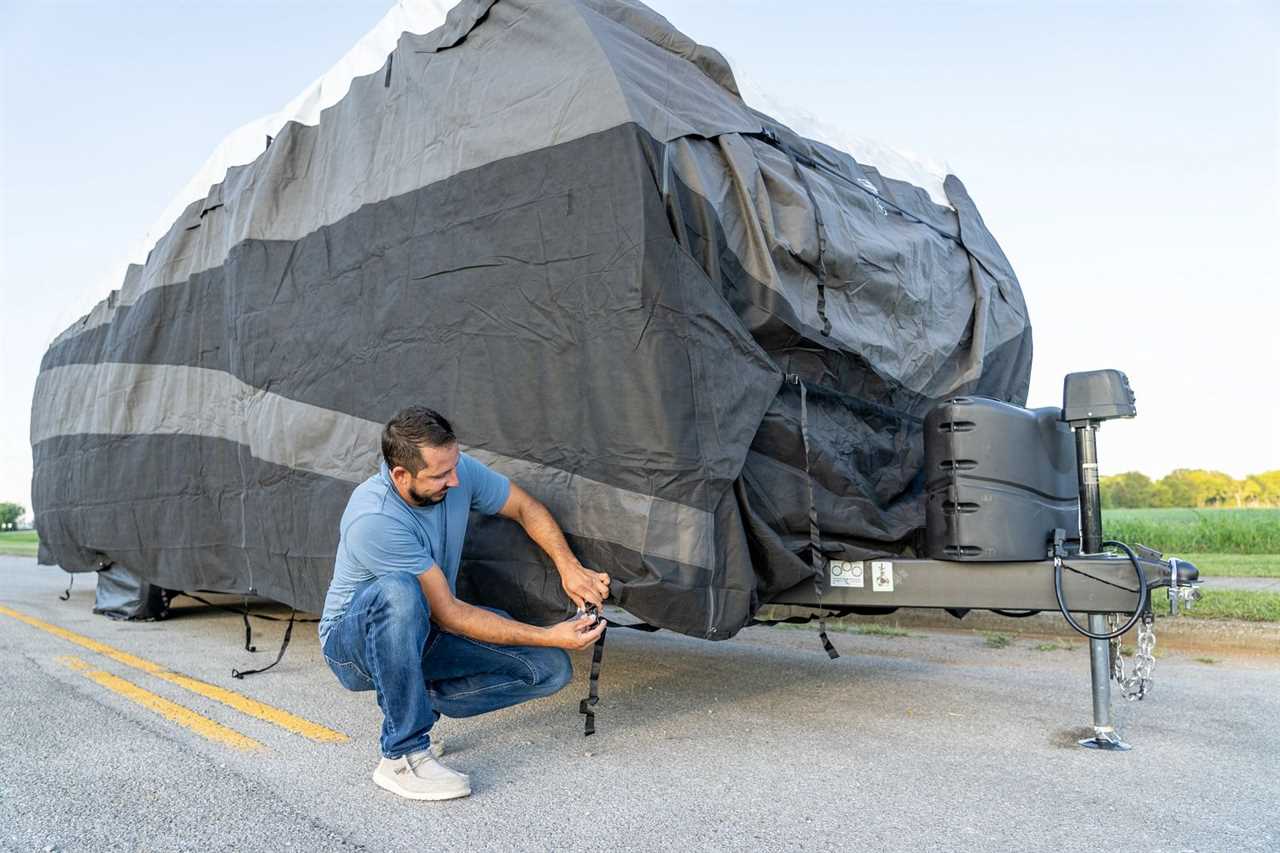
Photo by Camping World
17. Adjust the cinching straps and buckles at the front and rear of the cover.
18. Attach the “Weighted Toss-under” and throw the buckles under the RV to the other side.
19. Disconnect the weights and connect the front and rear buckles.
20. Tighten the straps to remove slack from the cover and ensure a snug fit.
Straps should be moderately tight. Avoid over-tightening.
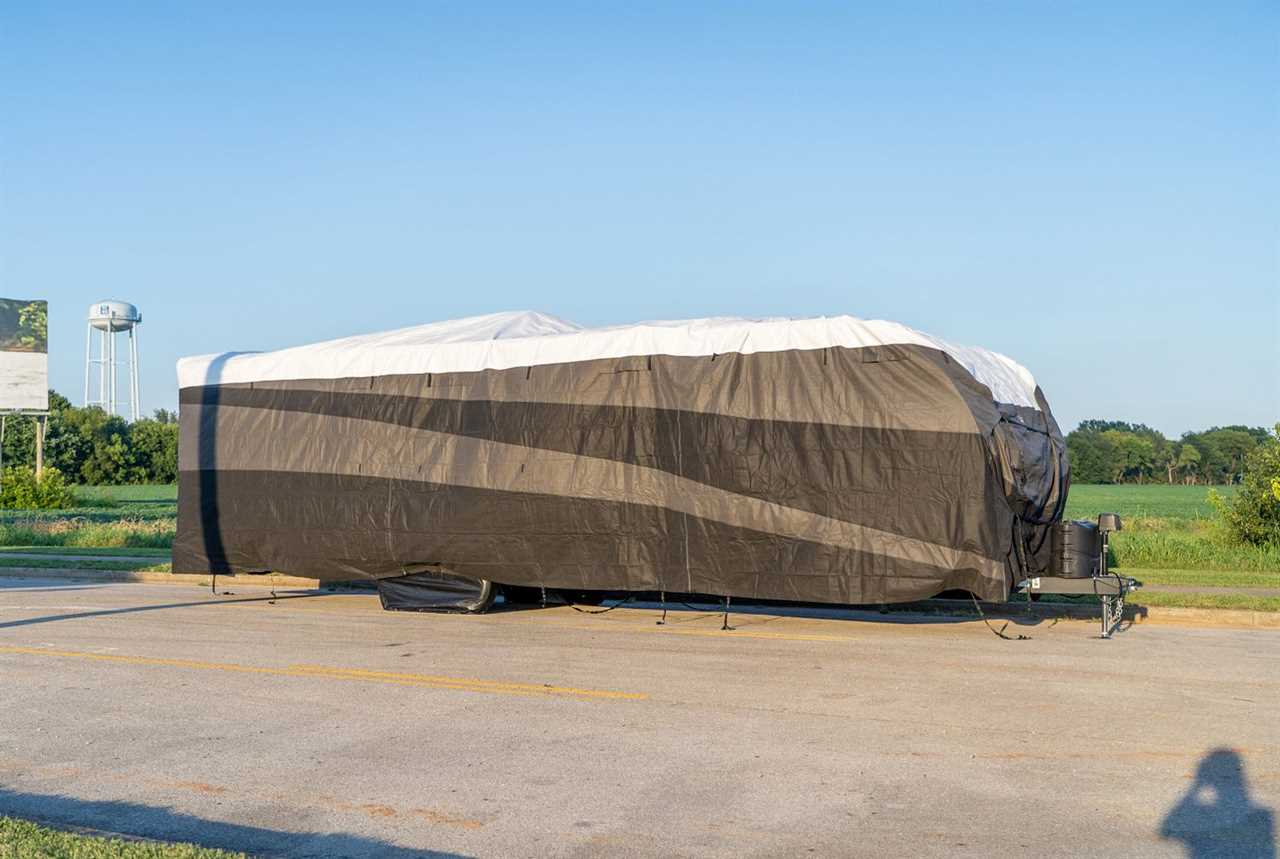
Photo by Camping World
Now that your ADCO RV cover is in place, set a reminder to check on it at least once a month. Cover straps can loosen with wind and require regular retightening throughout the storage season.
If you live in a place that experiences significant snowfall, make sure to clear your RV’s roof after each snow. Allowing too much snow to remain on the roof can damage your RV cover and the roof itself.
How to Remove an ADCO RV Cover
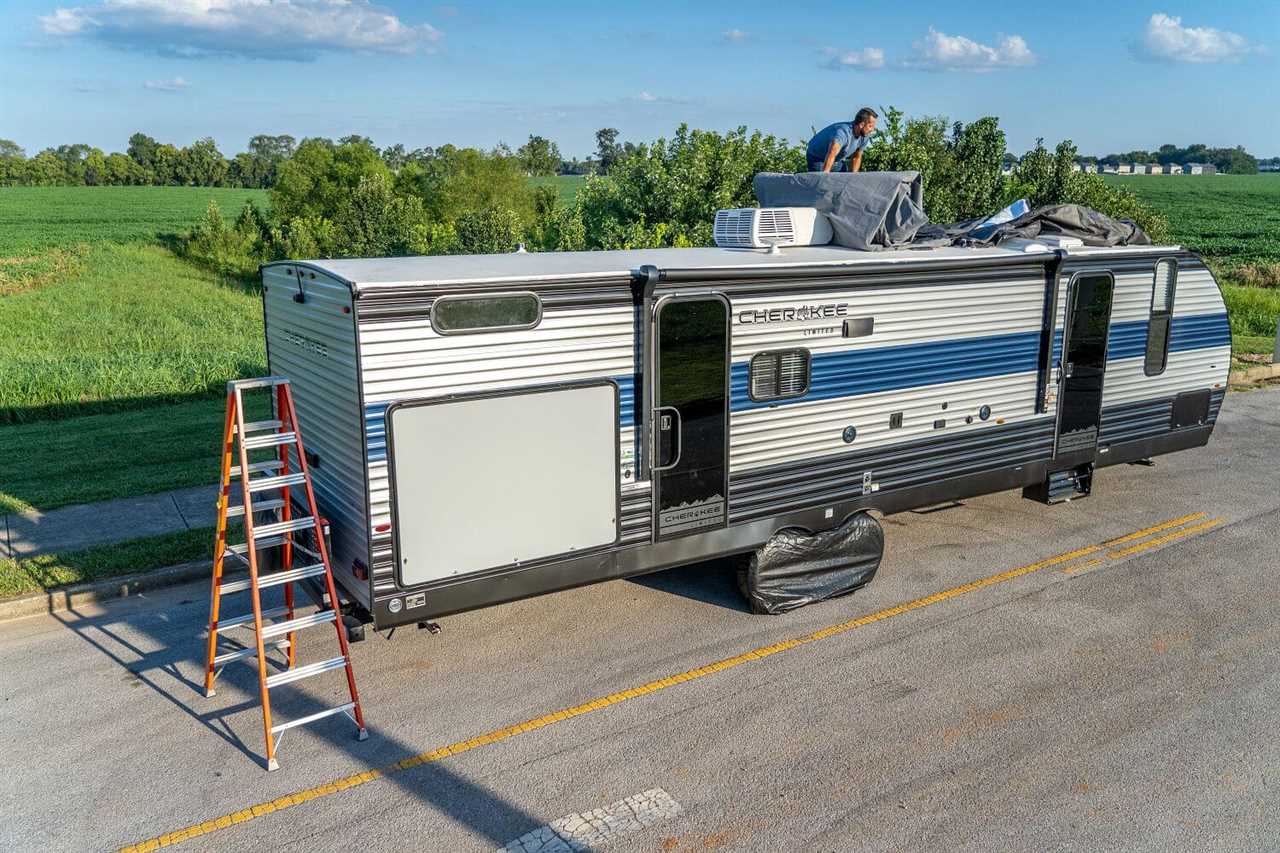
Photo by Camping World
In many ways, you’ll simply reverse the steps above. But here’s a quick breakdown to help you remove your ADCO cover when you’re ready for your next RV adventure:
1. Disconnect the straps and buckles underneath and on the front and back of your RV.
2. Pull the cover off the front and rear corners.
3. Ascend your RV ladder, pulling up the cover as you go.
4. Carefully walk on top of the cover to the front of the RV. Avoid areas not flat on your RV’s roof, such as AC units, roof vents, and satellite TV antennas.
5. Pull the front of the cover up onto the roof.
6. Pull each side of the cover onto the roof, turning inside out as you go.
You’ll be left with a strip of cover spanning the length of your RV roof.
7. Move to the rear of the roof and begin rolling the cover up from back to front.
8. Leave the cover’s FRONT tag exposed at the end of the roll.
9. Once rolled, you can fold it into thirds for more compact storage.
10. Drop your cover gently down to the ground over the front of your RV.
11. Store it inside a dedicated storage bag and/or in your RV underneath storage.
Removing your cover in this way ensures it’s ready for easy installation the next time you want to protect your RV. And storing it out of the elements protects it against unnecessary wear and tear so that it lasts for years to come.
Learning why RV covers are important is part of every new RVers ownership journey. And safely installing your RV cover is vital to maintaining your RV’s long-term health and resale value.
Do you have any additional tips for installing an ADCO RV cover? Please share them in the comments below!
By: Emily Causseaux
Title: How To Install A New ADCO RV Cover
Sourced From: blog.campingworld.com/rv-basics/how-to-install-a-new-adco-rv-cover/
Published Date: Mon, 19 Sep 2022 14:00:21 +0000
---------------------------------------------
 CampingSurvivalistHuntingFishingExploringHikingPrivacy PolicyTerms And Conditions
