Even experienced RVers utilize checklists when setting up and breaking down camp. There’s much to remember, especially when you’re new to RVing. While forgetting some tasks won’t hurt, others can cause major damage to your RV, the campsite, passengers, or unfortunate bystanders.
Using an RV setup checklist for the campsite makes the process safer and easier. Download this checklist so it’s at your fingertips when you need it. Better yet, print it and keep a physical copy in your RV.
Pro Tip: Divide these tasks between you and your travel partner. But then go back and double-check each other’s work. There’s much to remember when setting up and tearing down a campsite. Using a checklist and double-checking each other’s work is the best way to minimize the chances of forgetting something that damages your RV, tow vehicle, or toad/dinghy.
For our full list of RV tutorials, visit our Learn to RV page.
RV Setup Checklist for Setting Up a Campsite

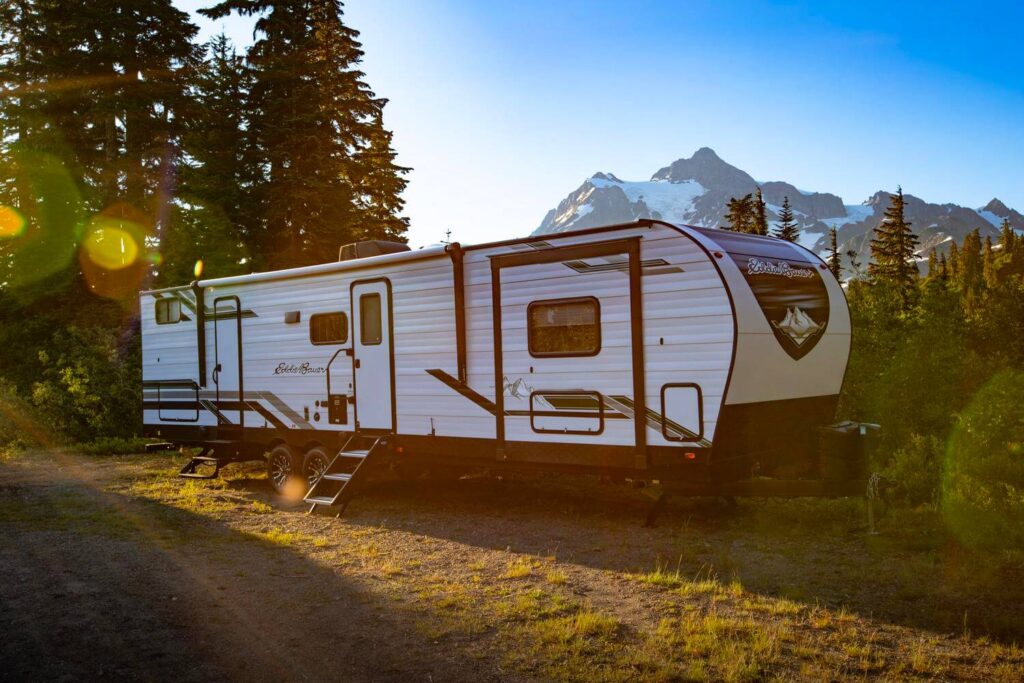
Photo by Camping World
This checklist begins once you’ve checked into your campground and located your site. Here’s everything you need to think about to get your RV ready for daily living:
- Scout your site. Assess the space to determine whether you can pull through or have to back in. Determine how you want to position your RV to make it easier to level and ensure clearance on all sides (above as well) for your entry steps, slide-outs, and awnings.
- Disconnect your toad or dinghy (Only motorhomes towing a second vehicle).
- Use a spotter to pull in. Even if your RV has a backup camera, your travel companion should know how to guide an RV, be willing to help, and be easily seen by the driver.
- Position your RV within reach of hookups. The lengths of your sewer hose, electrical cord, and potable water hose determine this distance.
- Install leveling blocks as needed. Use leveling blocks under your wheels to raise your RV and level it from side-to-side (for towable RVs) or side-to-side and front-to-back (for motorhomes).
- Chock the wheels. Set these in place to ensure your RV doesn’t shift.
- Disconnect your tow vehicle (Towable RVs only). Remove the electrical connection, breakaway cable, safety chains, and any weight distribution hitch components before using the tongue jack to lift your trailer off your vehicle’s hitch ball.
- Pull your tow vehicle away (Towable RVs only). Allow yourself space to easily unload items from your tow vehicle’s trunk.
- Raise or lower the tongue jack or landing legs to level the unit (Towable RVs only). Use a bubble level to check your work from front to back and side to side.
- Extend stabilizing jacks. Place jack pads or 2”x4” wooden blocks beneath and extend jacks until they make contact. DO NOT OVEREXTEND! Stabilizing jacks are meant for stabilizing your RV, not for lifting it. View our full tutorial on leveling and stabilizing your RV.
- Connect a surge protector and your electrical cord to shore power. Use the appropriate surge protector, electrical cord, and/or adapter for your RV’s electrical system. Check that the breaker on the power pedestal is turned on for your 30 or 50-amp outlet.
- Attach a potable drinking water hose, water pressure regulator, and water filter. Attach the pressure regulator to the water source. Attach the inline water filter to the regulator. Attach one end of your potable water hose to the filter and the other to your RV’s city water inlet. Skip the filter step if your RV has an onboard filtration system. You may consider using a 90° elbow to reduce strain on the hose’s connection to your city water inlet.
- Connect the sewer hose to the sewer drain outlet. Place the downstream end in the sewer drain outlet before attaching the bayonet fitting on the other end to your RV’s sewer outlet. Place a sewer hose support below your hose to create a slope from the RV to the drain outlet.
- Lower your entry steps. Adjust them to ensure safe entry and exit (if applicable). You may need wooden blocks to support your steps if they don’t come with adjustable legs.
- Turn on your refrigerator and switch it to AC power. Ensure your refrigerator is powered on and set to run on 120-volt AC power.
- Turn on your propane supply. Open the container valve(s) and set the position of your LP regulator.
- Unlock and extend slide-outs. Remove any slide-out locks or brace bars before fully extending your slide-outs.
- Turn on your water heater to fill the tank. Turn it off after 2-3 minutes until hot water is needed. Verify tank is full again before operating.
- Return all stowed items to their proper positions.
- Set up kitchen and interior.
- Set up the exterior.
Setting up the Inside of Your RV

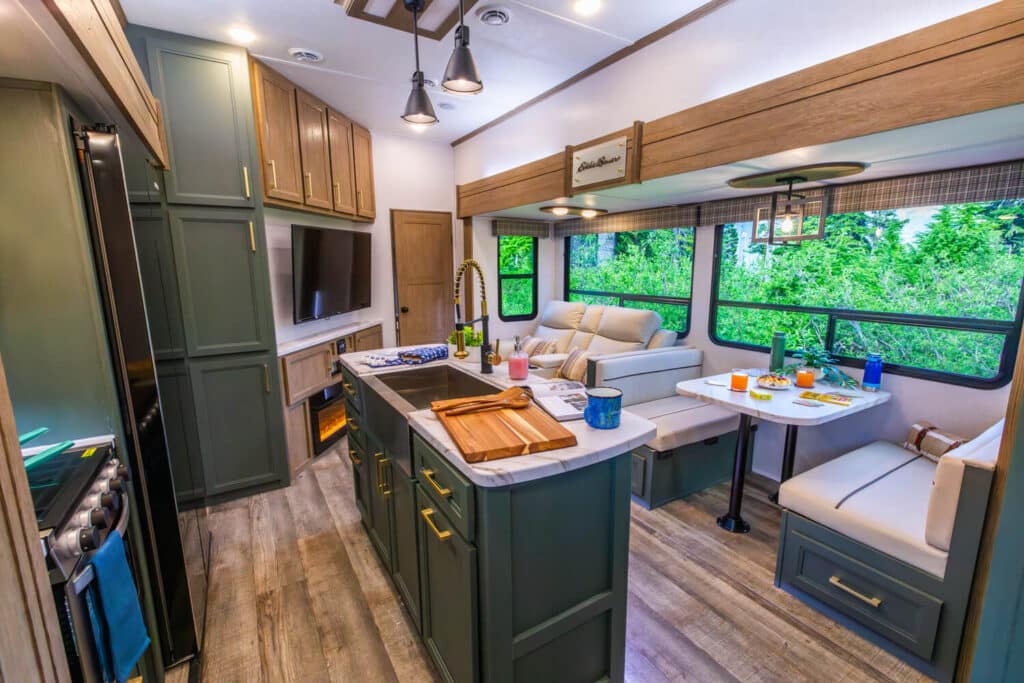
Photo by Camping World
Every floorplan is unique, meaning your exact process will differ depending on your RV’s make and model. Here’s a list of all the considerations you might account for when setting up your RV’s interior:
- Open the blinds.
- Plug in the electric kettle and/or coffee maker.
- Set out dish soap and sponge(s).
- Place shower essentials back in the shower from their stored locations.
- Raise the TV antenna. (Only applicable to RVs with a manual antenna).
- Turn on the TV and run a channel scan. Check that your signal booster is turned on if applicable.
- Place bedding/linens on any convertible sleeping areas you’ll use.
Setting up the Outside of Your RV

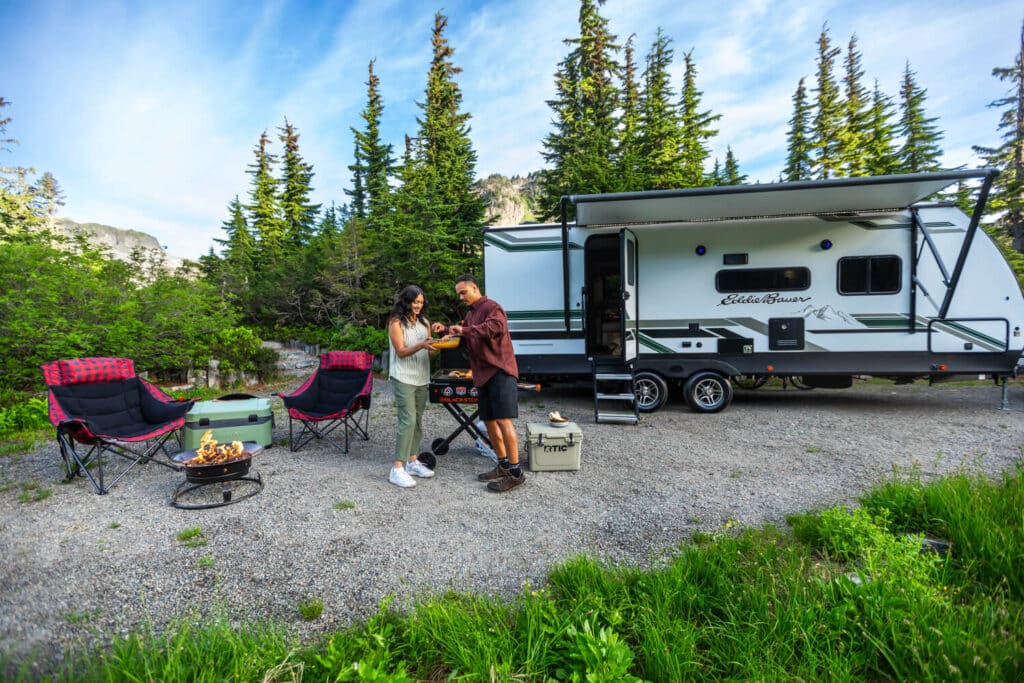
Photo by Camping World
Some may not apply to your setup, but here’s a comprehensive list of everything you might set up for your RV’s outdoor living area:
- Secure your patio mat.
- Set up camping chairs.
- String up patio lights.
- Unfold your camp table.
- Extend RV awning(s) as desired.
- Find a spot for your portable firepit (if applicable).
- Set up your outdoor grill or griddle.
- Return stowed items in your outdoor kitchen to their proper position (if applicable).
- Turn on your exterior TV and run a channel scan (if applicable).
RV Teardown Checklist

Photo by Camping World
Use this checklist to ensure you’re ready to head home or explore your next destination:
- Stow items in your outdoor kitchen.
- Stow all outdoor camp gear (chairs, patio mats, griddles, outdoor games, patio lights, etc.)
- Retract RV awnings.
- Lower TV antenna (if applicable).
- Stow all interior appliances that can shift during travel.
- Turn off all interior and exterior electronics and lights.
- Close the blinds/curtains.
- Turn off your water heater.
- Retract and secure slide-outs.
- Drain holding tanks and stow sewer hose and hose support.
- Turn off the propane supply.
- Turn off the refrigerator.
- Turn off city water and store the water hose, regulator, and filter. Take the time to blow any remaining water out of the hose and filter before stowing.
- Disconnect the surge protector, electrical cord, and any electrical adapters and stow away.
- Check to ensure all rooftop accessories are in the stowed position.
- Retract stabilizing jacks and entry step(s).
- Raise the tongue jack to prep for connecting your tow vehicle (Towable RVs only).
- Connect tow vehicle and weight distribution hitch (Towable RVs only).
- Remove wheel chocks and stow.
- Check tire pressures and condition.
- Pull forward off leveling blocks.
- Collect and store leveling blocks.
- Lock all compartment doors.
- Use a spotter to guide you out of your campsite.
- Connect your toad or dinghy (Motorhomes only).
- Conduct a final walkaround.
- Verify you have all camping partners. Don’t leave your furry companions either!
- Stop and re-check all hitch connections after moving a short distance.
Are there items on your RV setup or teardown checklist that we didn’t include? Share them in the comments below.
The post A Comprehensive RV Setup Checklist for Your Campsite appeared first on Camping World Blog.
By: Tucker Ballister
Title: A Comprehensive RV Setup Checklist for Your Campsite
Sourced From: blog.campingworld.com/learn-to-rv/rv-setup-checklist/
Published Date: Mon, 28 Aug 2023 08:00:00 +0000
---------------------------------------------
 CampingSurvivalistHuntingFishingExploringHikingPrivacy PolicyTerms And Conditions
