Spam is something of a guilty pleasure and a prepping standby in equal measure. Long derided by those who don’t know better as mystery meat, Spam actually has a surprisingly clean ingredients list.
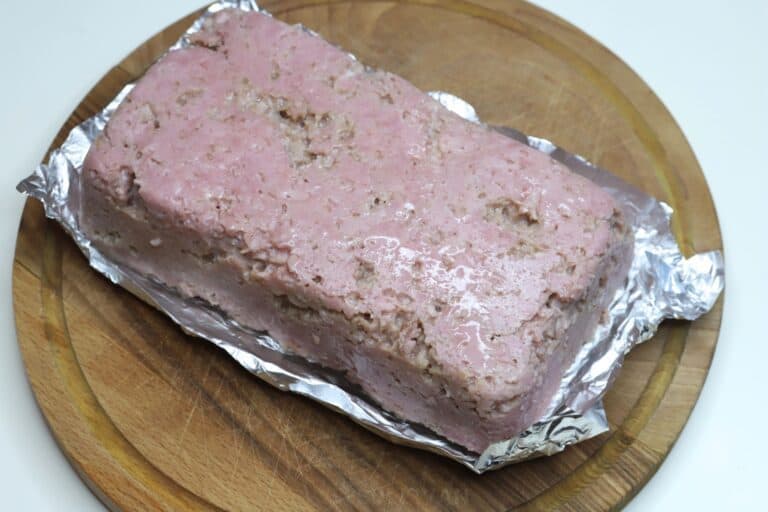
It’s also incredibly tasty, and the fact that it is one of the cheapest and longest-lasting kinds of canned protein has made it the darling of everyone who wants to be ready for tough times.
I find myself eating Spam pretty regularly, and then it occurred to me that maybe I should try to make it myself. Maybe I can make it even better than the canned stuff! I’m happy to report that not only is it possible but it is also absolutely delicious, and I’m sure you’ll love it too.
If you’re in the mood for Spam and want to try a superior homemade version, keep reading to get an awesome recipe.
Does This Recipe Really Taste Like Spam?
Yes, it really does! In fact, you’ll probably be pretty surprised by both the appearance and the taste when it is finished. It looks almost identical, in every regard, to the stuff you pull out of the can.
And I don’t blame you for being skeptical: I tried a bunch of homemade Spam recipes that are really nothing more than pork burgers at the end of the day: They just don’t have that salty, cured deliciousness that I want out of Spam. This recipe, though, delivers!
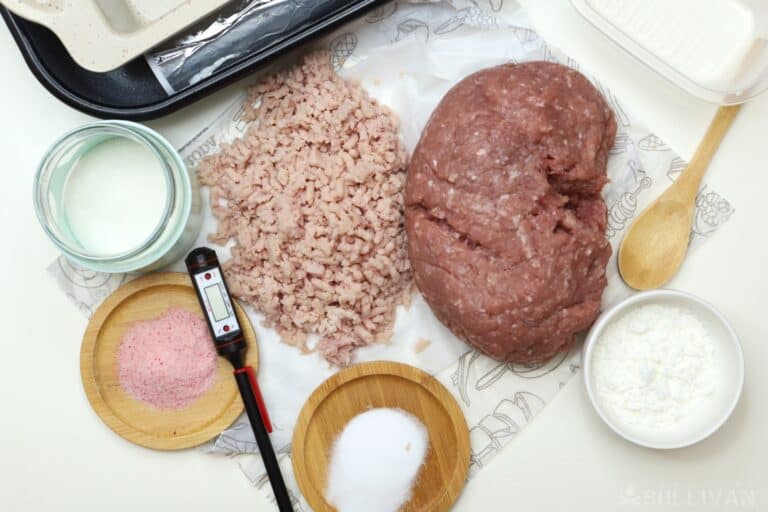
quick overview of the ingredients: two types of meat, meat thermometer, sugar, meat cure, and more
Ingredients, Tools, Supplies
You don’t need much to make this recipe aside from the ingredients, and chances are good you’ve got almost all the tools and supplies in your kitchen at this moment- with the exception of a meat grinder for some of us
Mixing Bowl, Large: you need a large mixing bowl to mix your pork together along with the curing ingredients and seasonings.
Mixing Bowl, Small: a small mixing bowl will allow you to blend all of your curing ingredients and seasonings together prior to forming the loaves of Spam.
Meat Grinder (Optional): if you have a meat grinder yourself, now is the time to break it out. A fine grinding plate is ideal for making your pork bits small enough for easy blending and correct texture. If you don’t have a meat grinder, just ask the meat department at the grocery store or your local butcher to grind the pork super fine.
Loaf Pans, x2: a pair of 9×5 loaf pans are the perfect size for forming convenient portions, and also because they work well with the weight we will need to press them with after baking. You can use any kind you want.
Large Baking Dish: a large baking dish that will hold both of your loaf pans at once. Choose one that’s as deep as the loaf pans if you have it, but at a minimum, your baking dish must be able to hold water that will come at least a third of the way up the loaf pans above without overflowing or being dangerous to handle.
Aluminum Foil: used to cover the loaf pans for baking and pressing.
Heavy Pans or Bricks: you need a pair of heavy pans or, lacking that, bricks that will fit on top of your loaf pans to further press the pork mixture into shape after baking. Make sure it will actually sit on the pork and not rest on the rims of the loaf pans.
Meat Thermometer: a meat thermometer is absolutely vital for this recipe. You’ll need to check each loaf to ensure that it has reached an internal temperature of 155° Fahrenheit. Now is not the time to guess or go by time alone.
Refrigerator: you’ll need to chill the loaves of Spam after baking to finish them, and refrigeration is also required to preserve them.
Knife: any knife you want can be used to slice your loaves for serving and preparation.
Cutting Board: likewise, any common cutting board will work just fine here.
Ham: any good deli or dinner-style ham is what you need for this recipe in addition to the pork shoulder below.
You need one part of ham for every five parts of pork shoulder, so if you’re only making about a pound of homemade Spam to try, you’ll need a little less than a quarter of a pound of ham. Remember to get it ground before you bring it home if you don’t have a meat grinder.
Pork Shoulder: any kind of pork shoulder you prefer works wonderfully for this recipe, just make sure it is ground extra fine. You’ll need five parts of pork shoulder to every one part of ham, meaning you’ll need one whole pound of pork shoulder to yield a little more than a pound of homemade Spam.
Sugar: sugar will improve the flavor and also help with the preservation of our Spam. You need one tablespoon for every net pound of meat, so about a tablespoon is all you need for this recipe as directed.
Kosher Salt: Spam isn’t Spam unless it’s salty, and we need kosher salt to give us that flavor we crave and also help keep the Spam fresh. You need one teaspoon for every net pound of meat, so again call it one level teaspoon for this recipe
Cornstarch: just cornstarch, nothing special. Used for thickening and texture. Once more you’ll need one tablespoon for every net pound of meat, or a little less. For this recipe, we will need one level tablespoon.
Meat Cure: Spam is a cured meat, and accordingly, we’re going to cure our homemade variety. You’ll need 2 ¼ tablespoons for every pound of meat total.
Water: for blending your seasonings and cure solution, and for making a water bath for baking.
And that’s it for the ingredients and supplies. I can’t wait for you to try this stuff, so let’s move on to the instructions.
Making Your Own Spam at Home, Step by Step
Step 1: Grind meat, if needed. If you didn’t bring home ground pork, set up your meat grinder with a fine plate and grind away. You’ll get better results if you chill the plate in the freezer for about half an hour before grinding. Once you’ve ground the pork shoulder and the ham, move on.
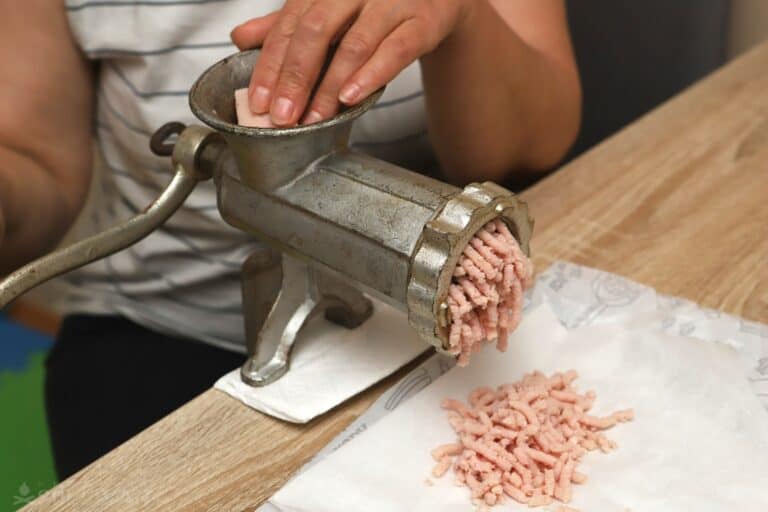
grinding pork with a manual grinder
Step 2: Mix curing ingredients. In the small mixing bowl, combine the tender quick meat cure, cornstarch, sugar, salt, and a third cup of water. Stir briskly until everything is completely dissolved…
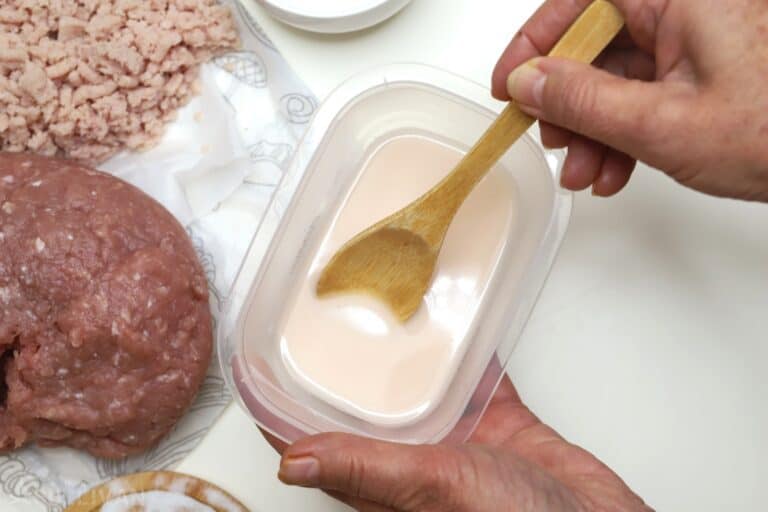
Step 3: Mix meat, add cure. In the larger mixing bowl, add the ham and pork shoulder, mixing them thoroughly with your hands until roughly combined. To the mixture, pour the curing solution and seasoning,s and mix it again so everything is uniform.
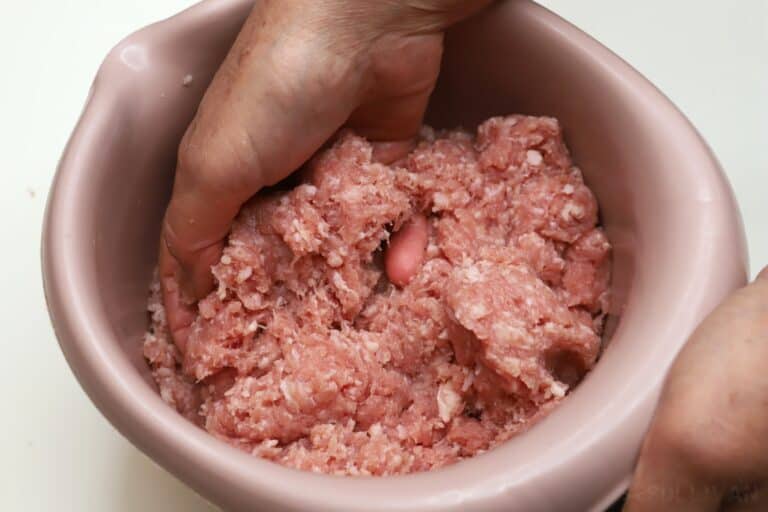
Step 4: Press mixture into loaf pans. Take the meat from the bowl and pack it into the loaf pan. Work carefully to avoid leaving recesses and air bubbles. You want uniform thickness and density throughout.
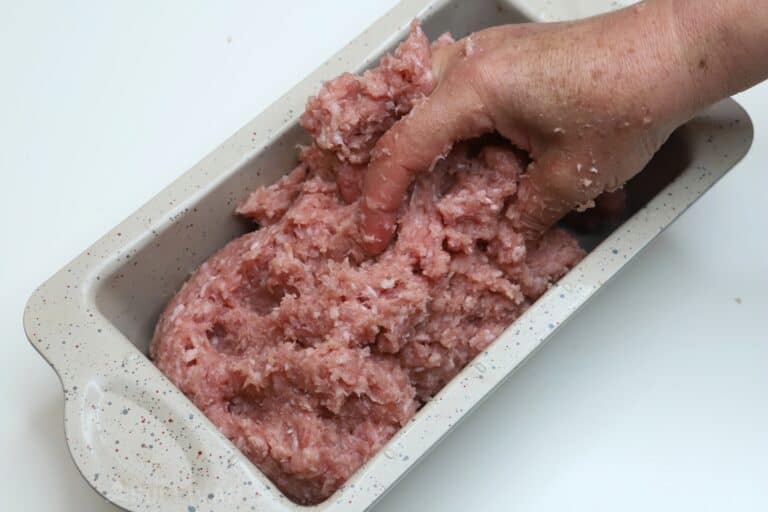
Step 5: Press meat tightly. Spend a few extra minutes packing the meat into the pan as tightly as you can.
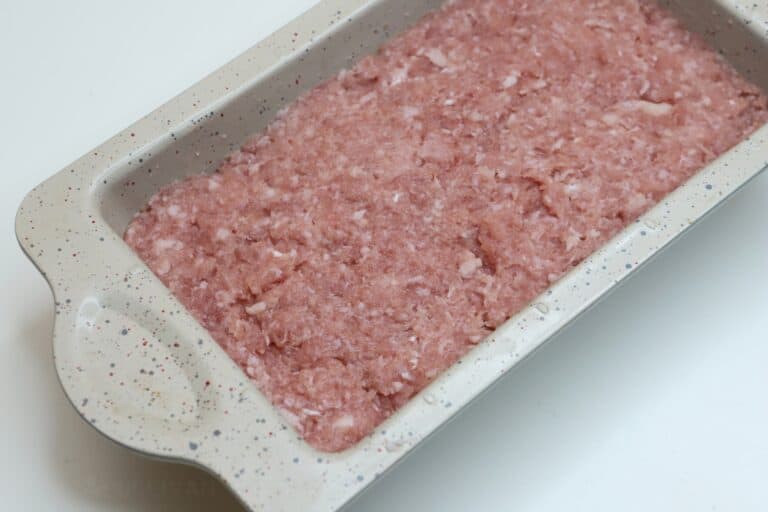
Step 6: Cover pan with aluminum foil. Cover the loaf pan tightly with aluminum foil, making sure that there are no gaps around the edges.
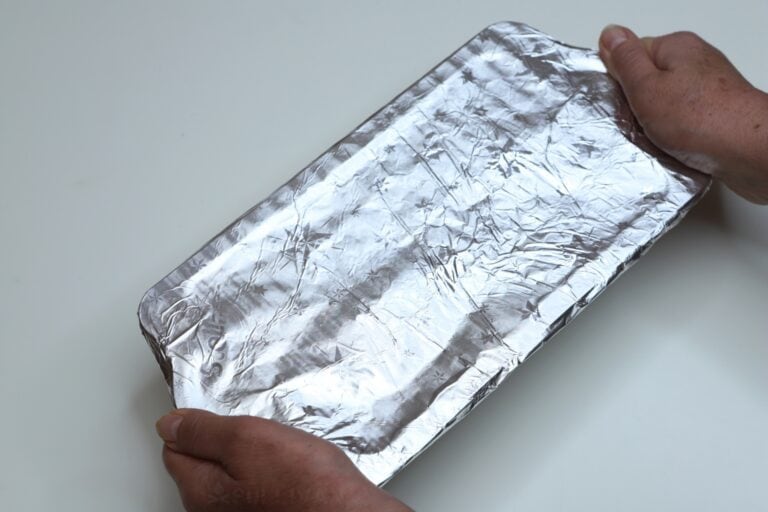
Step 7: Fill baking dish with water, preheat oven. Preheat your oven to 250°F (120°C). Add enough water to your baking dish so that it’ll come at least a third of the way up over the loaf pan. Account for displacement and avoid overflows. This can be a danger point when removing it from the oven later!
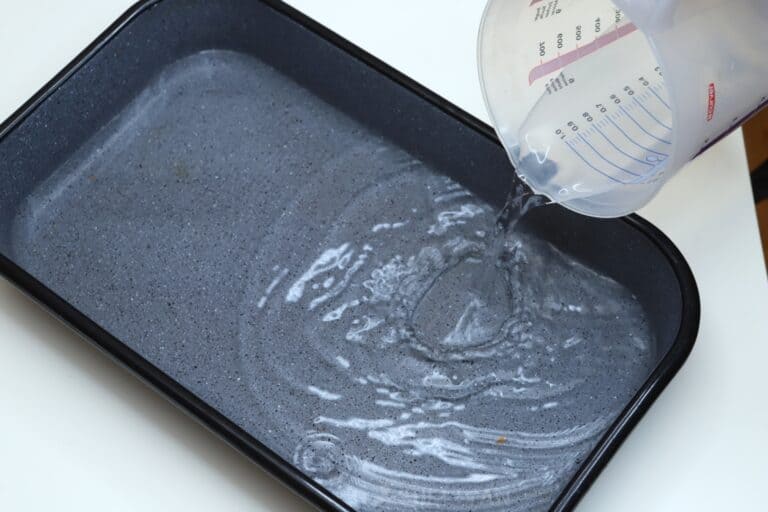
Step 8: Load loaf pan into baking dish, bake. Place the pan into the water bath in the baking dish, then load the whole thing into your oven.
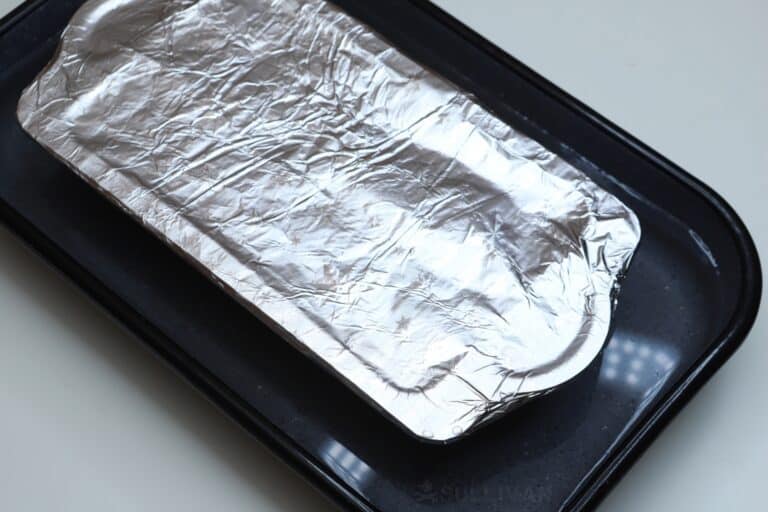
Step 9: Set timer and check temp later. Set your timer for about 3 hours to begin with. At the end of 3 hours, carefully pull back the foil and insert your meat thermometer into the center of the loaf. You’re looking for a target temperature of 155°F (68°C).
If it’s not there yet, reseal the loaf pan with the foil and give it another 30 minutes, checking again and repeating until it reaches the required internal temperature.
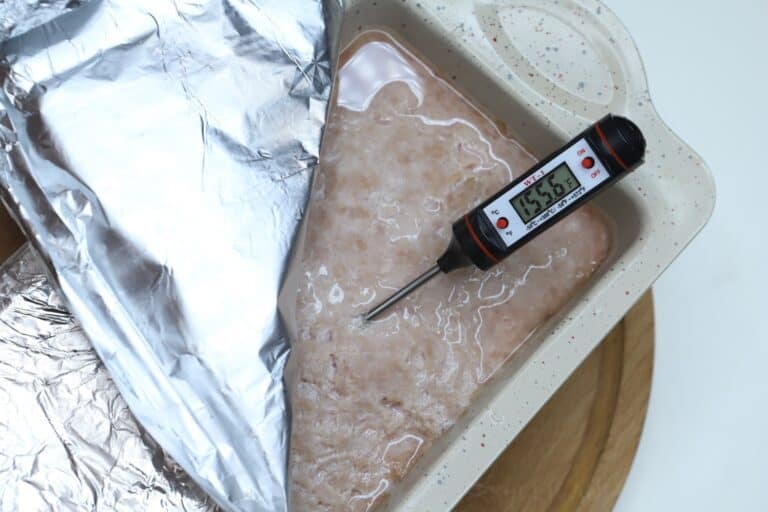
Step 10: Remove pan from oven, press. Once the loaf of spam has reached an internal temperature of 155°F (68°C), carefully take it out of the oven and place it on a trivet, stovetop, or cutting board to protect your counter.
Place your heavy pan or brick on top of the loaf pan in direct contact with the still foil-covered Spam:
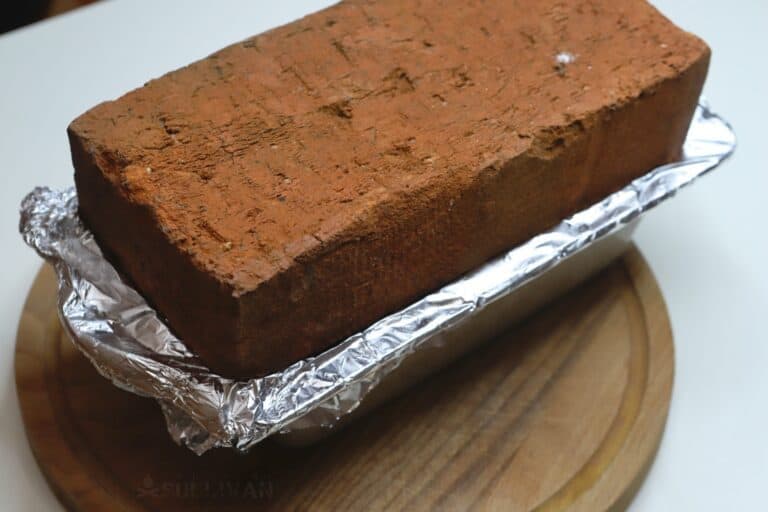
As you can see above, I laid a brick on mine. This is NOT the Spam, by the way, I haven’t removed the foil yet!
Step 11: When fully cooled, chill overnight. Leave the loaf pan covered and pressed to completely cool undisturbed. Once it’s totally cool, leave the pan and the brick on top, put it in the refrigerator, and chill it overnight.
Step 12: Slice and enjoy or store. The next day your Spam is ready. Remove the weights from the top and then slice to eat or fry as normal, or prepare it any other way you like.
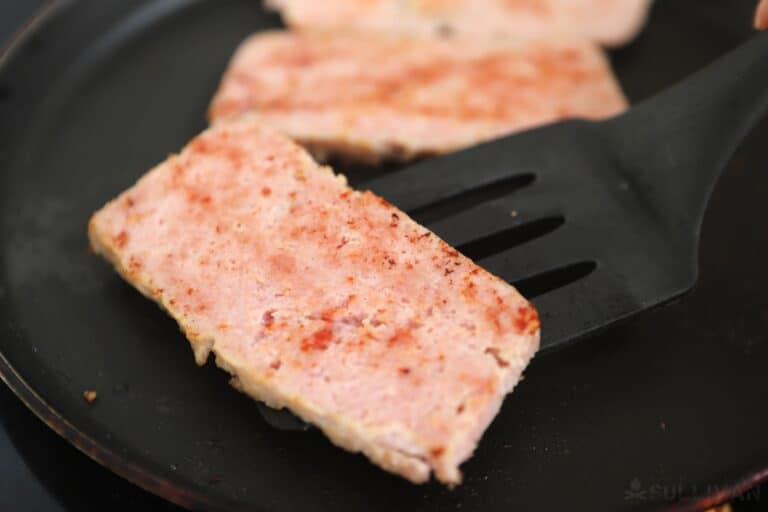
If you want to store your Spam, it will keep for about a week or a little longer in the fridge or last for a few months in the freezer.
And you’re all done! I told you this was the best Spam you were ever going to try, and although it won’t last as long in storage as the genuine article we bring home from the grocery store this is still a delicious, clean, and easy recipe that your family will love. It’s also a good way to keep your Spam stash intact for a rainy day!

The post The Homemade Spam Recipe You Need to Try appeared first on Survival Sullivan.
https://www.survivalsullivan.com/homemade-spam-recipe/
 CampingSurvivalistHuntingFishingExploringHikingPrivacy PolicyTerms And Conditions
