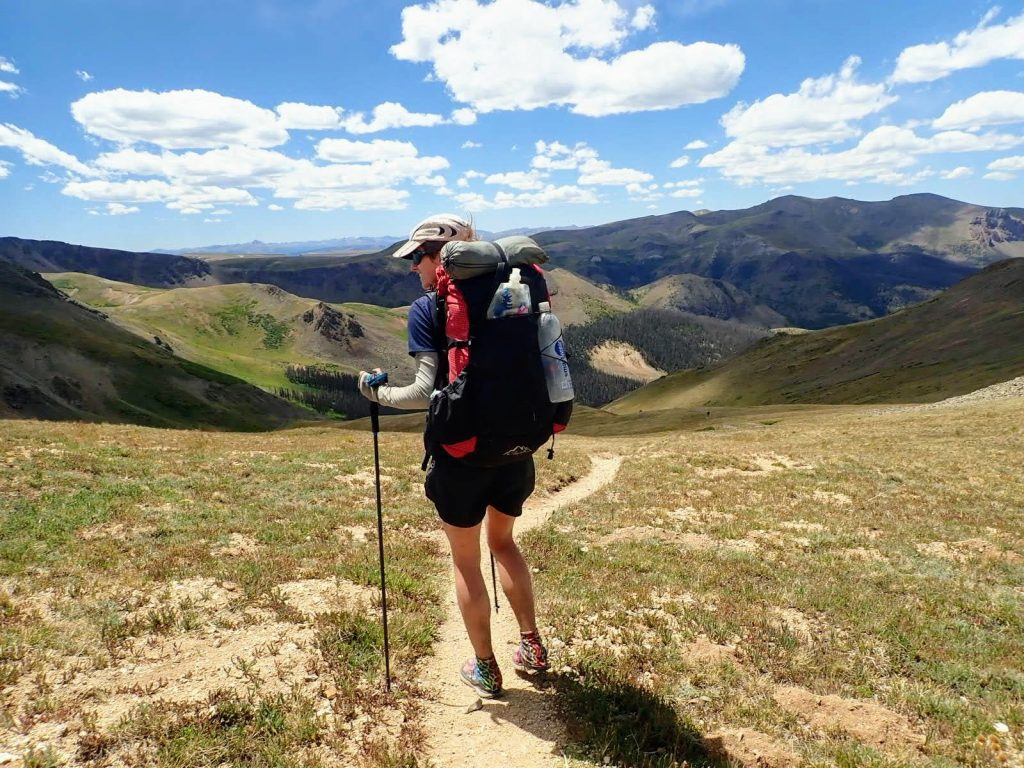
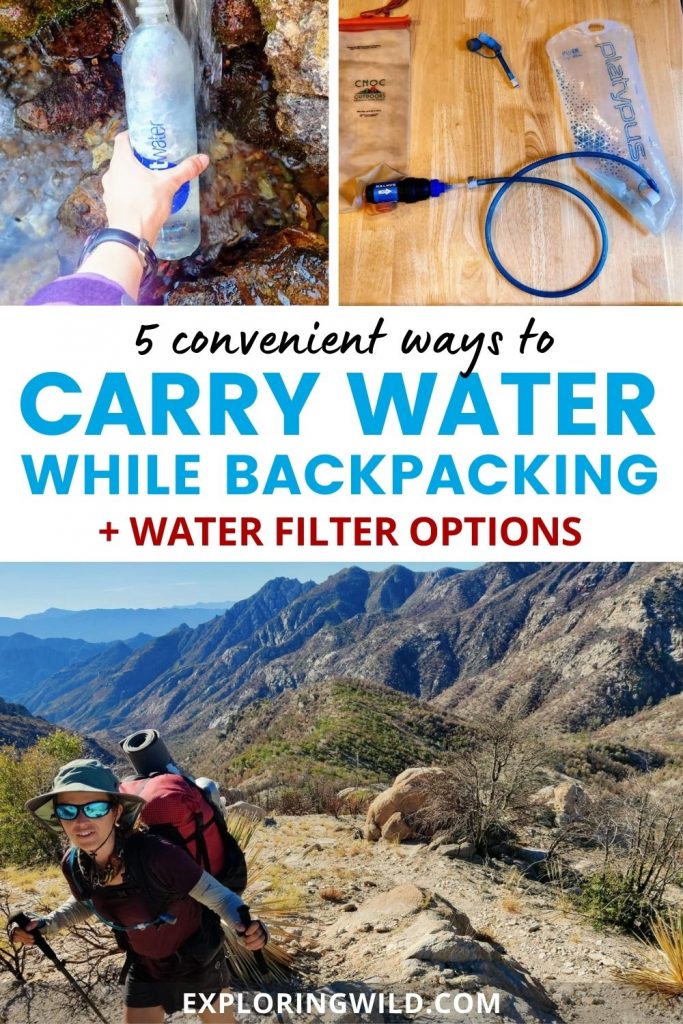
Trails have a beautiful way of taking us deep into remote places, far from the hustle and bustle of daily life. And also far from water faucets and drinking fountains. As backpackers we need to carry water between natural sources for drinking and cooking, ideally in the lightest and most convenient way possible.
You probably already have some bottles sitting around that can transport water from here to there, but if you want to backpack efficiently you’ll need something a bit more refined. The best water carrying systems for backpacking are light, durable, easy to monitor and refill, and seamlessly compatible with your water treatment method of choice. Fortunately, we backpackers have a bunch of water-carrying tricks up our dusty sleeves to meet all these needs.
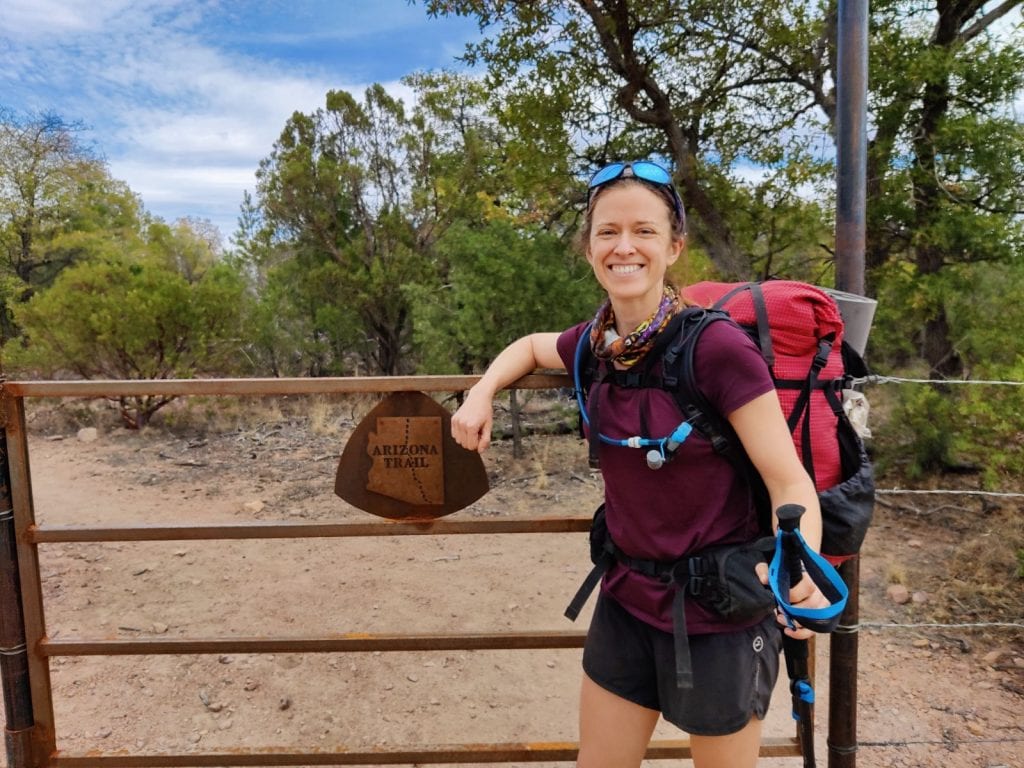
I’ve tried many ways of carrying water in my thousands of backpacking miles on the Arizona Trail, John Muir Trail, and many others. I know from experience that some systems are more convenient and frustration-free than others. In this article I’ll cover the most popular bladders and bottles, their pros and cons, and how to combine them into seamless system that supports your backpacking goals.
When you buy through affiliate links in this post, I may earn a small commission. Thanks for your support! I always offer unbiased opinions based on real experience from the road and trail. Learn more.
The Perfect Backpacking Hydration System
Carrying water for backpacking is a bit more complicated than carrying water for day hiking. As backpackers on multiday trips we need more than just a water container — we need an entire water system that makes it easy to drink, carry, refill, treat, and use our water at camp. We need a system with these characteristics:
- Easy to sip from while walking
- Easy to refill without emptying pack
- Compatible with filter or treatment method of choice
- Enough capacity to carry water to a dry camp if needed
- Convenient container(s) for cooking and drinking at camp
- As lightweight as possible
- Multiple containers in case one fails
Is it possible to meet all these requirements at once? Yes, and that’s what the rest of this article is all about.
Water Capacity
How much water should you carry for backpacking? The answer depends on how often you’ll find water along your route, whether you’ll be camping near water, and how hot the weather will be.
Water is the heaviest thing we carry at 2.2 pounds per liter, so most backpackers try to avoid carrying more than we need. But running out of water can be dangerous, so it’s essential to carry enough to reach the next reliable source. Research water sources on your route using trip reports on AllTrails, info sharing groups on Facebook, comments in online forums or trail descriptions, or a Guthook / FarOut guide if one exists.
It helps to break your backpacking water needs down into two parts: water for hiking and water for camping.
Water for Hiking
These are rough guidelines. Where you fall within this range has to do with your personal metabolic needs and how hot the weather is.
- 1 to 2 liters: water-rich areas with a source every hour or two
- 2 to 3 liters: water sources every few hours
- 3 to 4 liters: water source roughly once a day, or unpredictable sources in hot weather
- 4+ liters: hot weather and limited sources
Water for Camping
Backpackers need water at camp for drinking, cooking, and personal hygiene. Ideally you’ll be camped near a water source and won’t have to worry about carrying any of your overnight water.
Sometimes it’s necessary to dry camp away from any water sources, in which case you’ll have to carry all your camp water from the last source of the day. The right amount depends on your personal routine:
- Drinking: 0.5 to 1 liter, or more if it’s hot and you need to rehydrate
- Cooking: Depends on your menu, but dehydrated meals need about 0.25 to 0.5 liters per serving and a small cup of coffee or tea is 0.25 liters.
- Hygiene: a quick splash of critical areas uses 0.25 liters or less
Adding this up, a typical backpacker uses between 1.75 – 2.75 liters of water at camp. I usually budget about 2 liters if dry camping because more is a pain to carry. I conserve my camping water by skipping a hot drink in the evening and perhaps eating a no-cook breakfast like a protein bar in the morning.
Tip: If dry camping or dealing with sparse water sources, drink your fill at every source. Water in your body is easier to carry than water in your pack, so never leave a water source thirsty.
Combined Water Capacity
Putting this all together, most backpackers are carrying between 2 to 4 liters of water after each refill. Some may carry less in water-rich areas, and some may need to carry more on hot or dry trails.
As you read below about the various ways to carry water while backpacking, consider that you’ll probably need more than one container. Many backpackers have a primary container or two, like bottles or a hydration bladder, and also some extra capacity for the occasional long stretch or dry camp. It often makes sense to use more than one of the water carrying methods below for versatility, convenience, and redundancy.
Don’t forget that your water filter “dirty bag,” if watertight, may be able to double as extra capacity in a pinch.
On most of the Colorado Trail I only carried 2 liters at a time, but these two empty bottles gave me the flexibility to carry more on drier sections.
Bottles
Let’s start with the obvious: carry water in water bottles. It’s popular because it works, and you can grab any bottle you already have in your house and go backpacking with it. For a more dialed-in setup, experienced backpackers have a few tricks and favorites.
Pros of carrying water in bottles:
- Easy to monitor how much is left
- Easy to refill without unloading pack
- Convenient for cooking, washing, and drinking at camp
- Plastic-free options exist
Cons of carrying water in bottles:
- Can be hard to reach and drink from while hiking
- Weight is not always balanced or near center of gravity
- Several may be needed for enough capacity (unless in water-rich area)
Other pros and cons depend on the type of water bottle you choose. Here are some popular options.
Types of Bottles
Hard-sided Nalgene bottles: The classic wide-mouth 32oz Tritan Nalgene, and the lighter HDPE Nalgene, aren’t the lightest way to carry water while backpacking, but they are durable and work especially well for certain use cases.
- Pros: durable, can hold boiling water (great for warmth when winter camping), double as “foam roller” for campsite stretching sessions, wide mouth is easy to fill from natural sources (good for using chemical or UV treatment instead of filter)
- Cons: heavy, not compatible with most hands-free filter setups (a couple obscure adapters do exist), takes up space even when empty, wide shape doesn’t fit in all pack pockets
- Especially great for: winter backpacking
- Best filter compatibility: chemical treatment, UV
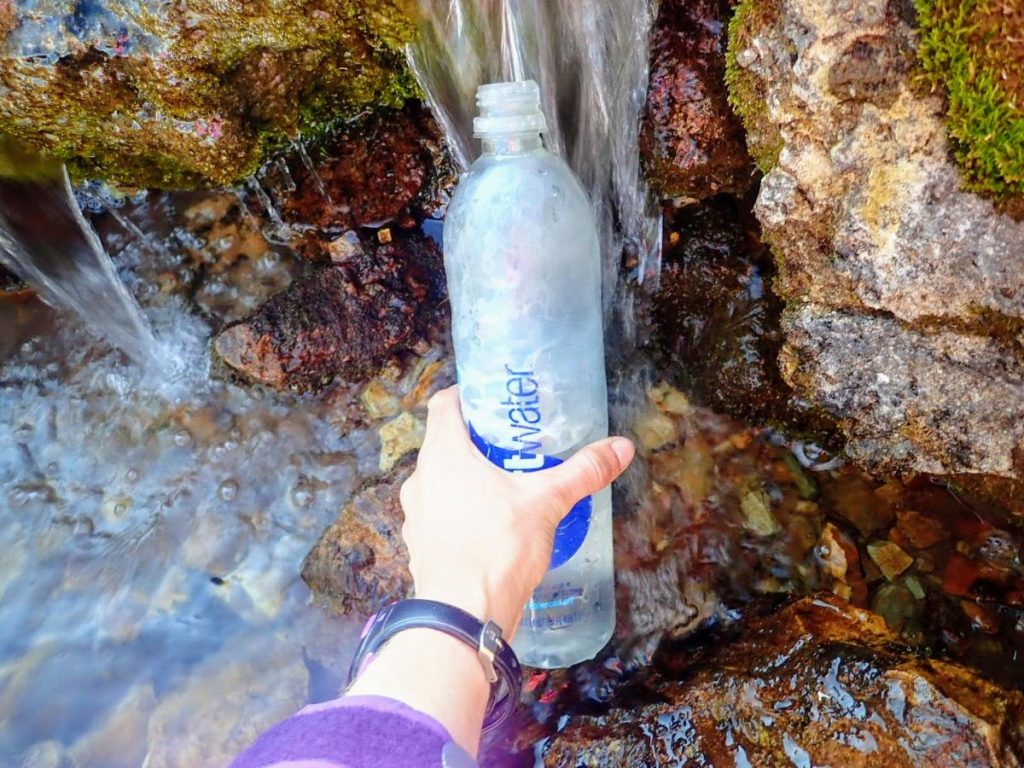
Smartwater bottles: This simple disposable bottle is a favorite among long-distance thru hikers for its light weight, streamlined shape, semi-squeezable design, and easy filter compatibility. Buy one for a couple bucks from the grocery store or gas station and use it for hundreds or thousands of miles.
- Pros: very light, cheap, widely available, compatible with hands-free filter systems (Sawyer), tall smooth shape slides easily in and out of pack pockets, somewhat squeezable for backflushing filters
- Cons: less durable, disposable plastic so less environmentally friendly (though most backpackers reuse each bottle for a long time), takes up space even when empty
- Especially great for: ultralight backpacking
Tip: When filtering into a Smartwater bottle, either squeeze some air out before attaching the filter or screw on the coupler ring loosely so air can exit the bottle. This prevents a pressure buildup inside that will eventually stop inward flow from the filter.
Flexible soft bottles: Flexible bottles like the Platypus SoftBottle and Hydrapak Stow weigh very little and take up almost no space when empty, making them perfect as extra water capacity for dry camps and long carries.
- Pros: light, very compact when empty, compatible with hands-free filter systems, squeezable for backflushing filters
- Cons: hard to slide in and out of pack pockets, hard to fill directly from standing water sources
- Especially great for: extra capacity for camp or long carries
- Best filter compatibility: Depends on bottle. 28mm thread bottles work with Sawyer Squeeze via Sawyer Coupler Ring. 42mm bottles work with Katadyn BeFree. Platypus SoftBottles work with Platypus GravityWorks filter and are “compatible enough” with Sawyer Squeeze / Mini / Micro (connection is not watertight but it works).
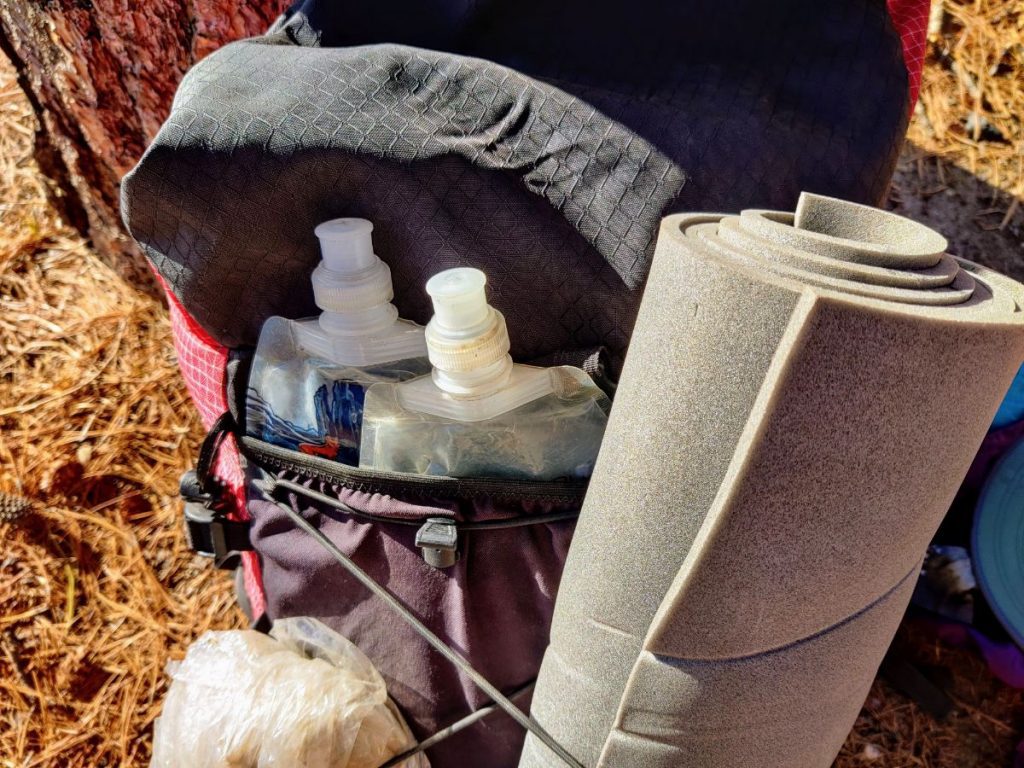
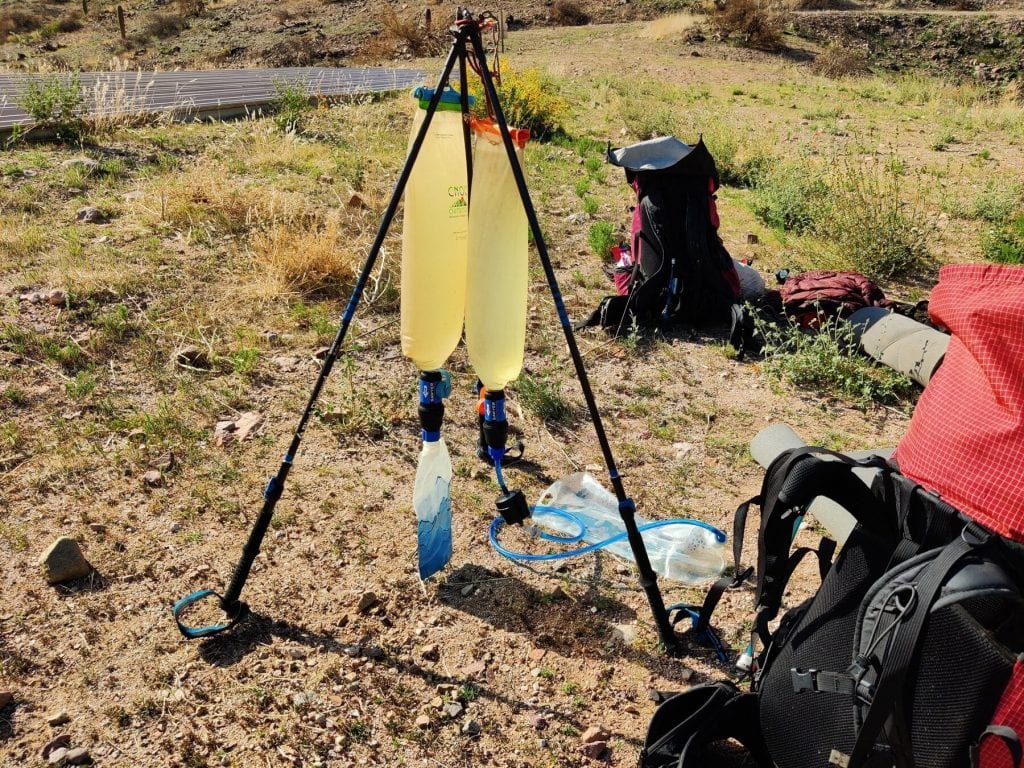
The Arizona Trail had some long dry stretches, so I carried two Platypus SoftBottles for lightweight extra water capacity.
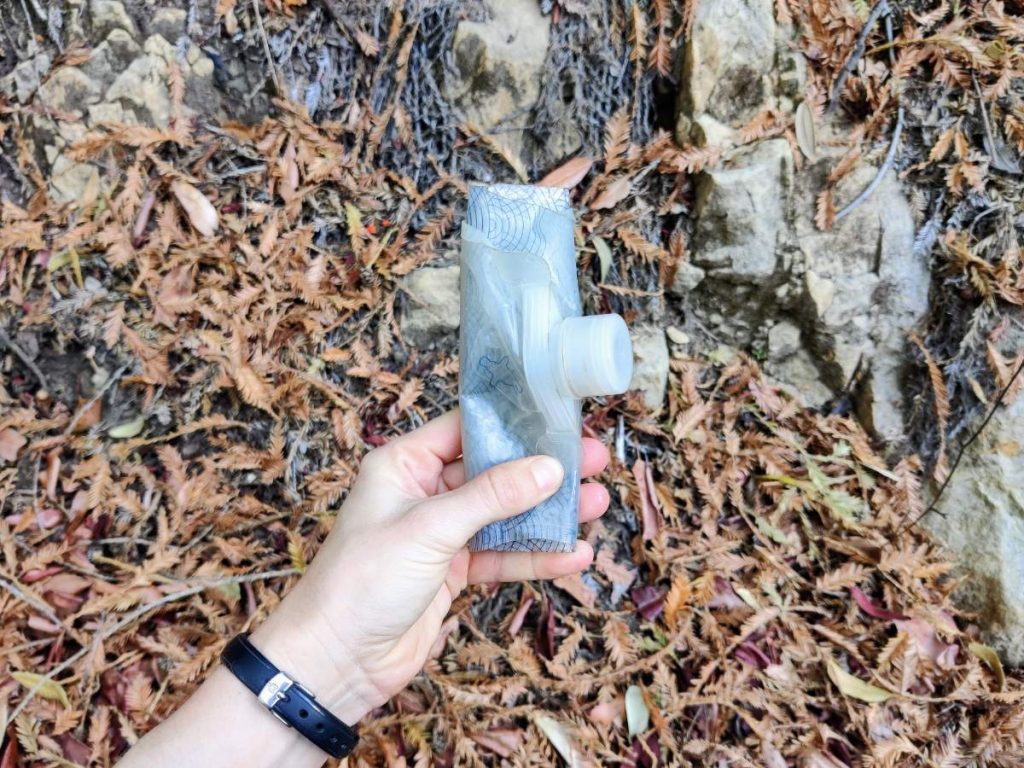
When empty, a Platypus SoftBottle folds up into almost no space.
Collapsible soft bottles: Bottles like the CNOC Vesica and Hydrapak Flux aim to combine the compactness of foldable bottles with the convenience of a standard water bottle shape (flat bottom, smooth sides).
- Pros: light, very compact when empty, seamlessly compatible with hands-free filter systems, squeezable for backflushing filters
- Cons: may not work well in pack pockets (floppy), hard to fill directly from standing water sources, a bit fiddly to drink from until you’re used to it
- Especially great for: extra capacity for camp or long carries
- Best filter compatibility: Sawyer via Coupler Ring (28mm Vesica), Katadyn BeFree (Hydrapak, Vesica 42mm)
Where to carry bottles?
Water is one of the heaviest things we carry, so weight distribution is important. Try to carry water as close to your center of gravity as possible (close to your body, not the back of your pack) and balance the weight side-to-side. Here are the best options:
Side pockets: Many backpacks have side pockets that fit water bottles. If you’re able to grab and replace them without removing the pack this is a great solution. If that doesn’t work for you (personally my shoulders aren’t flexible enough) you’ll need to take your pack off or ask for help from a hiking partner every time you drink, which is definitely not ideal.
Shoulder strap pockets: Some backpacks come with a shoulder strap pocket, or you can optionally add one. These can work well with Smartwater bottles or collapsible bottles because of their slimmer shape. They’re easy to reach and drink from and a comfortable place to carry weight, but some people – especially smaller hikers and women – find them awkwardly positioned.
Back pocket: Many lightweight backpacks have a mesh back pocket where you can slip an extra bottle of any shape. Bottles carried here will feel slightly heavier because they’re further from your center of gravity, and they’re impossible to reach without removing your pack. Back pockets work best for carrying empty bottles or extra water you won’t drink until later.

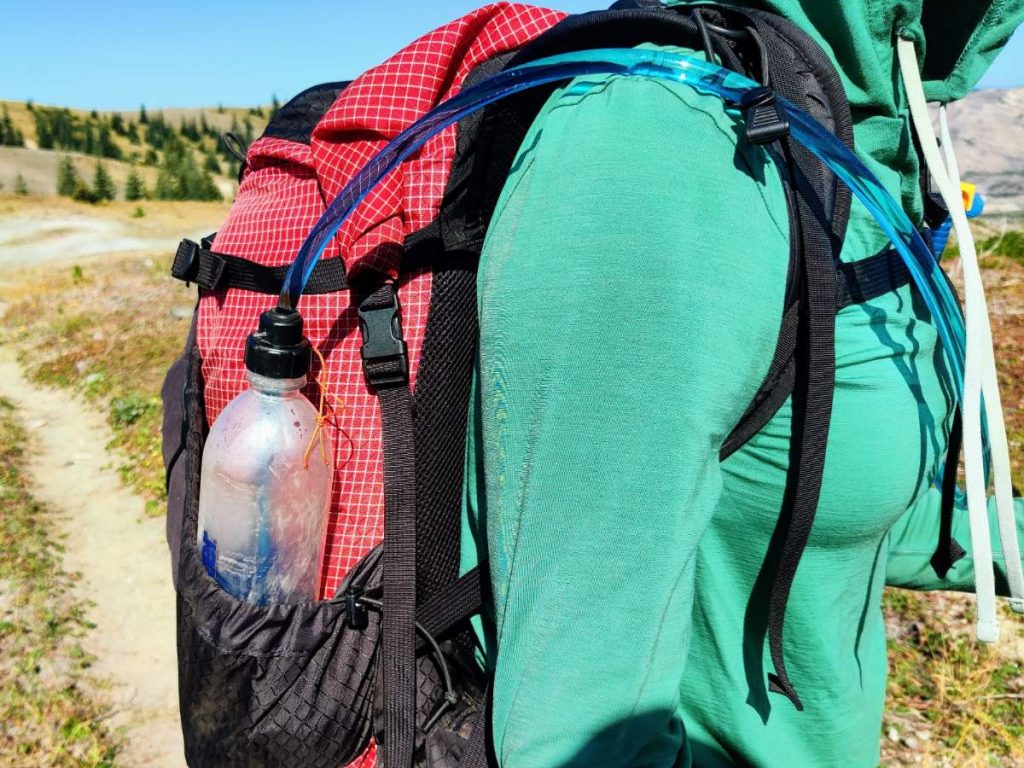
My bottle fits great in this pocket, but unfortunately I can’t reach it without removing my pack.
Hydration Bladder
If you’re coming to backpacking from another sport where hydration packs are common (like running or mountain biking) it may feel natural to use a hydration bladder for backpacking too. Many multiday backpacking packs have a hydration bladder sleeve and elastic guides for the hose on the shoulder straps.
I’ve backpacked with a hydration bladder for thousands of miles and it’s my second-favorite way to carry water on the trail. It’s very convenient for drinking, but not as convenient for everything else.
There are many good options for hydration bladders, but I especially like the Platypus Hoser and Osprey Hydraulics. I usually suggest the three liter size since the extra weight is minimal and you don’t have to use all the capacity, but you’ll be thankful to have it when you need it.
Pros of carrying water in hydration bladder:
- Easy to drink from while hiking
- Compatible with Sawyer filter systems using the Sawyer quick-connect hose kit
- Larger capacity of 2 – 3 liters in a single container
- Lightweight
- Weight is centered and close to body for comfortable carrying
Cons of carrying water in hydration bladder:
- Hard to monitor how much is left
- Hard to refill without partially unloading pack (even if you fill through those hose, the pressure of a loaded pack can slow the flow rate)
- Less convenient for cooking, washing, and drinking at camp
- Can alter backpack fit, especially if using a lightweight pack with minimalist frame
- Potential for leak inside pack, soaking your gear
- Requires regular cleaning to stay mold-free
Best filter compatibility: all 1/4″ hoses are compatible with Sawyer filters via the quick-connect hose kit, Platypus Hoser is compatible with Platypus GravityWorks
A hydration bladder hose is super easy to sip from as you walk, which is especially handy in hot climates.
Tips for using hydration bladders:
- If your bite valve doesn’t have a shutoff and cover, add one or replace with one that does (I recommend the Hydrapak Blaster) to keep your valve from getting dirty and prevent accidental leaks.
- Most hoses are the same 1/4 inch outer diameter, so you can mix and match valves and connectors from different brands.
- When filling your hydration bladder, squeeze out extra air before putting it in your pack. This ensures you can use the bladder’s full capacity and also gets rid of that annoying slosh with each step.
- If your main container is a hydration bladder, you might also want at least one bottle (ideally foldable or collapsible) for use around camp since bladders are less convenient for cooking, drinking in the tent, etc.
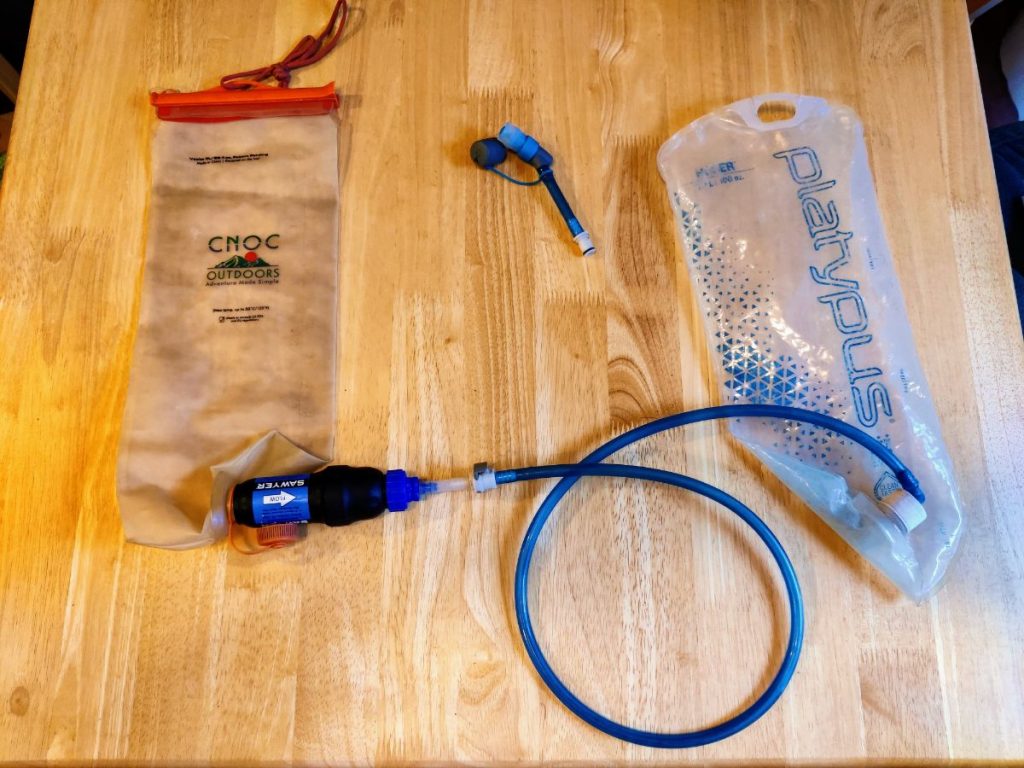
Here’s a hydration bladder gravity filter setup. To filter water from the CNOC bag on the left, disconnect the bite valve from the Platypus bag on the right and hang it somewhere lower than the CNOC bag.
Bottle + Hydration Hose
If you read carefully, you probably noticed that bottles and hydration bladders have nearly opposite pros and cons. Fortunately there’s a clever solution offering the best of both worlds: a bottle hose, which essentially turns your water bottle into a hydration bladder for easy drinking on the go.
I’ve tested two versions of this concept: a less expensive option from Lixada and the made-in-the-US version by One Bottle Hydration. Both work, but the One Bottle system is higher quality, more durable, has adapters for more bottle types (including Nalgene) and doesn’t leave a bad taste in my water.Read more about this clever solution in my review of the One Bottle Hydration System.
Pros of a bottle hose:
- Easy to drink while walking
- Easy to monitor supply without unpacking your pack
- Easy to refill
- Compatible with hands-free filter systems
- One Bottle system is compatible with many bottle types including non-plastic options
Cons of a bottle hose:
- Occasional need to switch hose between bottles
- Limited options available
Best filter compatibility: any filter your bottle is compatible with (Sawyer for Smartwater, etc), additional option to filter through hose with Sawyer quick-connect hose kit
The One Bottle hydration system makes it easy to sip from a bottle while hiking.
Water Filter Compatibility
You’ll notice I’ve mentioned water filters many times. That’s because your water carrying system should be compatible with your water treatment system / filter, and vice versa. If you don’t have a filter yet, this guide to backpacking water filters is a great place to start.
The goal is to choose a filter that attaches directly to at least one of your bottles or hydration hoses. Other combos are much less convenient because you have to carefully hold the filter over the container, which risks spilling and is just generally a pain.
There are generally two types of filter users: 28mm folks and 42mm folks. That is to say, the two most popular types of filters are:
- Sawyer Squeeze, which attaches to bottles with 28mm threaded caps via the Sawyer Coupler Ring
- Katadyn BeFree, which attaches to bottles with 42mm threaded caps
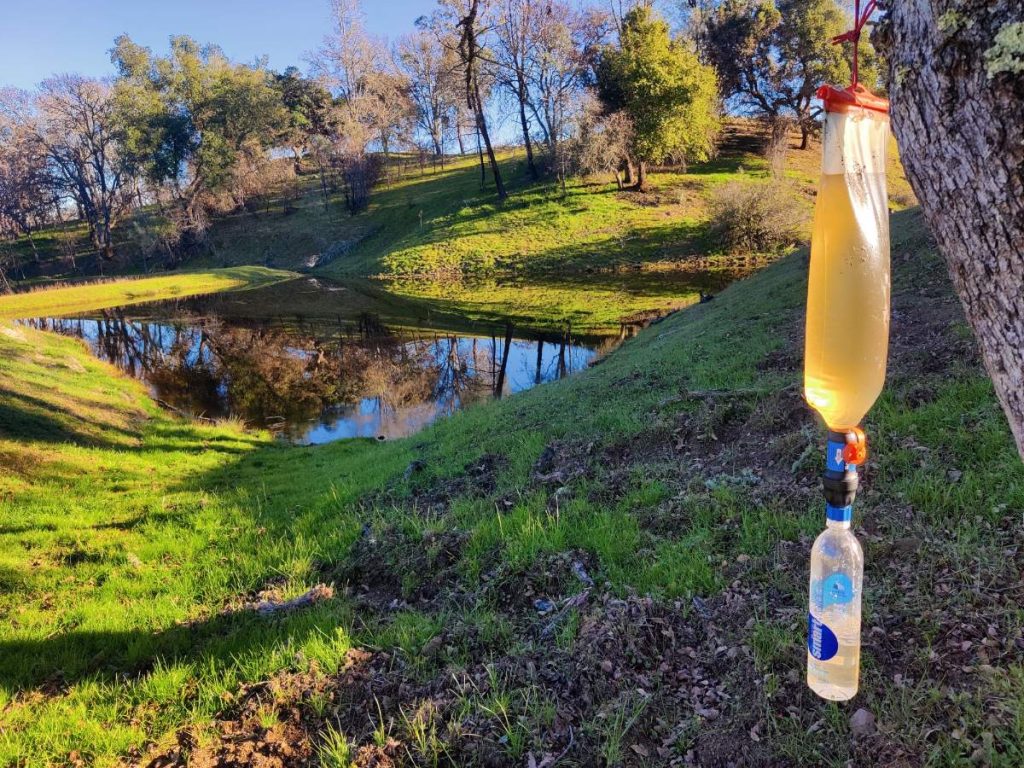
The ideal water system, in my opinion, is a totally hands-free gravity filter setup with a dirty bag attached to a filter attached to your bottle or bladder. This means that instead of squeezing water through your filter you can sit back and enjoy a snack while gravity does the work.
My favorite gravity system, and probably the most popular one on the trail, is a Sawyer Squeeze filtering from a CNOC Vecto dirty bag into a 28mm threaded bottle (Smartwater, Vesica, Platypus, etc). You can also use this system to filter into a hydration bladder through a 1/4″ hose using the Sawyer quick connect kit. CNOC also offers a 42mm Vecto for use with the Katadyn BeFree.
When the parts of your water system are compatible with each other, you can sit back and eat a snack while your water filters itself.
Backflushing
Another compatibility consideration is backflushing, which needs to be done periodically with Sawyer-style filters to keep them flowing quickly. Most backpackers prefer to leave the syringe at home and backflush with a bottle they’re already carrying on the trail.
To backflush a Sawyer Squeeze without the synringe you’ll need:
- the Sawyer Coupler Ring
- a 28mm threaded bottle that’s at least somewhat flexible / squeezable, so you can force the water backward through the filter
Smartwater bottles are just flexible enough to work, but fully flexible bottles like the CNOC Vesica are even better. Platypus SoftBottles also work even though their threads aren’t an exact fit.
Inline Filtration
Most backpackers filter their water when they refill, either by squeezing, pumping, or letting gravity push it through the filter and into whatever container they carry it in while hiking.
“Inline filtering” is when you fill your hydration bladder or bottle with unfiltered water, and you filter it later by sucking it through the filter as you drink. This is usually done with a small hollow fiber filter like a Sawyer Mini, attached to the top of a bottle or spliced into a hydration bladder hose.
Pros of inline filtering:
- Water refill is very fast since you don’t need to stop and filter.
- You might need fewer water containers since you drink directly from your “dirty container” instead of filtering from dirty into clean.
Cons of inline filtering:
- Most filters don’t have a high enough flow rate for comfortable sipping, especially when water is silty, so the extra sucking can get tiring.
- More unwieldy setup on your bottle or hose, since the filters aren’t tiny.
- Not suitable for sub-freezing temperatures since hollow fiber filters are damaged if the water inside them freezes.
I don’t use inline filtering anymore — too much sucking. I only recommend it in places with very clear water so your flow rate will stay high for as long as possible.
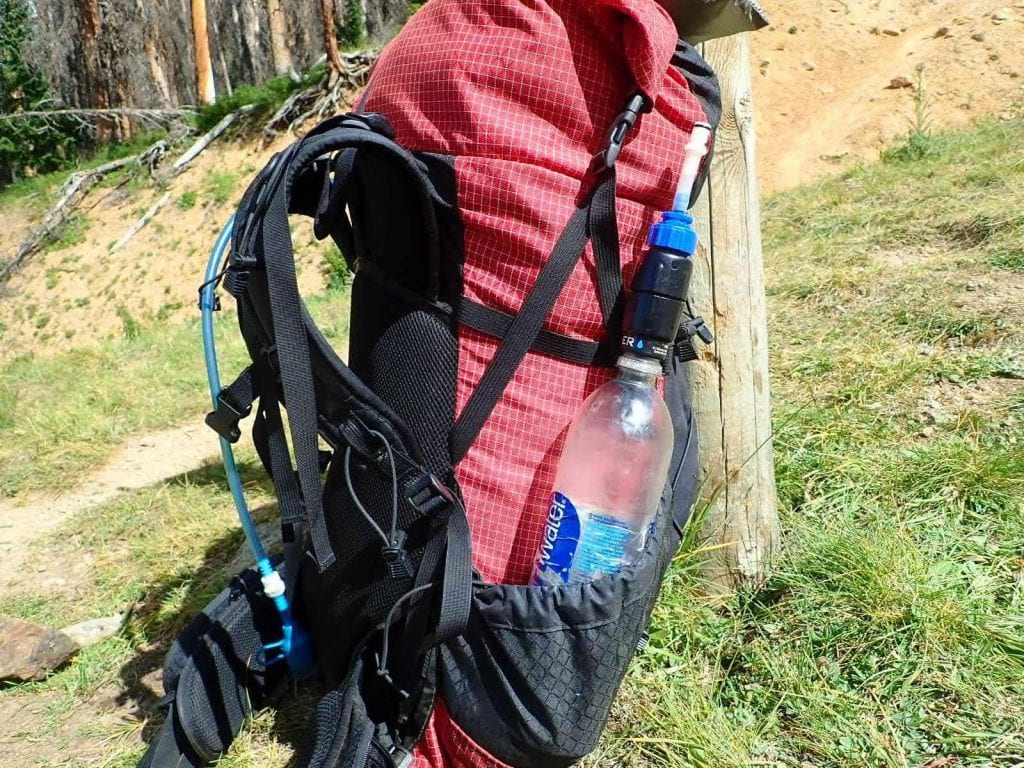
Smartwater bottle and Sawyer Micro inline filter
Example Systems
Still confused? I don’t blame you. If you don’t feel like deciding for yourself and want a one-stop shop for your entire hydration system, here are some combinations I recommend. You can certainly get creative and make other combos work, but these are all good places to start.
Smartwater Bottle Gravity Setup
This is a great setup for lightweight backpackers stopping to refill water fairly often in water-rich areas
Hydration Bladder Gravity Setup
This is a great setup for carrying a bit more water and refilling only once or twice a day.
BeFree / 42mm Bottle Squeeze Setup
The BeFree excels as a lightweight inline filter system for mostly clear water. Here’s a combo to make the best use of it.
More Backpacking Hydration Tips
Here are a few miscellaneous tips that didn’t fit anywhere else:
Soft bottles and hydration bladders can occasionally spring a leak. If not at a seam, many leaks can be repaired with a bit of gear tape, which I always recommend carrying in your first aid kit.
When filtering water from very dirty sources, a prefilter will keep your main filter from clogging as fast. A prefilter can be very simple, just a thin bandana or buff (or a square of old pantyhose if you happen to have any sitting around) screwed between the threads where your filter attaches to the dirty container.
If it’s hot out, electrolyte tablets are an easy way to replenish what’s lost in your sweat. I like Nuun Sport for their low sugar content.
If using electrolytes or drink mixes, or even if not, clean your bottles periodically or nasty stuff will grow.
More Backpacking Resources
If you’re planning a backpacking trip, you might find these helpful too:
Or, visit the hiking resources center for even more tips, reviews, and trail guides.
About the Author
Hi there, I’m Alissa, founder of Exploring Wild. I’ve had the pleasure of hiking the Arizona Trail, Colorado Trail, John Muir Trail, Tahoe Rim Trail, and countless shorter amazing trails throughout the US and abroad. I love solitude, big views, and a good lightweight gear setup. Learn more here.
Hiking resources in your inbox?
There’s more where this came from! Sign up here for occasional emails full of inspiration and information about backpacking and hiking.
Share the Adventure
If you found this article helpful, please consider sharing so more people can benefit from it:
Pin For Later
The post The Best Ways to Carry Water While Backpacking appeared first on Exploring Wild.
https://exploringwild.com/carry-water-while-backpacking/?utm_source=rss&utm_medium=rss&utm_campaign=carry-water-while-backpacking
 CampingSurvivalistHuntingFishingExploringHikingPrivacy PolicyTerms And Conditions
