Tahoe’s Desolation Wilderness is one of my favorite backpacking spots in California, and I’m not alone, literally. Despite the sense of poetic solitude implied by its name, this alpine granite wonderland is one of the most popular designated wilderness areas in the entire United States.
It’s easy to see why. The sparkling granite slabs, aromatic pines, and deep-blue alpine lakes of Desolation Wilderness make a fabulous canvas on which to stamp our dusty footprints. Whether you spend a single night at a scenic lakeside camp or hike for days in a large loop, you’ll feel transported far from the hustle and bustle of Lake Tahoe’s surprisingly near shores.
Despite its beauty (and because of it), backpacking in Desolation Wilderness comes with some complexities. It’s a relatively small and very popular area filled with delicate alpine ecosystems, so backpackers need to be on our absolute best Leave No Trace behavior. Permits are limited during the summer hiking season, and it can take some research to find an available itinerary that suits your skill and experience level.
This post will help you plan your backpacking trip in Desolation Wilderness, from how to choosing the best trails to finding available permits to protecting the beautiful landscapes, plants, and animals that call the area home. I’ve hiked most of the trails in the wilderness, and I created this post from a blend of my personal experience and additional research.
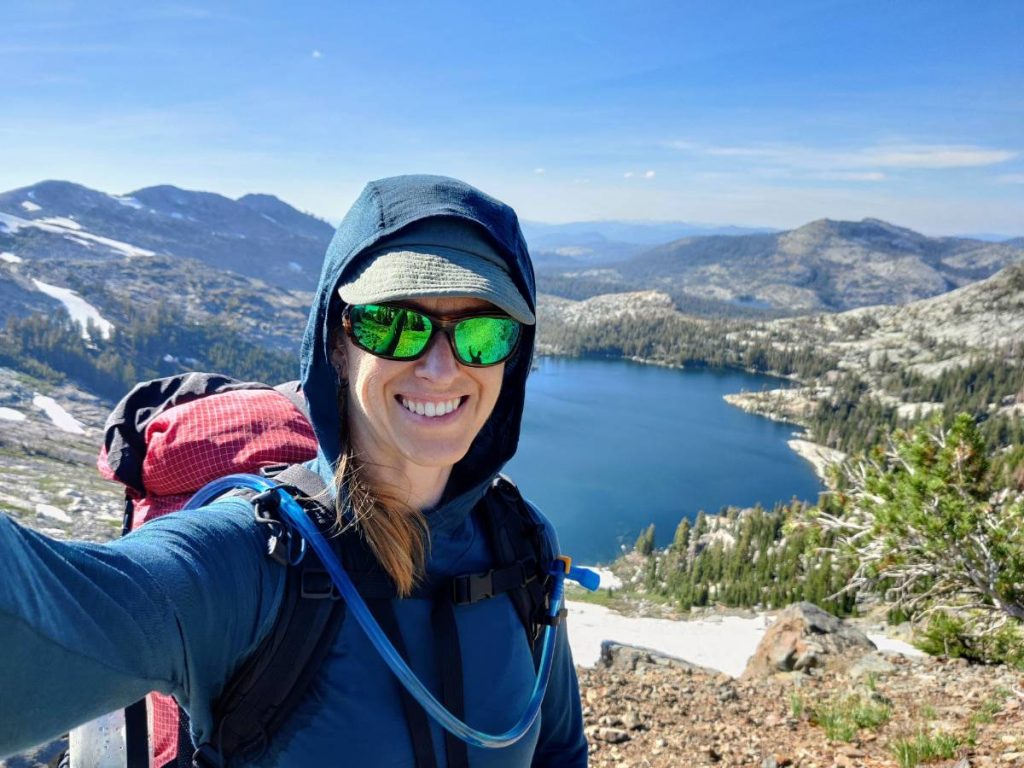
Near Dick’s Pass during my most recent backpacking trip in Desolation Wilderness.
When you buy through affiliate links in this post, I may earn a small commission. Thanks for your support! I always offer unbiased opinions based on real experience from the road and trail. Learn more.
Must-Know
Location: California’s Sierra Nevada mountains, southwest of Lake Tahoe near Highway 50
Season: July to September, dependent on snowpack
Permits: required and can be competitive
Food Storage: bear canister required
Why it’s great:
- Top-notch alpine scenery
- Accessible and close to civilization (Tahoe Basin)
- Plentiful water sources and camping
Challenges and annoyances:
- Permits are competitive
- Crowded on popular trails
- Mosquitos during early summer
- Bear canisters are required
Overview by Area
To understand the layout of Desolation Wilderness you need to envision the two parallel trails that run its length: the popular PCT in the east (same as the Tahoe Rim Trail in this section) and the less-traveled Rubicon Trail in the west.
The PCT stays relatively high on the Lake Tahoe side of the Wilderness, skirting the crest and offering excellent views as it hops from lake to lake. The Rubicon Trail stays low in the Rubicon River drainage, less scenic but offering access (via a steep climb) to the smaller and less crowded lakes of the west. The two trails join at Lake Aloha in the south and can be linked in the north with Velma Trail, allowing for a larger loop.
The east is most crowded, closest to the populated Tahoe Basin and around the PCT / TRT corridor. On busy days you’ll have to contend with day hikers on the approach trails, PCT thru hikers, and as many backpackers as the permit system allows. The southeast in particular, featuring stunning Lake Aloha and a cluster of smaller popular lakes, is as crowded as it is beautiful.
The busier trails of the eastern side are better for less experienced backpackers, especially those hiking solo. You’ll never be too far from other hikers and the trails are somewhat better maintained. The well-trodden PCT is easy to follow, even in early season when some snow remains.
 The popular PCT, same as the Tahoe Rim Trail in this section, passes through Desolation Wilderness on the eastern side.
 The PCT / TRT offers excellent views and beautiful lakes in the southeast part of the wilderness.
The west side of Desolation Wilderness is less crowded and the trails are a bit rougher. If you want to get away from the crowds, it’s worth the dirt road drive to Wrights Lake where you can hike over aptly named Rockbound Pass to explore beautiful lakes. This area is no less scenic than the eastern side in my opinion, though it is rougher and more remote.
If you’re newer to backpacking, I don’t recommend you start on the western side. This is especially true if you’re solo, and especially in early season when it’s easy to lose the trail under snow and downed trees.
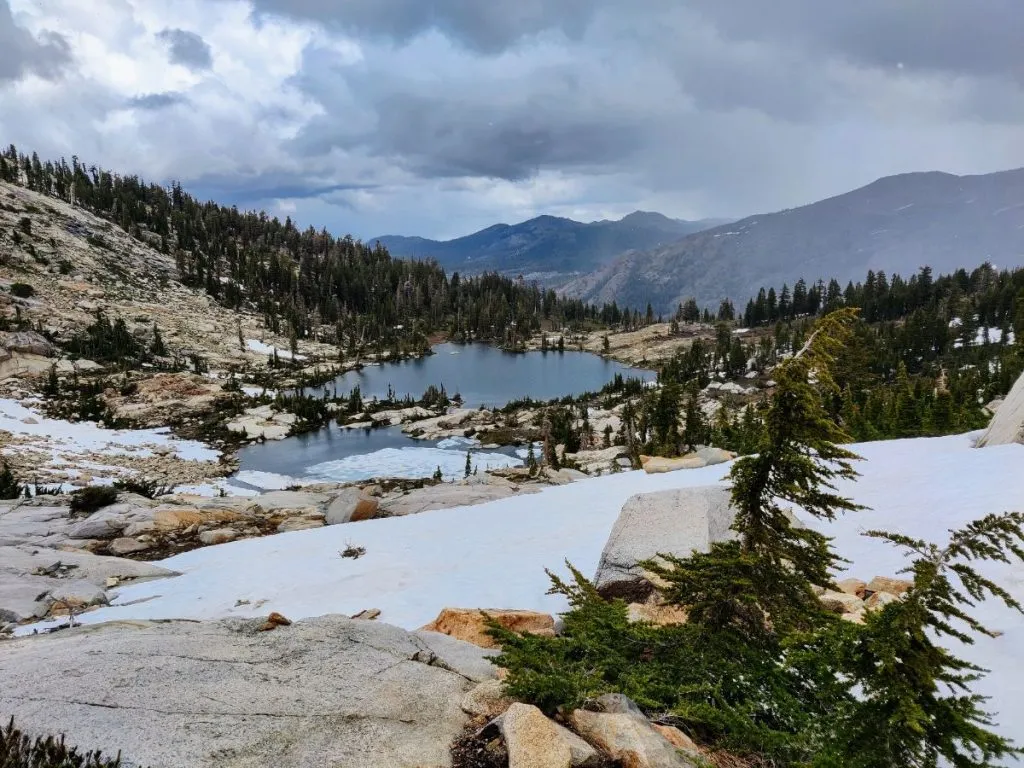 Looking down on Doris Lake from near Rockbound Pass, the gateway to the less crowded western side of the wilderness.
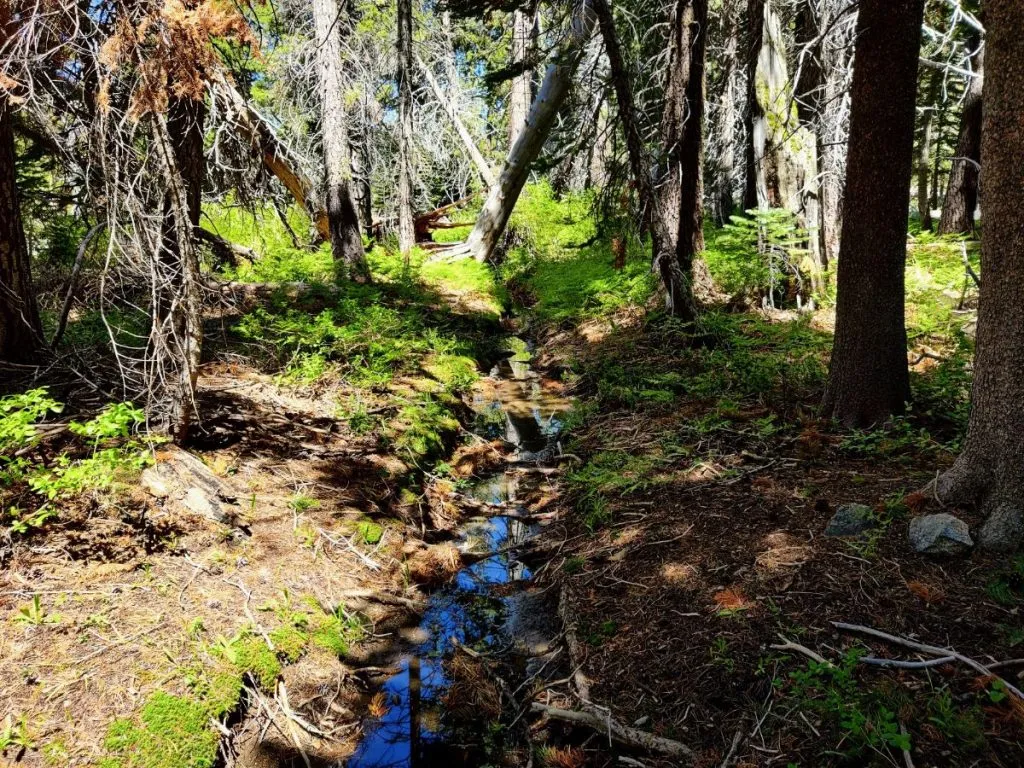 The Rubicon Trail stays low in the river drainage and can be soggy during peak snowmelt.
Permits
Permits for backpacking in Desolation Wilderness are generally competitive, but there are ways to improve your chances. I’ve taken a number of last-minute trips during peak summer months, and I’ve always been able to find a permit by being flexible with my entry zone (mid-week timing helps too).
The most up-to-date permit information can be found on the Forest Service website: Desolation Wilderness Overnight Permits. At the time I’m writing this in 2024, permits are required for overnight stays year-round and quotas are in place between Friday before Memorial Day through September 30.
During the quota season, permits are granted based on the zone where you will spend your first night. After the first night you’re free to hike and camp wherever you want.
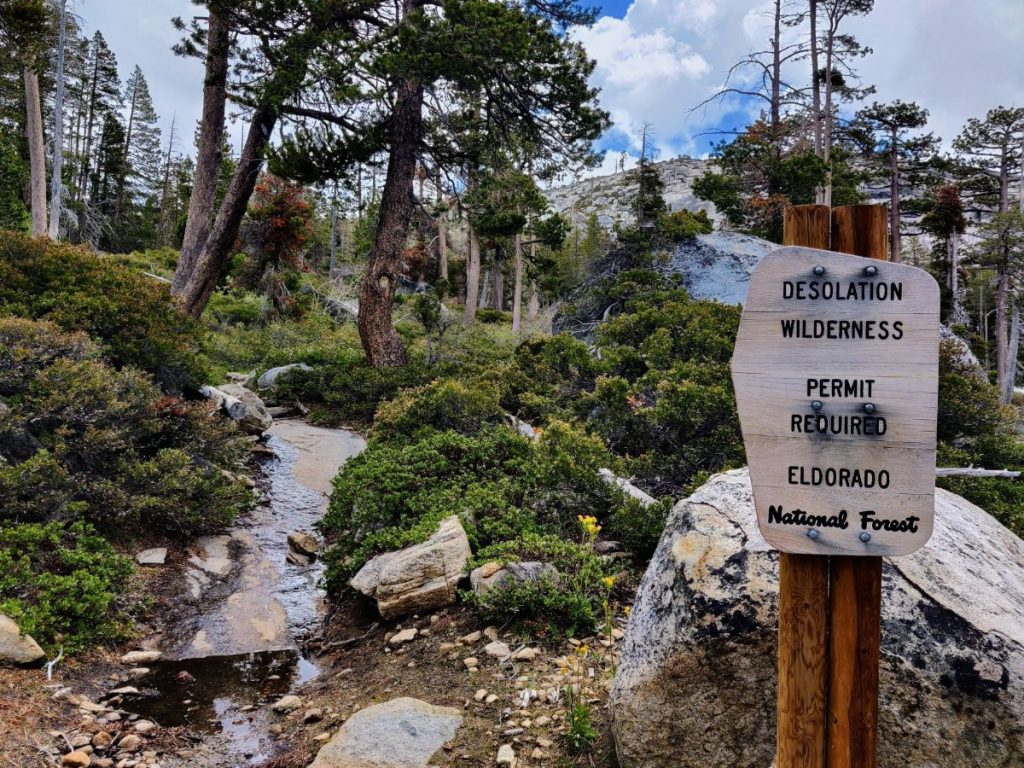 Permits are required for all overnight stays in Desolation Wilderness and a quota system makes access competitive during the summer hiking season.
Roughly 70% of the quota permits can be reserved in advance on recreation.gov, and they become available six months before the start date. If you want the best chance at getting a permit for your chosen zone, reserve it six months in advance! The remaining 30% are available the day of on a walk-up basis at the ranger station.
If you want a more peaceful and solitary campsite, one good trick is to look at the trailhead quotas and find the more isolated spots with small numbers. For example, the Phipps Lake zone only has 4 spots available on any given night. If you can score a permit there, you’ll practically have the place to yourself.
Once you get a backpacking permit, overnight parking at the appropriate trailhead is generally included.
Shorter Backpacking Routes (Overnighters)
Desolation Wilderness offers dozens of backpacking routes, most in the shorter range of one to three nights. It’s a popular area for out-and-back overnighters to a scenic lakeside camp. Even better, set up a base camp and explore other nearby lakes and peaks for a day or two before hiking out.
Here’s a selection of popular shorter backpacking routes in Desolation Wilderness. Be sure to check the permit availability and permit zones while making your decision, especially if planning a last-minute trip. When I backpack in Desolation Wilderness I often base my route on what’s available, as there are really no bad options in this gorgeous alpine paradise.
All mileages listed below are round trip.
Southeast Overnighters
Main access is from Echo Lakes, Ralston Peak, or Glen Alpine trailheads. Lake Aloha is the star attraction in this area and its zone has one of the largest permit quotas in the entire wilderness. You can find a bit more solitude, but not much, at the smaller lakes nearby.
Here are some of the popular short backpacking routes (overnighters or base camp situations) in this part of the wilderness:
- Tamarack Lake from Echo Lakes TH (7 miles)
- Gilmore Lake from Glen Alpine TH (8 miles), drop your gear and add an out-and-back to Mt. Tallac!
- Gilmore Lake from Mt. Tallac TH (10 miles)
- Lake of the Woods from Echo Lakes TH (10 miles)
- Lake of the Woods from Ralston Peak TH (10 miles)
- Half Moon Lake from Glen Alpine TH (11 miles)
- Lake Aloha from Echo Lakes TH (12-14 miles, very popular area)
- Lake Aloha, Heather, and Suzie Lakes from Glen Alpine TH (12 miles): One of the few short loops in Desolation Wilderness.
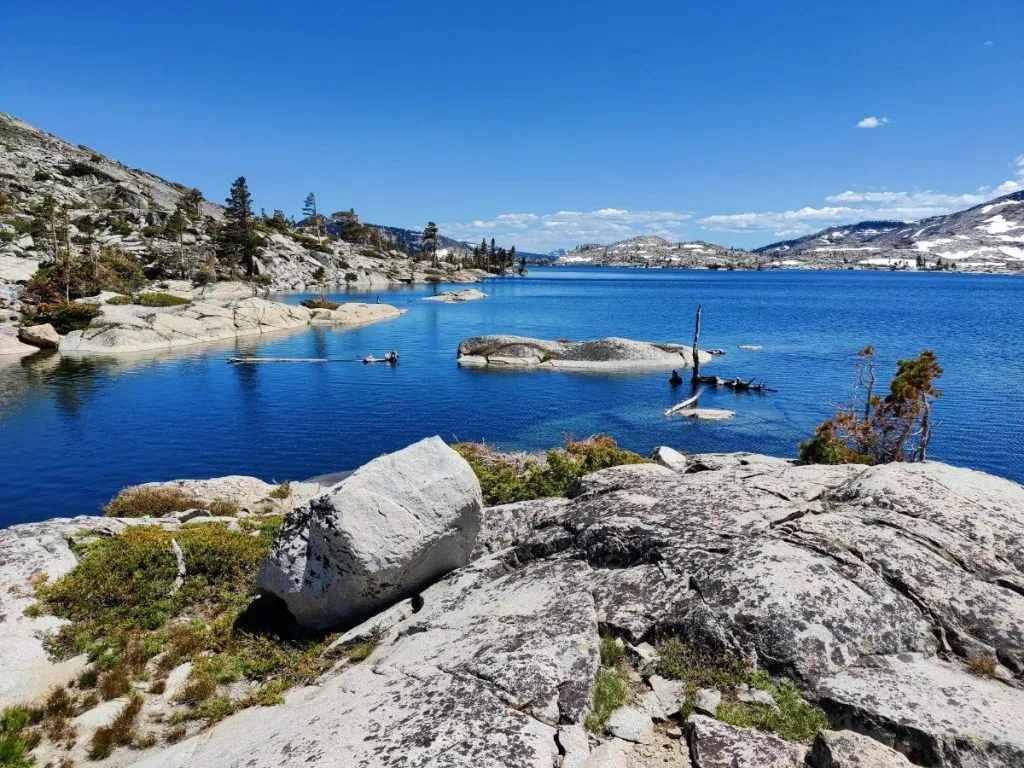 Beautiful Lake Aloha is one of the most popular spots in Desolation Wilderness.
Northeast Overnighters
Main access is from Bayview and Eagle Falls trailheads, and Meeks Bay trailhead in the north.
Bayview and Eagle Falls both provide access to the popular Velma and Fontanillis Lake area, but Bayview is the smoother and more gradual of the two. The middle and lower Velma zones are beautiful but also crowded, with the largest permit quotas in the entire Wilderness.
The best short backpacking route in this area is the Velma, Fontanillis, Dick’s Lake Loop from Bayview TH or Eagle Falls TH (11 miles). If you have time I recommend adding a day hike to Dick’s Pass or Dick’s Peak for the views. If you’re tempted to make this a true loop by ascending from Eagle Falls and descending Bayview, know that the walk along the highway is doable but a bit sketchy in places (lots of cars, no shoulder).
 Fontanillis Lake
Other overnight backpacking routes in this area:
- Eagle Lake from Eagle Falls TH (2 miles, crowded, but ok for beginners)
- Lake Genevieve from Meeks Bay TH (8.5 miles, also Crag Lake and Hidden Lake a bit farther)
- Velma Lakes from Bayview TH (11 miles)
- Stony Ridge Lake from Meeks Bay TH (12 miles)
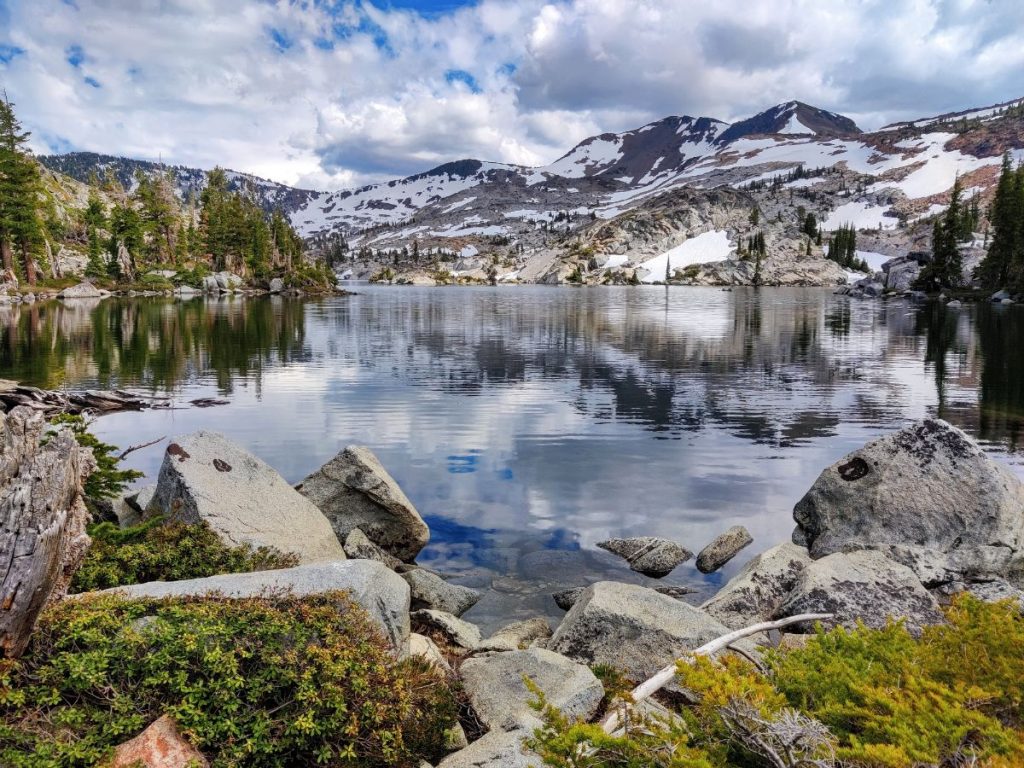 Middle Velma Lake
West Overnighters
Main access is from Wrights Lake / Twin Lakes TH. This is a dirt road, but accessible (when seasonally open) to standard 2wd cars.
Out-and-back backpacking routes from Wrights Lake:
 Rockbound Pass (the low point of the distant skyline) is a challenging climb, but it grants access to some amazing trails and camping spots on the other side.
There are several other west-side trailheads I’m not familiar with: Buck Island, Look Lake, Van Vleck, and Lyons Creek. They mostly offer short out-and-back trails good for a quick overnight but without ways to connect into the rest of the Wilderness. The Lyons Creek area was damaged in the Caldor fire and I haven’t checked on it since.
Longer Backpacking Routes
If you have a few days and want to cover more ground while retracing fewer steps, these loops in Desolation Wilderness will take most backpackers three or more days to complete (two if you’re quick).
Loops and Lollipops
Most of these are technically “lollipop loops” with an out-and-back stem, but still more interesting than a strict out-and-back in my opinion.
Northeast: Genevieve and Stony Ridge Lakes, Phipps Peak, PCT Loop from Meeks Bay TH (22 miles). You can also access this loop from Bayview or Eagle Falls TH if needed. The mileage is slightly longer but you’ll also get to enjoy the Velma Lakes.
West: Rockbound Pass, Lake Schmidell, Horseshoe Lake Loop (24 miles): Lovely and less-traveled route with abundant scenic lakes: Doris, Lois, Schmidell, Leland, McConnel, Horseshoe, and 4Q. You could base camp at Lake Schmidell and hike the loop to Horseshoe Lake as a day hike. Or, carry your gear and add an out-and-back to secluded Highland Lake at the north end.
Central and south: Lake Aloha, Rubicon Trail, PCT, Dick’s Pass Central Loop (26+ miles): A fabulous large loop that hits both the less-traveled Rubicon Trail of the west and the popular lakes of the east. You can access this trail from pretty much any trailhead in the Wilderness. The map shows one of the most direct approaches from Bayview, but if permits are scarce you’ll have better luck starting from Wrights Lake / Twin Lake trailhead.
Everywhere: Big Double Loop (48+ miles): This is basically the longest backpacking route that stays completely within Desolation Wilderness. It can be started from any trailhead, but Glen Alpine (shown on the map) is the most direct. If you choose a different trailhead I recommend skipping the southernmost section and taking the PCT from Lake Aloha to Gilmore Lake. Twin Lakes on the west side may be easiest to find a permit for.
Everywhere: Grand Loop with Rubicon Jeep Trail (55+ miles): I scouted this route in 2022 in an effort to create the longest possible backpacking loop in Desolation Wilderness. It actually exits the wilderness and spends a few miles on the Rubicon Jeep Trail, an interesting experience but not one every backpacker will enjoy. I recommend most people stick to the Big Double Loop above, but a few curious and ambitious folks might enjoy this.
 Fontanillis Lake
Point to Point
If you have two vehicles and can manage the logistics, a point to point hike is the way to go! Here are the standout point-to-point backpacking routes through the most scenic parts of Desolation Wilderness:
Meeks Bay to Emerald Bay (17 miles, short car shuttle): See the highlights of the north with a quick and easy car shuttle.
Meeks Bay to Echo Lakes (29 miles, moderate car shuttle): A north-south traverse of the wilderness starting with a section of the Tahoe-Yosemite Trail then following the PCT / TRT.
Fifteen Lakes Traverse from Wrights Lake to Eagle Falls TH (32 miles, longer car shuttle): A circuitous route starting from the less-visited west and winding through through the more popular lakes of the east, hitting pretty much all the highlights.
Hiking Season
The hiking season for Desolation Wilderness is roughly July to mid-September, same as the entire Sierra region.
June hikes are feasible in low snow years, but it’s important to keep an eye on snow levels and be prepared to turn back. In June and sometimes July you’ll have wet trails, more mosquitos, harder water crossings, and snowfields. If attempting an early season hike I recommend beginners stick to the more popular east side where the PCT provides a well-trodden path.
August is my favorite time to go backpacking in the Sierra. Temperatures are warm and weather is often mild, snow has usually melted from the highest points, and mosquitos are less intense.
September nights can be quite chilly, but weather is often clear and stable in the earlier part of the month. By late September there’s a risk of early winter storms, so it’s important to follow the weather in the weeks leading up to your hike.
If in doubt about conditions for your hike, check for recent trip reports on AllTrails.com.
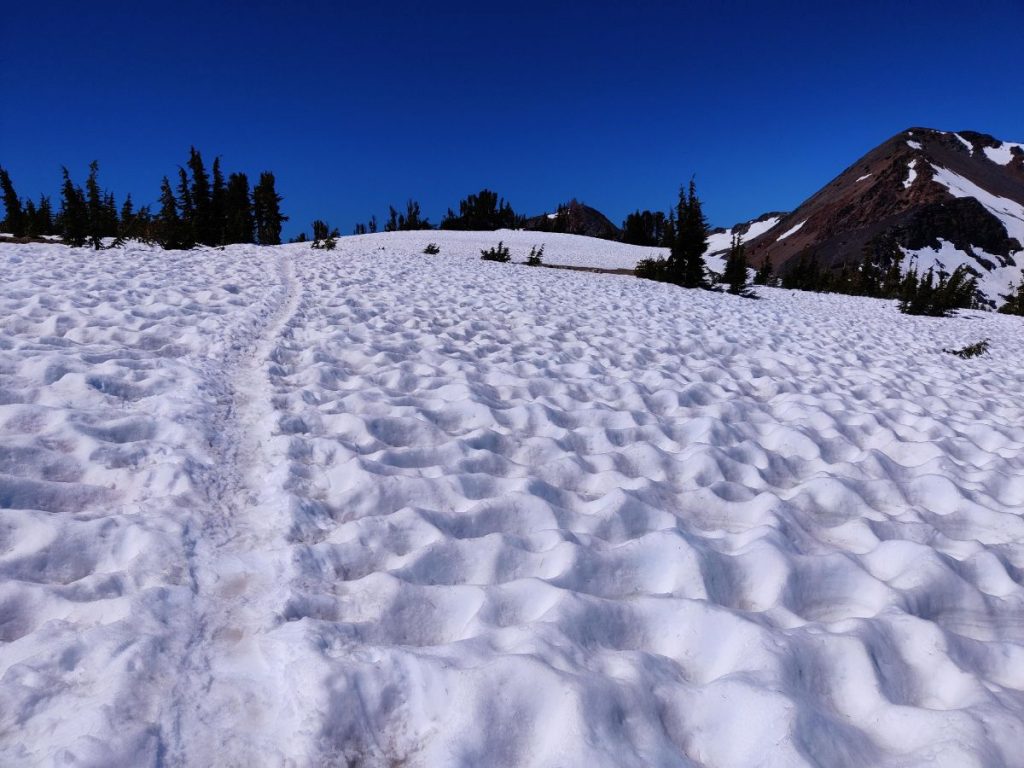 During late June 2022 this trail to Dick’s Pass was covered in snow, but still easy to follow since PCT hikers have worn a clear path. I wouldn’t recommend hiking this high this early in most other parts of the wilderness.
Leave No Trace
As a very popular area with a delicate alpine environment, the Desolation Wilderness needs to strike a careful balance between access and protection. We can all do our part by practicing impeccable Leave No Trace skills. These are the biggest factors to consider.
Protect water sources: Those sparkling blue lakes are delicate ecosystems, and they won’t stay clear and beautiful if we don’t take care of them. Use responsible methods for washing dishes and washing clothes: don’t wash directly in the water sources and definitely don’t do so with soap. Don’t camp within 100 feet of lakes and rivers.
Camp on durable surfaces: As idyllic as that green grassy meadow looks, don’t plop your tent down in the middle of it or it won’t be idyllic for long. Always camp on dirt, rock, or pine needles using sites that have clearly been used before.
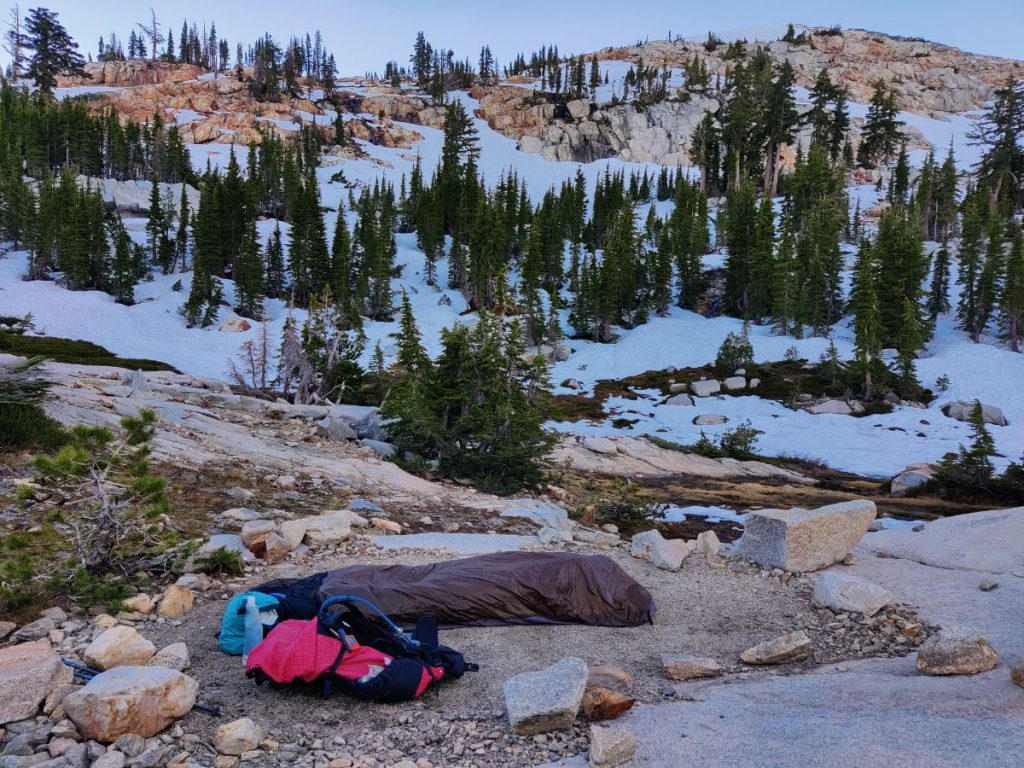 An established campsite in Desolation Wilderness – always use established sites instead of creating your own.
Poop responsibly: Learn how to responsibly poop in the woods, being especially careful to go far away from water sources and pack out your used toilet paper. Large parts of the Desolation Wilderness are made of granite, which can make it difficult to dig a proper cat hole. Leave extra time to find a good spot!
Bears and critters: Black bears can be a problem if they develop a taste for hiker food, hence the bear canister requirement (see next section). But often it’s the smallest critters — chipmunks, marmots, and the like — that do the most damage. To keep them safe and avoid causing nuisances for future hikers: don’t feed critters, keep a clean camp, and store all food in your bear canister when not attended.
Bears and Food Storage
The Tahoe Basin is home to black bears, and their interactions with hikers are on the rise. Black bears are usually skittish and harmless, but can grow bold if they develop a taste for hiker food and become accustomed to humans.
From 2022 onward, bear canisters are required when backpacking in Desolation Wilderness. No hiker loves carrying a bear canister, but they’re very effective at keeping our food safe from bears and bears safe from our food. If you don’t already have one, learn more about bear canisters here.
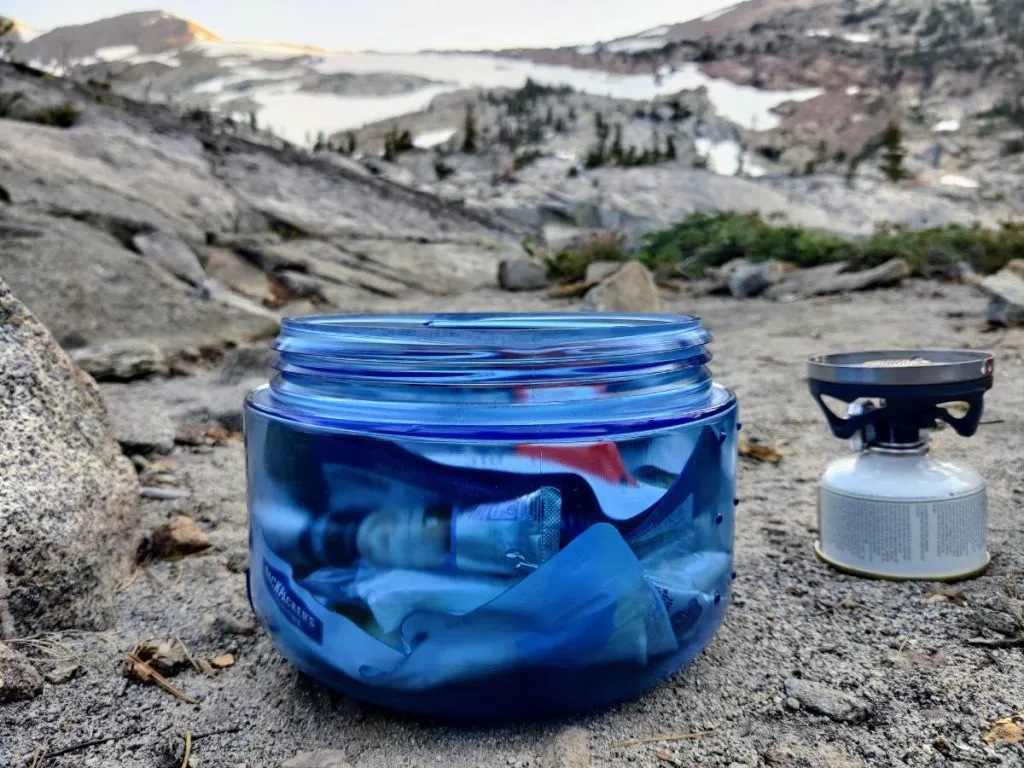 Bear canisters are required for backpacking in Desolation Wilderness
Maps and Navigation
When I backpack in Desolation Wilderness I navigate using the AllTrails app (with monthly subscription for offline maps) on my phone. Generally speaking I don’t think a dedicated GPS device is necessary, but it is important to manage your phone’s battery life and have a backup plan.
For more involved routes, solo hikers may want to bring a GPS nav device or an old backup smartphone with the route cached in case something happens to their phone. Most trails in Desolation Wilderness are well maintained and marked at the junctions, but a GPS track is still important because it’s possible to lose the trail, especially under patches of lingering snow.
A paper map can be nice to have for big-picture understanding and potential changes of plan. I use the National Geographic Trails Illustrated map of the Lake Tahoe Basin.
More Backpacking Resources
If you enjoyed this post, you’ll also like these:
Or visit the hiking and backpacking section for lots more.
About the Author
Hi there, I’m Alissa, founder of Exploring Wild. I’ve had the pleasure of hiking the Arizona Trail, Colorado Trail, John Muir Trail, Tahoe Rim Trail, and countless shorter amazing trails throughout the US and abroad. I love solitude, big views, and a good lightweight gear setup. Learn more here.
Hiking resources in your inbox?
There’s more where this came from! Sign up here for occasional emails full of inspiration and information about backpacking and hiking.
Share the Adventure
If you found this article helpful, please consider sharing so more people can benefit from it:
The post Backpacker’s Guide to Desolation Wilderness (With Route Ideas for All Levels) appeared first on Exploring Wild.
https://exploringwild.com/backpacking-desolation-wilderness/?utm_source=rss&utm_medium=rss&utm_campaign=backpacking-desolation-wilderness
 CampingSurvivalistHuntingFishingExploringHikingPrivacy PolicyTerms And Conditions
