Just like an automobile engine, you must keep your generator clean and free of dirt and debris to keep it running properly. The oil must be changed regularly, and the air filter should be replaced. We have compiled a step-by-step tutorial on how to change the oil and air filter on Honda portable generators, the EU1000i and EU2000i.
The process may vary slightly for other Honda generators. Consult your owner’s manual for your generator’s exact oil and air filter maintenance procedures.
How to Clean a Generator
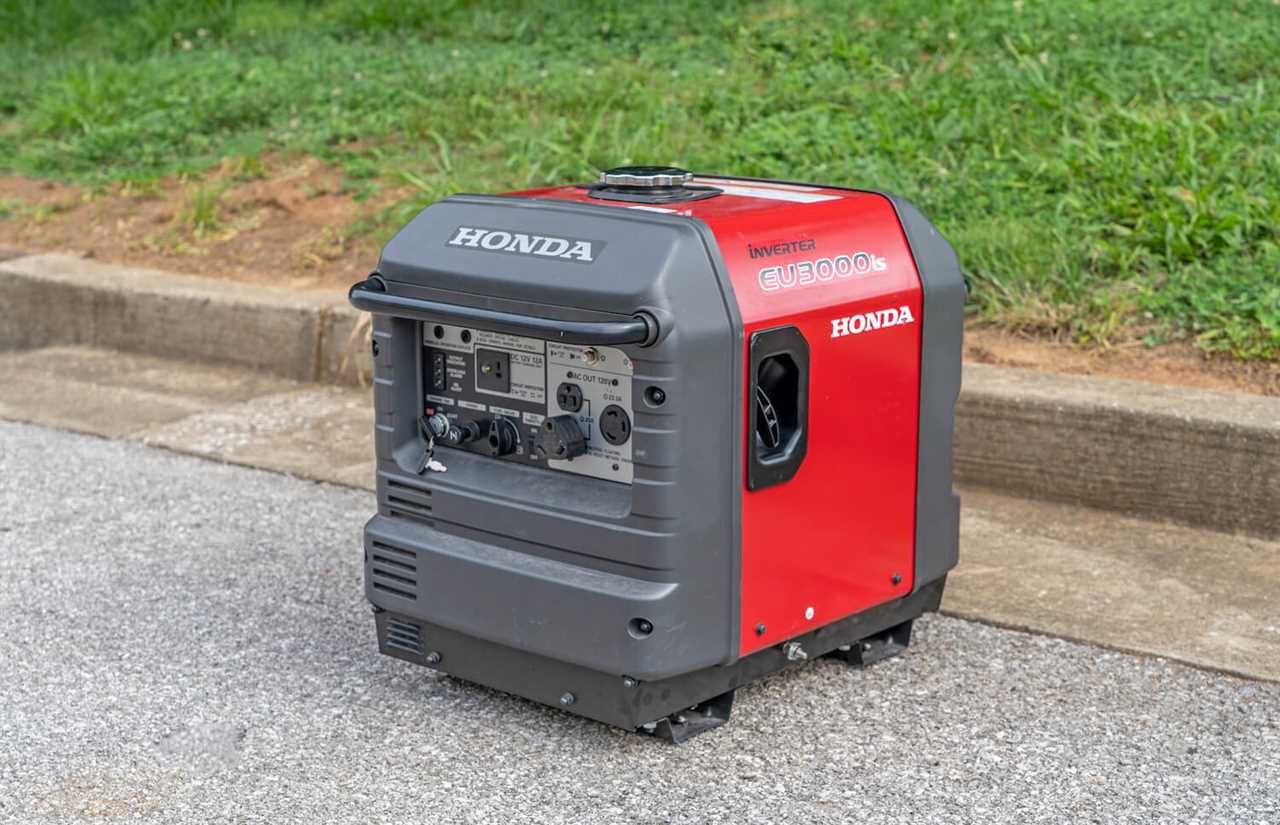
Photo by Camping World
To clean your generator, simply wipe it down with a moist cloth. For best results, clean your generator when it is completely cool. Never pour water on or into your generator for any reason.
Here are a few more safety tips for using and maintaining portable generators.
How to Change the Oil on Honda Portable Generators
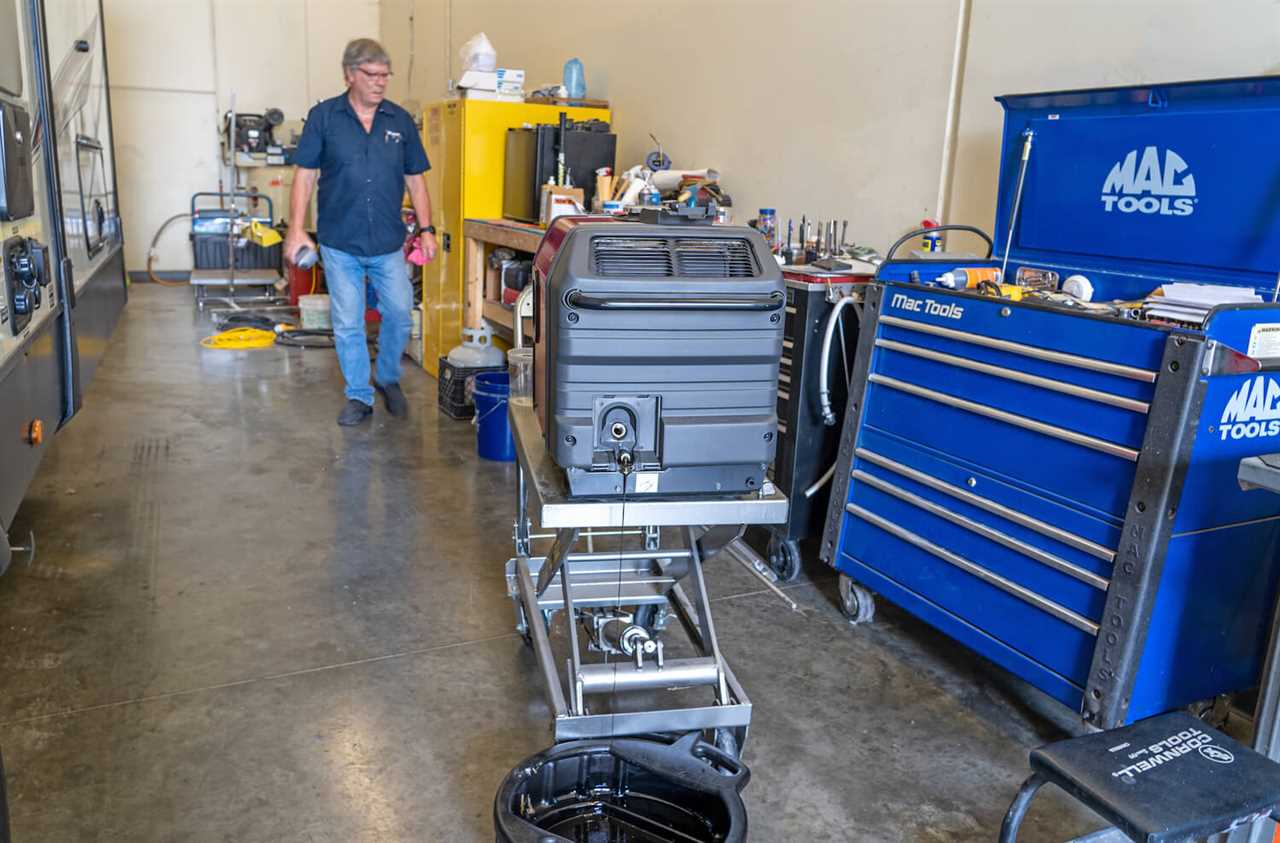
Photo by Camping World
It is best to drain used engine oil when the oil is warm, not hot. If you’ve recently been running your generator, shut it down and allow it to cool for 15-20 minutes before changing the oil. It can also be helpful to place the generator on an elevated platform to make it easier to tilt and drain the oil when you reach that step.
Here are the tools you’ll need:
- Flathead screwdriver
- Oil drain pan
- One quart of replacement oil (usually Honda 10W-30, but check your owner’s manual for the recommended oil type and amount)
- Oil funnel
- Oil rag
Here are your basic steps:
- Make sure the fuel tank vent and the engine switch are off.
- Use your flathead screwdriver to remove the maintenance access panel.
- Remove the oil dipstick.
- This acts as your dipstick and is also the location for your oil fill/oil drain opening.
- Place the drain pan next to the generator underneath the opening.
- Tilt the generator toward the drain pan and allow the used oil to drain fully.
- When empty, tilt the generator back to a level position and wipe up any excess oil around the oil drain.
- Place your funnel in the oil fill opening.
- Add 10W-30 oil to bring the oil level to the top of the threads in the fill opening.
- Use the dipstick to check that the oil level is correct.
- Don’t screw it in. Just wipe it clean and place it in to check the oil level.
- Reinstall the dipstick, wipe up any spilled oil and reinstall the maintenance cover.
- Test run and check for leaks.
- Allow the generator to cool before rechecking the oil level.
Always dispose of motor oil in an environmentally responsible manner.
How to Service the Air Filter on Honda Portable Generators
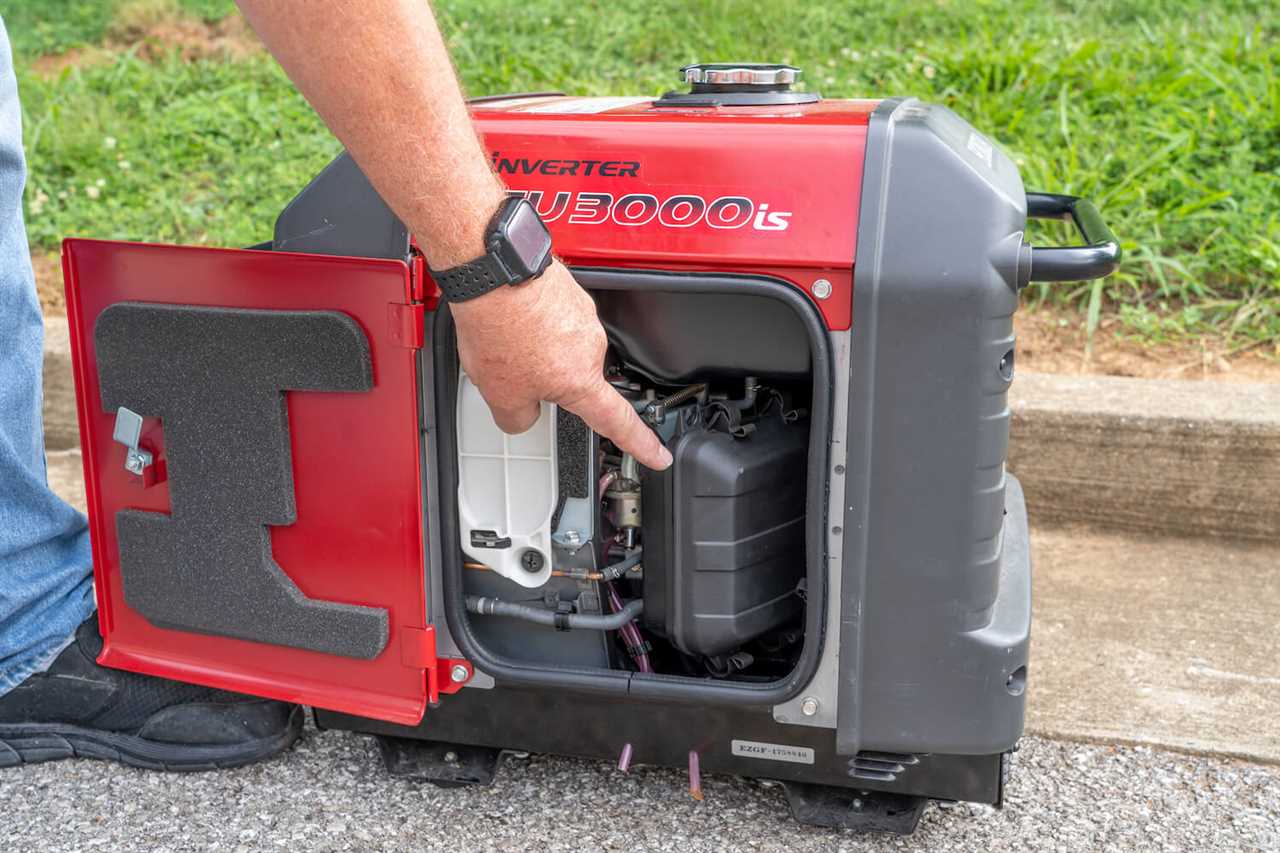
Photo by Camping World
The only tool you’ll need for this process is either a flathead or Phillips head screwdriver, depending on the model. To access the air filter, remove the maintenance cover and then the air filter cover behind it. Some portable Honda generators have a single air filter, and others contain two filters (a pre-filter and the actual filter).
Determine which model you have before proceeding with these steps:
- Remove the filter(s) and rinse with warm water to remove dust and debris.
- Set the filter(s) aside on a clean surface to dry.
- Use a clean, moist rag to remove dirt or debris from the air filter housing.
- Allow filter(s) to dry completely.
- Reinstall (or replace) filter(s) in housing.
- Replace the air filter housing cover, ensuring the rubber seal sets in the groove.
- Finally, reinstall the maintenance cover.
Your owner’s manual will specify when your air filter should be serviced and/or replaced.
How to Service the Spark Plug on Honda Portable Generators
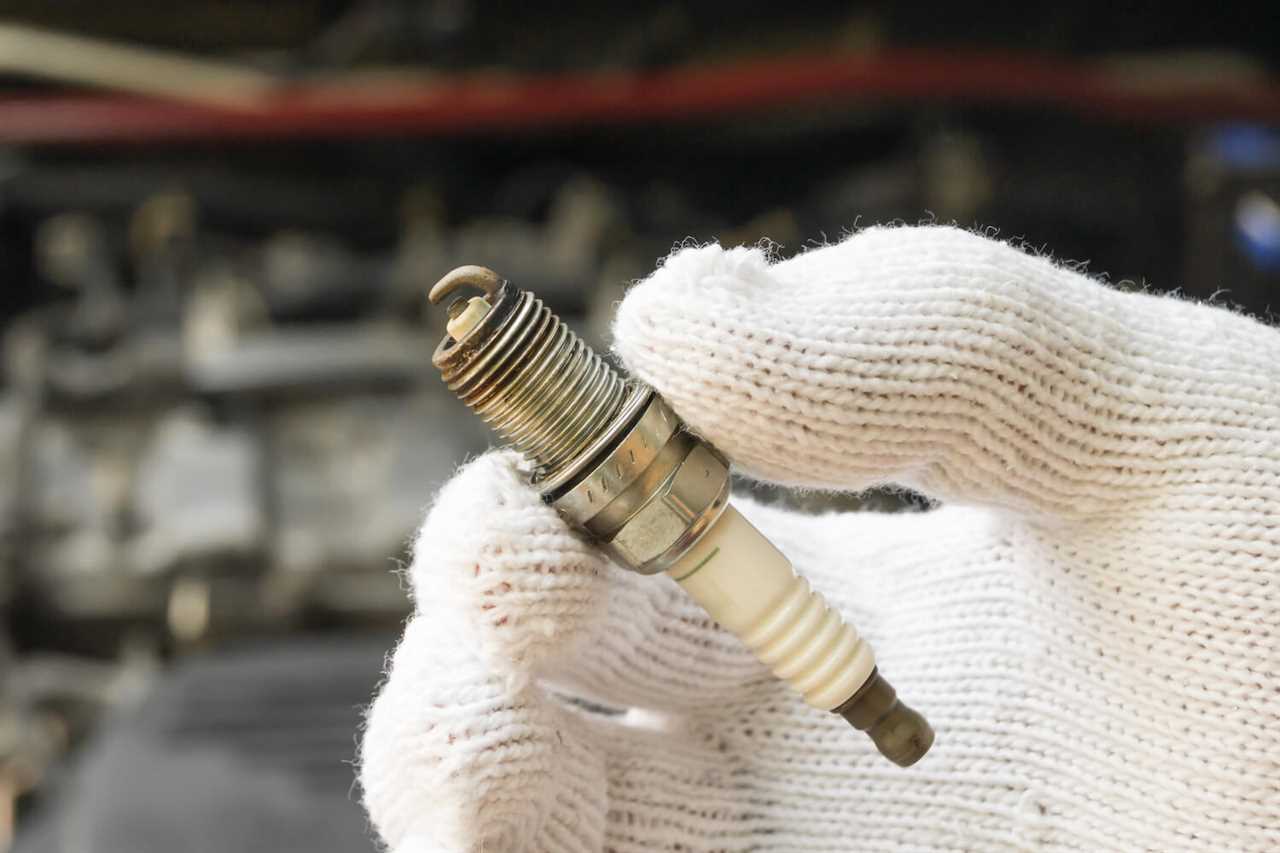
Photo by Ohms1999 via Shutterstock
Another RV maintenance task you can do yourself on Honda portable generators is removing and replacing the spark plug. To do this, you’ll need the following tools:
- Ratchet wrench
- Ratchet extension (usually 4-6” will do)
- ⅝” deep socket (socket size can vary, check your owner’s manual)
With those tools in hand, follow these steps:
- Allow the engine to cool before removing the spark plug.
- Remove the top panel.
- Disconnect the ignition coil from the spark plug.
- Remove the spark plug.
- Replace the spark plug if it is fouled, the electrodes are worn, or if the insulator is cracked or chipped.
- Ensure the spark plug gap is set according to the manufacturer’s specifications.
- Install the new spark plug by hand to avoid cross-threading.
- Use a ratchet to tighten until it seats. Then tighten an additional ¼ turn.
- Do not over-tighten the spark plug.
- Reconnect the ignition coil and reinstall the top panel.
- Start the generator to test run when finished.
Refer to the Owner’s Manual for additional details on the processes for servicing your Honda portable generator. For additional resources, visit Honda’s website.
Honda always recommends using Honda genuine parts when performing any maintenance on your generator. All maintenance items should be performed regularly according to the Owner’s Manual.
Where to Buy Honda Portable Generators
Two of Camping World’s most popular Honda portable generators are the Honda EU2200i and EU3000iS. Here’s a little more about each generator:
Honda EU2200i Portable Generator
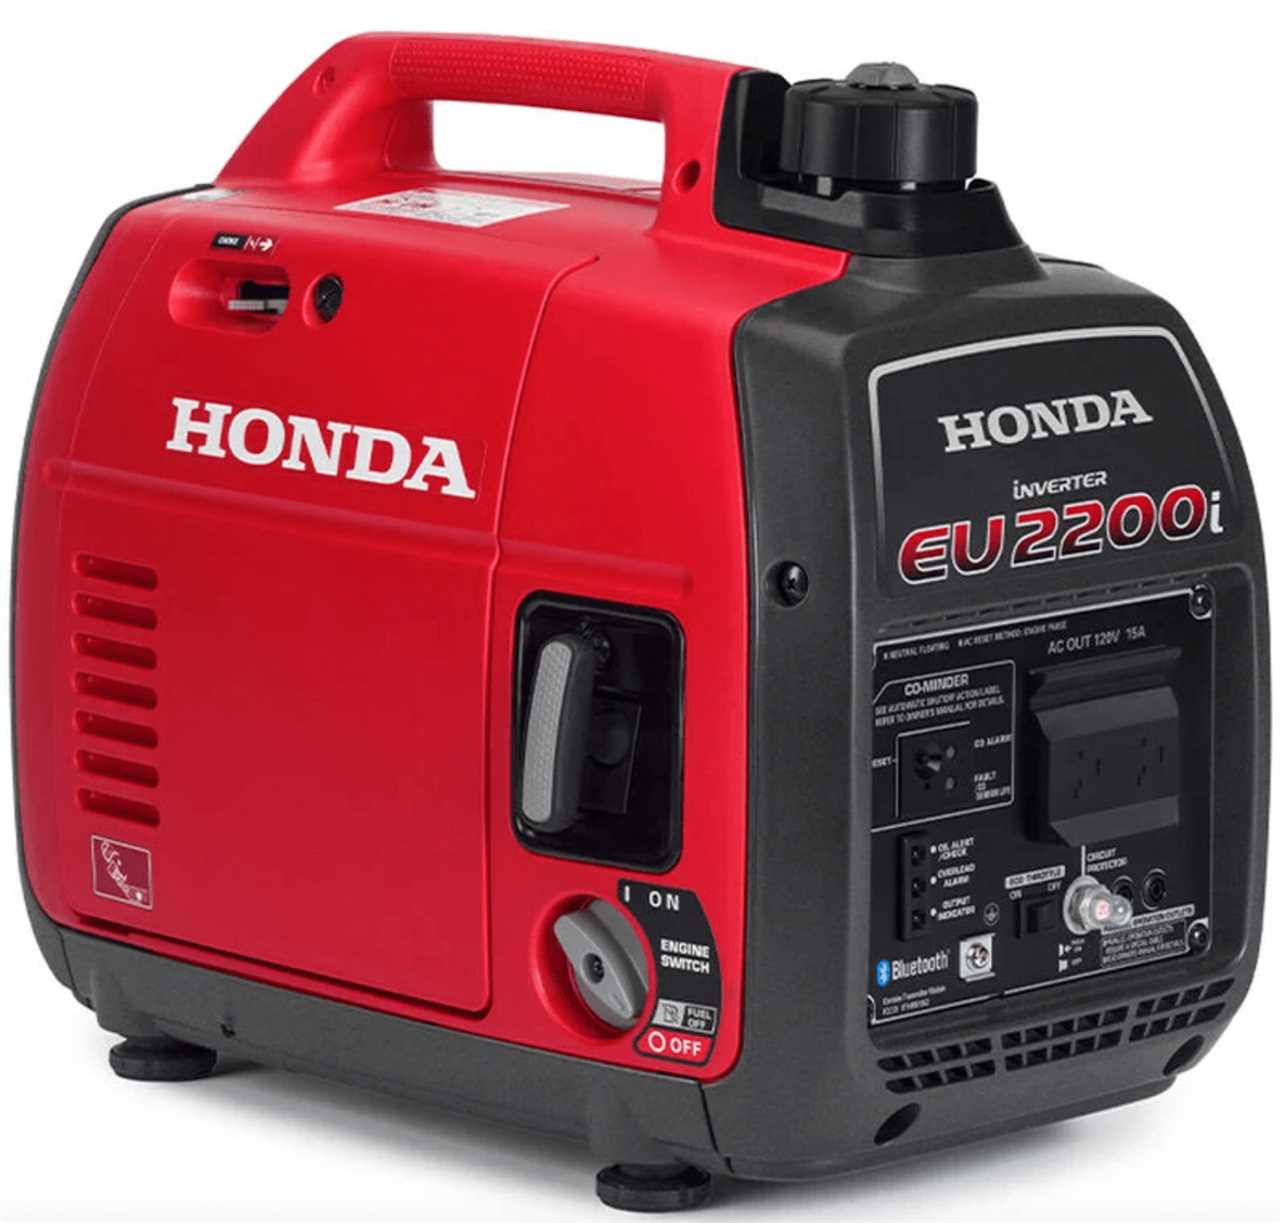
Photo by Camping World
Generator Specifications
- Max Wattage: 2,200 watts (18.3 amps)
- Rated Wattage: 1,800 watts (15 amps)
- Fuel Tank Capacity: 0.95 gallons
- Run Time: 3.2 hours at rated load; 8.1 hours at 25% load
- Noise Output: 57 decibels (dB) at rated load; 48 dB at 25% load
- Dimensions: 20.0″L x 11.4″W x 16.7″H
- Weight: 47.4 pounds
The EU2200i is a good solution if you have a small camper. It’s lightweight and compact, which makes it easier to store in your tow vehicle, an underneath storage compartment, or in a hitch or bumper-mounted cargo carrier.
This Honda portable generator is 49-state CARB compliant (sorry Californians!) and includes Honda’s patented CO-MINDER technology. That technology continuously monitors carbon monoxide levels and automatically shuts down the generator before levels become dangerous.
Learn more about this Honda portable generator.
Honda EU3000iS Portable Generator
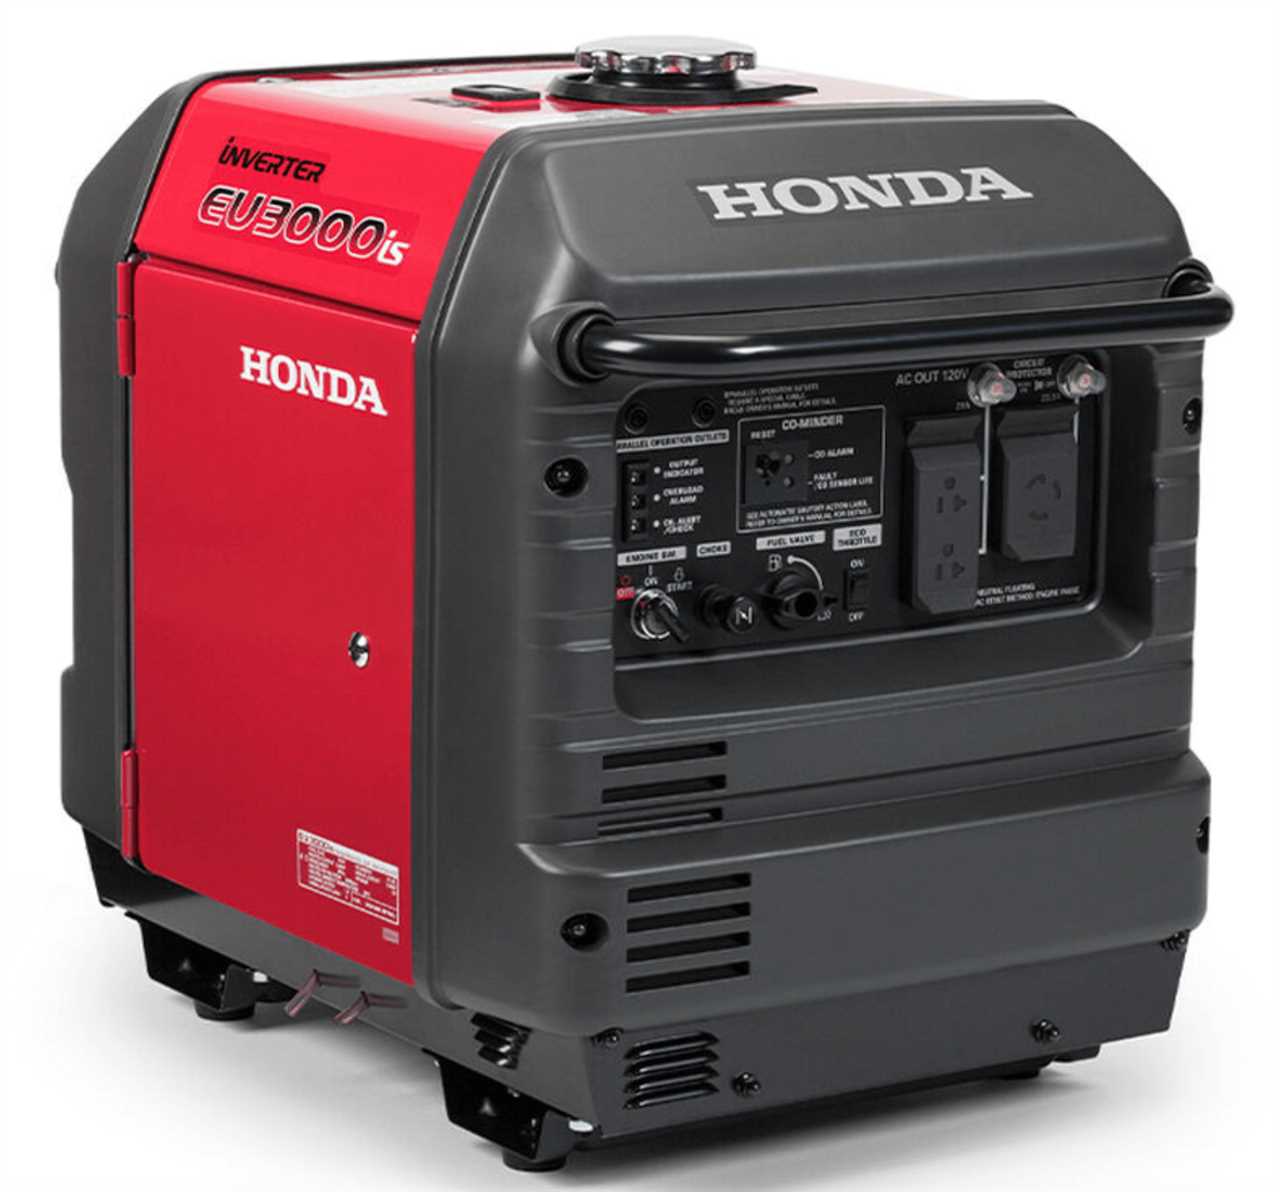
Photo by Camping World
Generator Specifications
- Max Wattage: 3,000 watts (25 amps)
- Rated Wattage: 2,800 watts (23.3 amps)
- Fuel Tank Capacity: 3.4 gallons
- Run Time: 6.9 hours at rated load; 19.6 hours at 25% load
- Noise Output: 57 dB at rated load; 50 dB at 25% load
- Dimensions: 25.9″L x 17.6″W x 22.0″H
- Weight: 130.7 pounds
Honda’s EU3000iS portable generator is a nice step up for travel trailers or fifth wheels with larger air conditioning units. It boasts inverter technology that provides more reliable power for your RV appliances and sensitive electronic equipment.
It also offers a considerably larger fuel tank than the EU2200i, which provides a longer run time between refills. Whether you need it for backup power when boondocking or to recharge your RV batteries and lights before traveling, it’s a great option for a reliable portable generator.
Learn more about this Honda portable generator.
Learn more about how to choose the right size generator for your RV before making a selection. Adding a portable generator to your camping setup has many benefits, but you’ll need a model that can handle all of your power needs.
Do you have any additional questions about maintaining Honda portable generators? Let us know in the comments below.
By: Tucker Ballister
Title: How to Change the Oil and Air Filter on Honda Portable Generators
Sourced From: blog.campingworld.com/rv-basics/how-to-change-the-oil-and-air-filter-on-honda-eu1000i-and-eu2000i-generators/
Published Date: Mon, 15 Aug 2022 14:00:15 +0000
---------------------------------------------
 CampingSurvivalistHuntingFishingExploringHikingPrivacy PolicyTerms And Conditions
