Water damage poses one of the greatest risks to your RV. It can compromise your safety and leave you facing expensive repairs. The best defense? Maintaining your RV’s seams and seals.
With a diligent maintenance routine, water damage is likely avoidable. Here, we cover everything you need to know about RV seams and sealants to help you keep them in excellent condition and prevent costly water damage.
Download our maintenance reference book to track your RV’s seasonal and annual maintenance needs.
The Process of Sealing RV Roof Seams
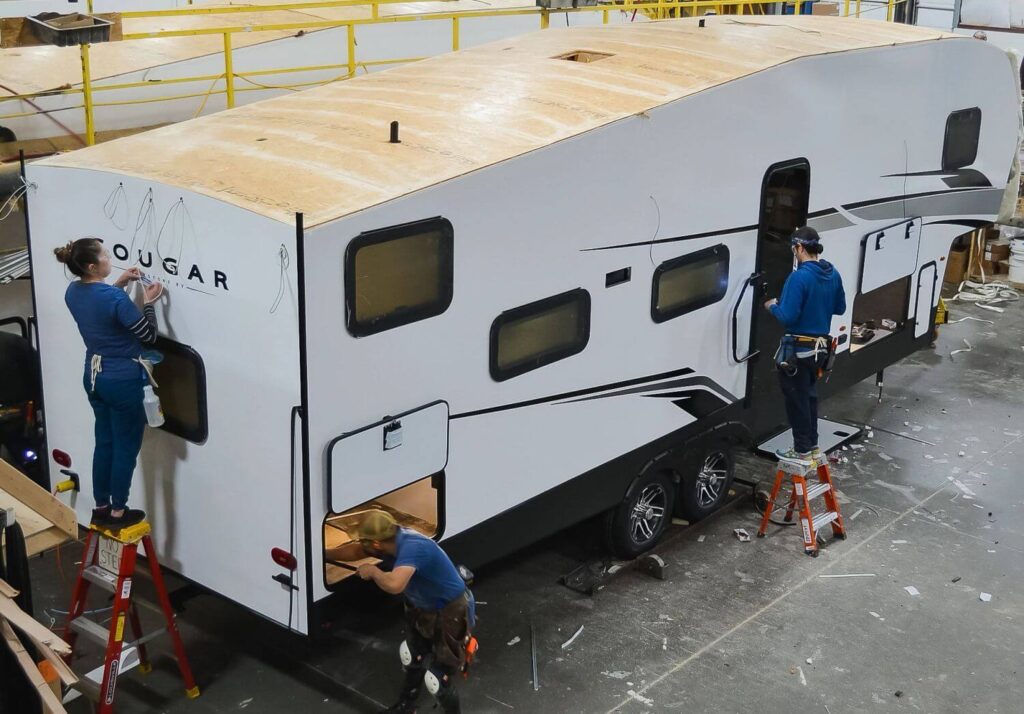
Photo by Camping World
RV manufacturers use varying processes for sealing their units. A Keystone RV’s seams and seals may differ from an RV manufactured by Forest River, for example. But most are built with a single-piece roof membrane.
Builders spread glue over the roof’s wooden framing before stretching the membrane across and sealing it in place as a single piece. They remove air bubbles with a squeegee and install transition molding on the side, front, and rear walls. This construction method leaves minimal seams on most RV roofs.
The areas of concern typically include roof-mounted accessories and the transition molding itself. In the manufacturing process, the sealant is applied around all roof-mounted accessories, as well as along all transition molding to seal the exterior from water ingress.
Of course, this sealant can wear over time, so it’s essential to check your RV’s seams and seals as part of your regular maintenance routine.
Learn more about the RV manufacturing process.
How to Inspect RV Roof Seams
Most manufacturers recommend inspecting your RV’s exterior seams and seals every 90 days. Check your owner’s manual or consult your manufacturer directly to understand their specific seam and seal maintenance recommendations.
Inspecting your RV’s seams and seals starts on the roof. Ensure your roof is fully walkable and guarantee a safe way on and off the roof before proceeding – either with a mounted RV ladder or a telescoping ladder.
Here’s what to look for once you’re on the roof:
- Deep cracks or voids in the lap sealant
- Loose or missing transition molding
- Cracked, damaged, or worn areas around roof vents, A/C units, solar panels, and other roof-mounted accessories
Technician Tip: It’s the perfect time to clean and condition your RV roof while you’re up there for an inspection. Consult your owner’s manual for rubber roof cleaning and conditioning product recommendations. Then read our tutorial on how to wash your RV.
What is the Best Sealant for RV Roof Seams?
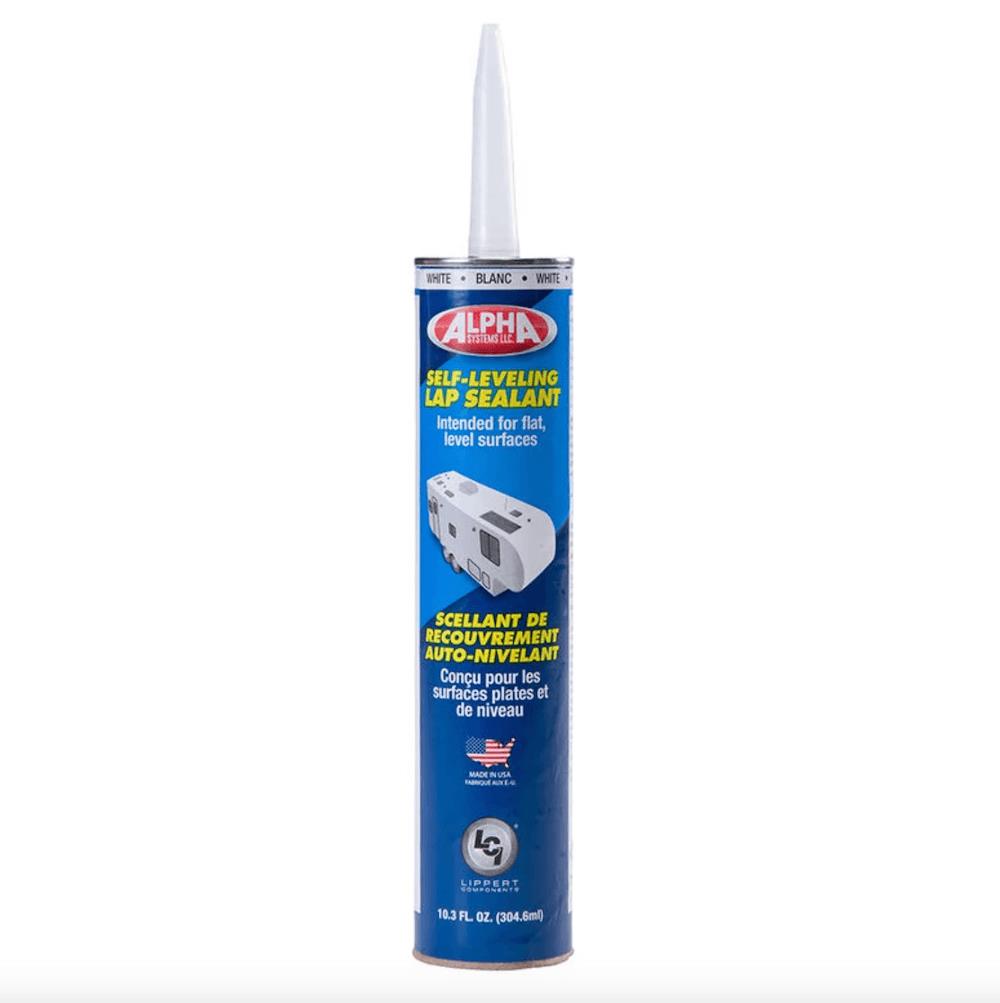
Alpha Systems Roof Sealant Photo by Camping World
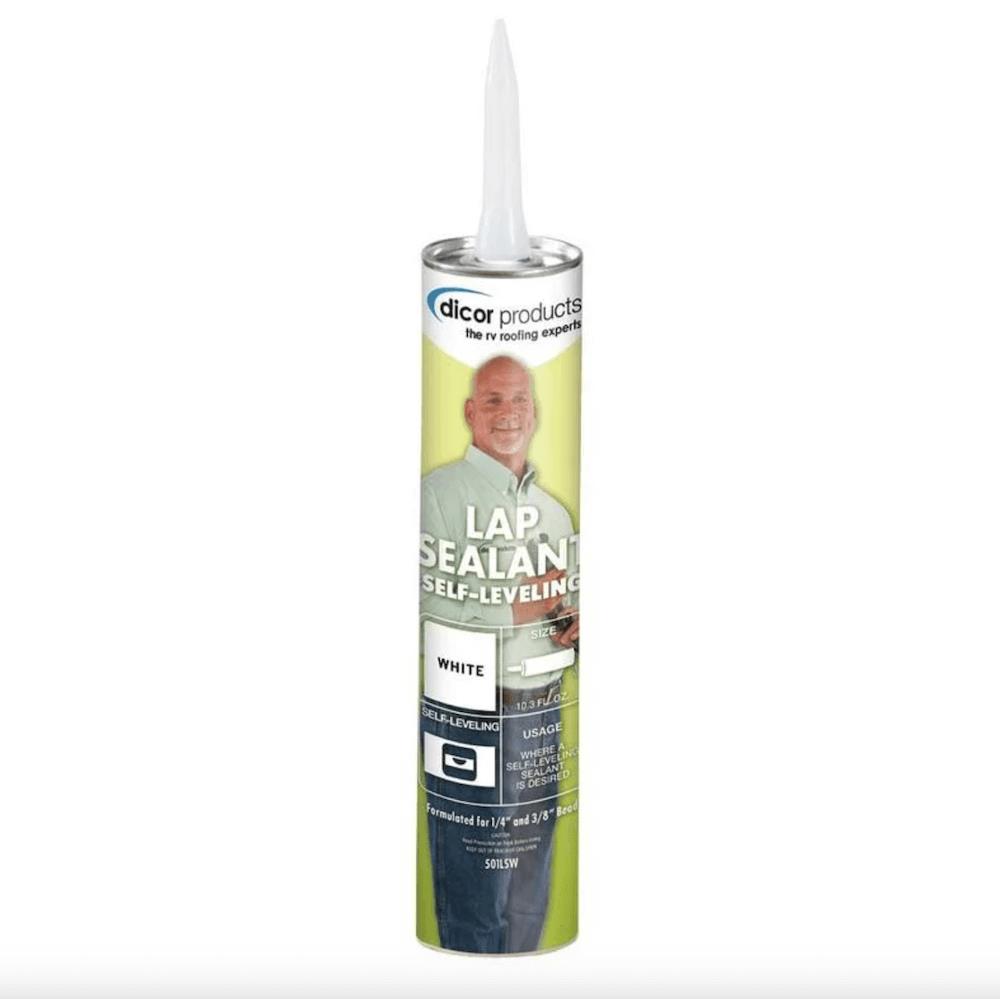
Dicor Roof Sealant Photo by Camping World
When resealing around roof-mounted accessories, use a self-leveling lap sealant designed for horizontal surfaces. Depending on your RV’s design, you may need the same sealant along transition molding or a lap sealant designed for vertical surfaces.
Dicor and Alpha Systems are two leading brands for the best sealants for RV roof seams. Explore our collection of lap sealants from both brands to find a color and type correct for your application.
- Dicor Sealants
- Alpha Systems Sealants
Roof sealing tape is also helpful when repairing corners or vertical surfaces at the edges of your RV roof. As always, check with your RV manufacturer for specific roof sealant repair recommendations.
You should only use the products recommended by the original equipment manufacturer (OEM) during the warranty period to prevent voiding the warranty. If you’re having the work done by a technician, be certain they use only approved materials.
How to Inspect RV Window and Door Seals

Photo by Camping World
Most manufacturers recommend inspecting the seals around your RV doors and windows every 90 days. Consult your manufacturer or check your owner’s manual for RV-specific door and window maintenance recommendations.
Look for obvious cracks or voids in the sealant. Large cracks or areas where the sealant is missing entirely should be addressed immediately to prevent water from entering.
With windows, ensure you don’t add sealant to the weep holes in the window frame (pictured below). These allow water to run down your windows and drain out – they do not allow water inside.
What is the Best Sealant for RV Windows and Doors?

Photo by Camping World
Vertical surfaces can be a bit more tricky to seal. Fortunately, there are plenty of quality sealants designed for vertical applications.
For vertical surfaces, you’ll ideally use a silicone sealant because it’s less likely to drip or ooze down. Dicor is once again the leading brand for this type of sealant, which is the same sealant utilized around RV compartment doors and along any transition molding on your RV’s exterior walls.
What’s the Difference Between Caulk and Sealants?
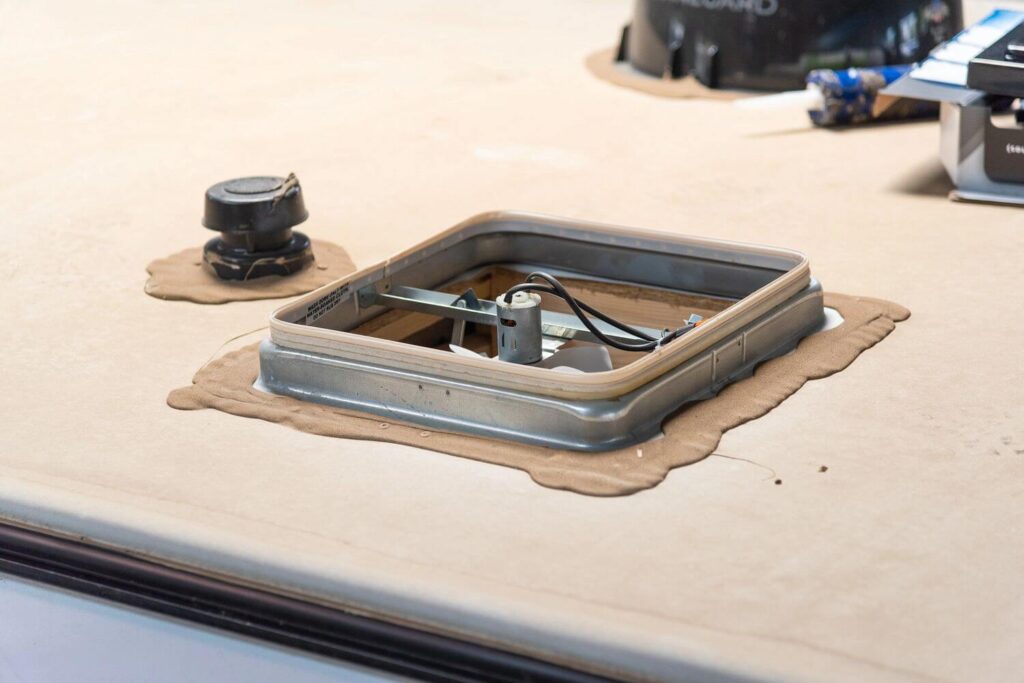
Photo by Camping World
Flexibility is the major difference between caulk and sealants. Caulk is stiffer once it dries, making it more appropriate for areas with little to no movement. Sealants are more flexible when they dry while still providing a waterproof barrier.
Because RVs are subject to so much movement, sealants are the more appropriate choice for RV roof and wall seams and the seals around your doors and windows.
Technician Tip: In all cases, preparing the surface properly is key. This involves scraping away loose or damaged sealant and cleaning with a zero-residue product like denatured alcohol. This is the best way to ensure a long-lasting and professional-looking repair.
How to Find an RV Seam Sealer

Photo by Camping World
We’ve already covered the best sealants for roof seams and the seals around your doors and windows. But what if you don’t want to tackle the actual resealing yourself?
Bring your RV into your local Camping World Service Center to have a certified technician inspect and reseal your RV’s seams and seals.
Schedule a service appointment today.
Here are a few more resources to help you maintain your RV’s exterior:
- Maintaining Your RV: Seasonal, Annual, and Pre-Trip Checks
- How to Install an RV Roof Vent
- 10 Basic RV Maintenance Tips to Keep Your RV in Great Shape
What else would you like to know about RV seams and sealants? Let us know in the comments below.
The post Everything You Need to Know About RV Seams & Sealants appeared first on Camping World Blog.
By: Tucker Ballister
Title: Everything You Need to Know About RV Seams & Sealants
Sourced From: blog.campingworld.com/learn-to-rv/everything-you-need-to-know-about-rv-seams-sealants/
Published Date: Tue, 06 Jun 2023 09:00:00 +0000
---------------------------------------------
Did you miss our previous article...
https://outdoorsnewswire.com/camping/campers-have-smore-fun-in-cody-yellowstone
 CampingSurvivalistHuntingFishingExploringHikingPrivacy PolicyTerms And Conditions
