RV steps are a feature that many RVers take for granted. They’re necessary for entering and exiting your motorhome or travel trailer. Still, most of us don’t consider how to maintain them properly or whether upgraded RV steps will make our camp lives easier or safer.
The truth is that getting in and out of your RV can be dangerous – and not just when overnight temperatures create slippery conditions outside.
Let’s examine the different types of RV steps and explore tips for RV step maintenance and potential upgrades in this guide to steps for your RV.
Types of RV Steps
All steps for RVs aren’t created equal. There are often distinct differences between motorhomes and travel trailers. Manufacturers also choose different steps based on the weight and design of their models.
Here are the main RV step types:
Solid RV Steps
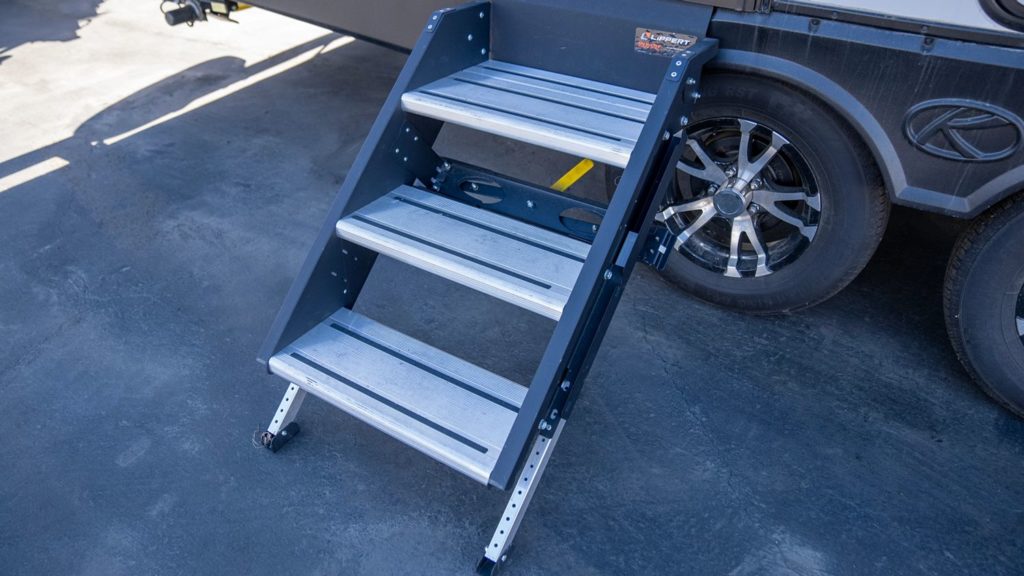
Photo by Camping World
Solid steps are the most common option for towable RVs. They fold up into the doorway when you’re towing and fold out when you reach your campsite. The best models include adjustable legs that allow you to achieve maximum stability on uneven ground.
Here’s a short tutorial on LCI’s solid step system:
Electric Steps for an RV
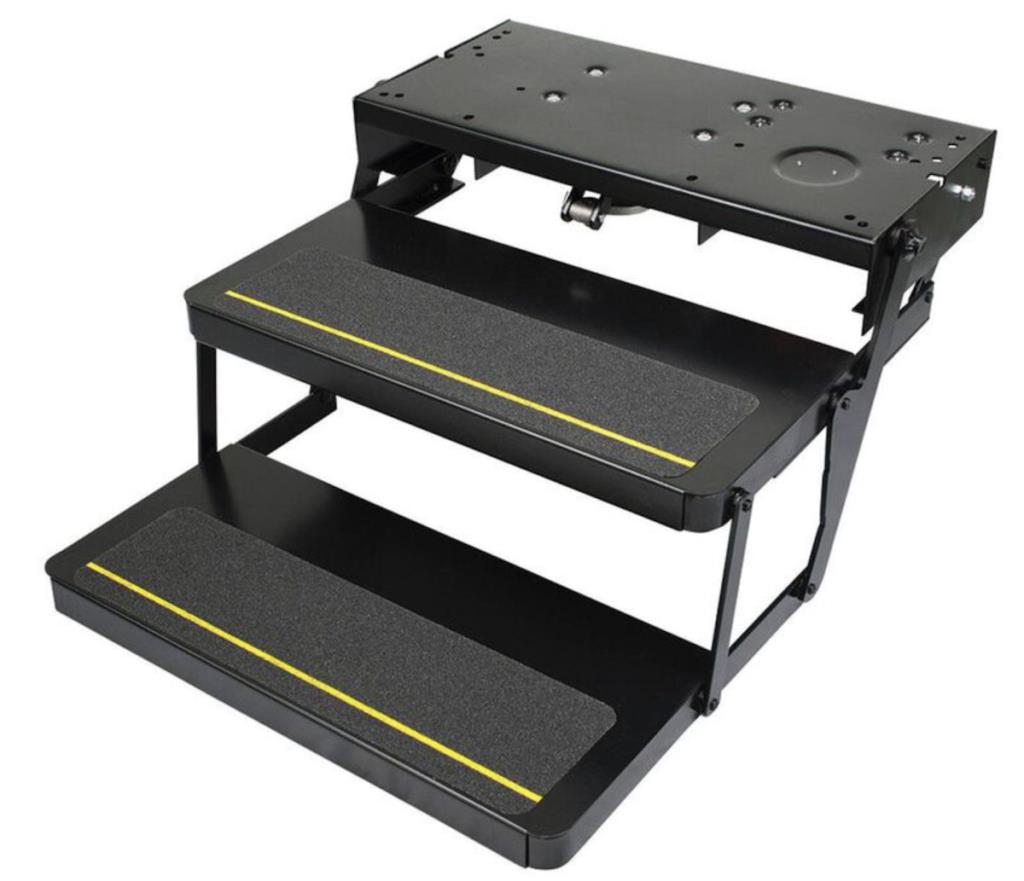
Photo by Camping World
Electric steps are more common in Class A and Class C motorhomes. They typically feature a motorized assembly connected to a power switch inside your coach. When turned on, the steps automatically extend and retract when you open and close your RV’s entry door.
Manual RV Steps
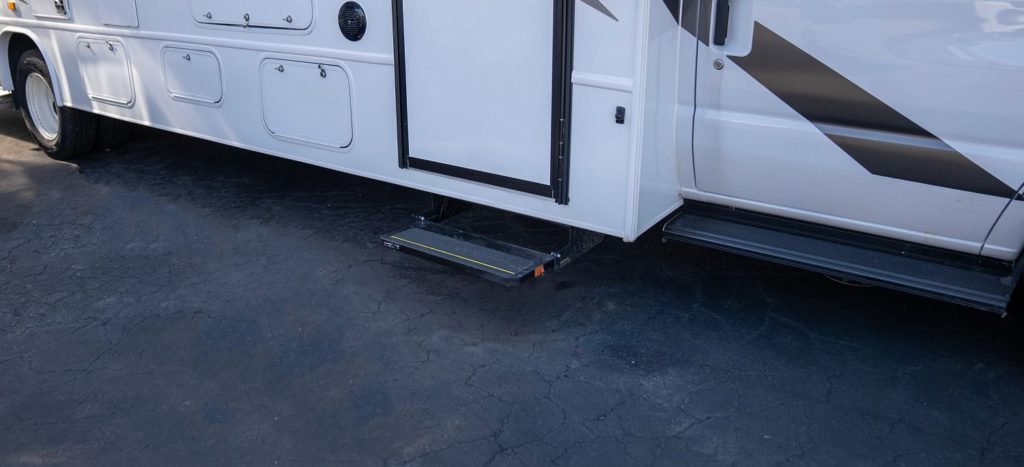
Photo by Camping World
You might find manual steps on older used motorhomes and towables. but some folks also decide to replace their electric step assembly with manual steps because they easily slide or fold up under the entry door. This removes the electric motor and reduces potential troubleshooting issues down the line.
Portable RV Steps

Photo by Camping World
Portable RV steps, also known as porch steps, are a more common option for full-timers or those living permanently in their RV in a single location. They provide more stability and generally offer a larger handrail, making it easier for RVers with less mobility to enter and exit.
RV Handicap Steps
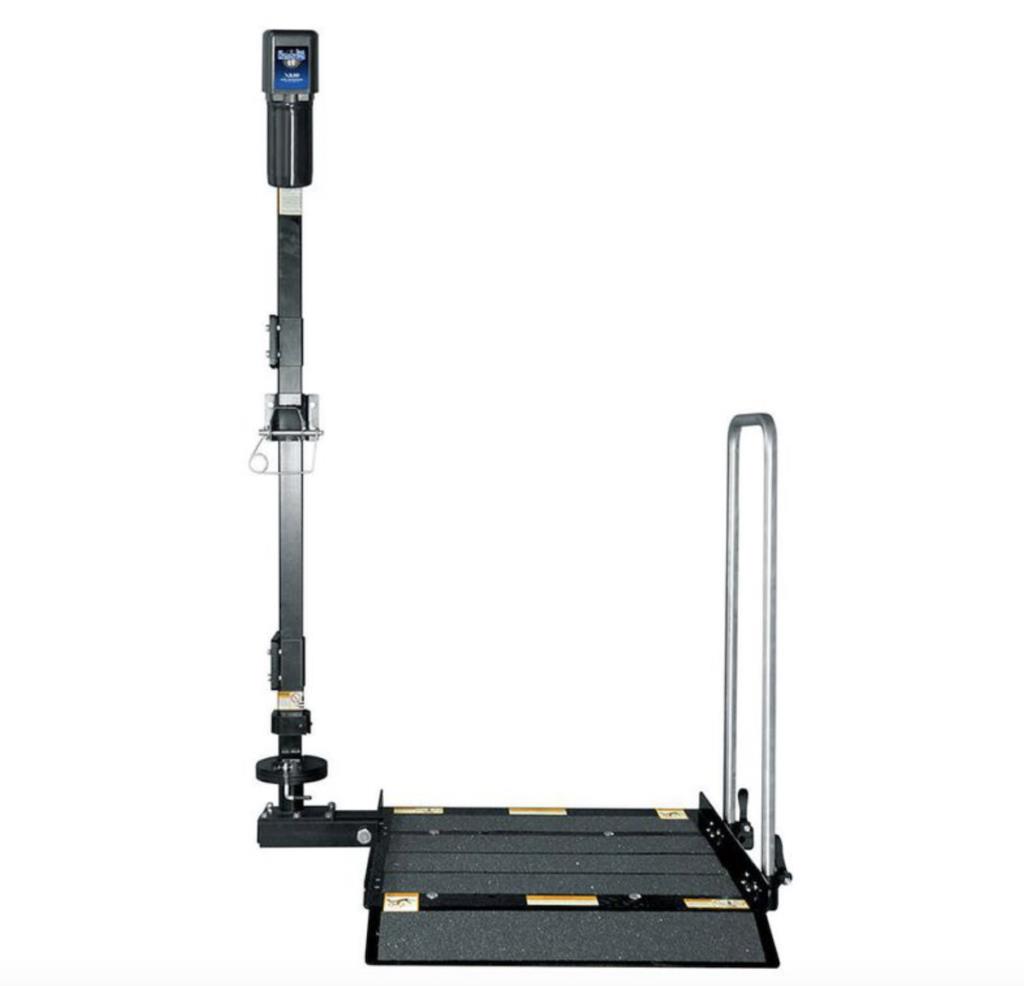
Photo by Camping World
Depending on the design of your RV, you may also be able to install a Handi-Lift for better accessibility. Burr Engineering makes several designs that can lift up to 300 pounds anywhere from 40 to 50 inches off the ground.
Consult a Camping World Service Center to see if you can install a Handi-Lift for your RV.
Truck Steps
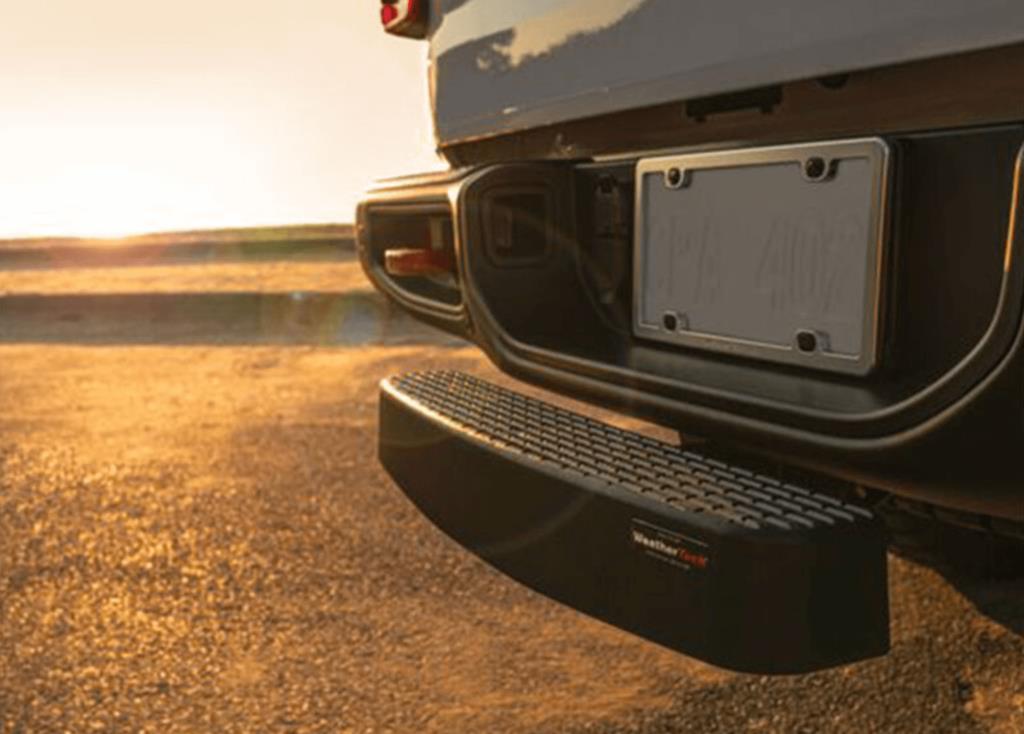
Photo by Camping World
Truck steps are an excellent choice if you have a truck camper or need an easier way to access the bed of your tow vehicle. The most affordable steps for your truck attach to your hitch receiver (as long as it’s a compatible size). Other designs secure to an open truck tailgate or hook onto the door latches to provide easier access to roof-mounted accessories.
Shop Camping World’s complete selection of truck steps.
How to Measure for RV Steps
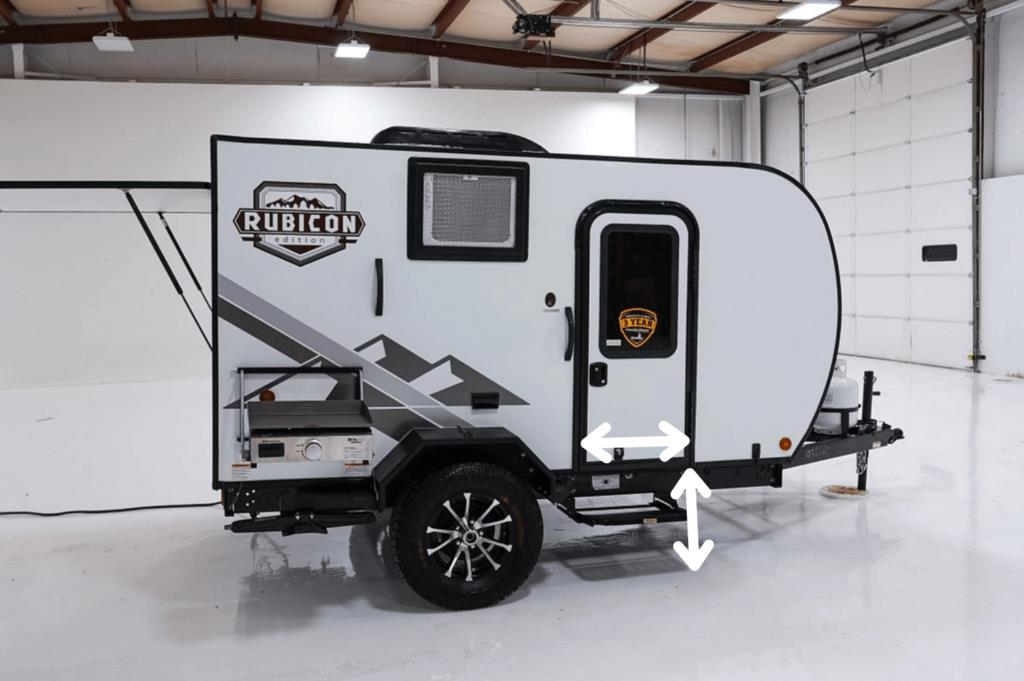
Photo by Camping World
For solid steps, you’ll measure from the ground to the threshold of your RV’s entry door. Ensure the unit is level and on flat ground before measuring the height. You’ll also measure the width of your entry door frame from the inside edge to the inside edge.
You’ll then use your measurements to consult the manufacturer’s recommendations and determine the proper step width (usually 26” or 30”) and whether a double, triple, or quad step is best for your RV.
The easiest method for electric or manual steps is to measure the dimensions of your existing steps and note the number of steps your RV currently has. Pertinent dimensions include the width and depth of the step and the entry height of your RV – the distance from the ground to the bottom of the first interior step.
You’ll also need to ensure the steps you choose to replace your existing steps offer equal or greater weight capacity. The safest choice is to consult your manufacturer for RV step replacement recommendations.
How to Add RV Step Covers
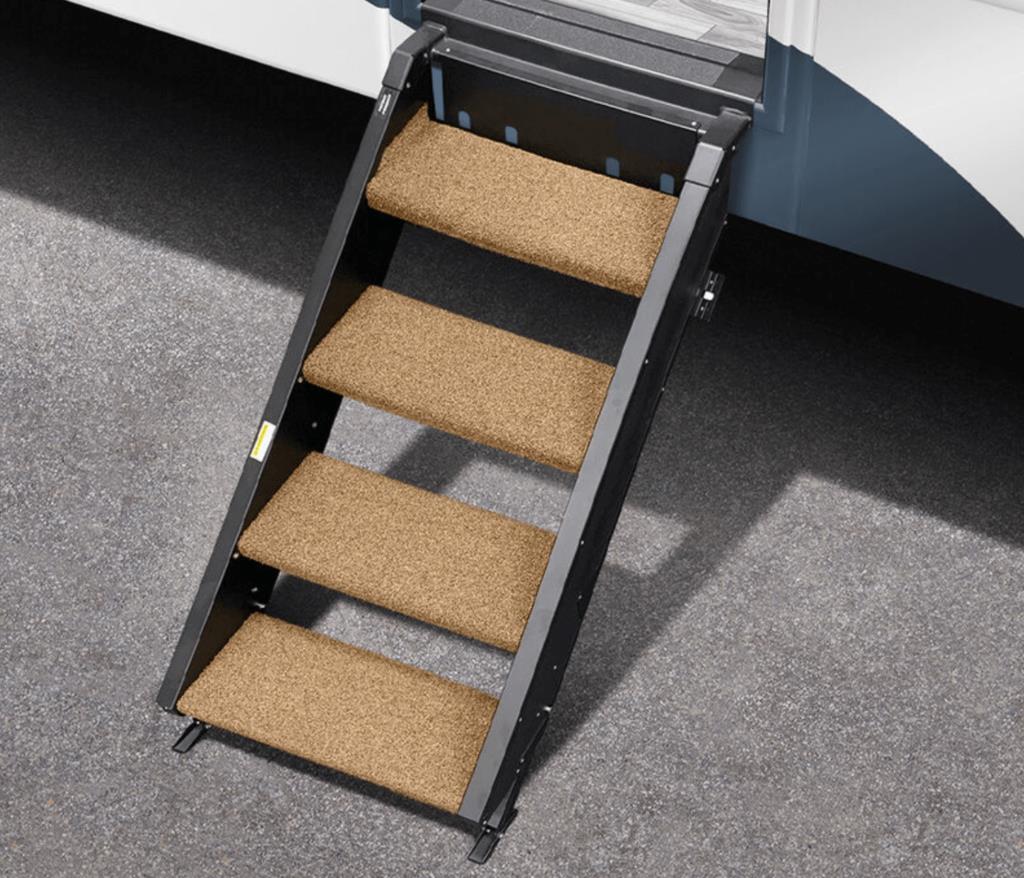
Photo by Camping World
To begin, you’ll need to select compatible step covers or rugs for the size and type of your RV steps. Measure the width and depth of the tread on your steps. Use those measurements to shop for compatible step covers.
You’re better off finding covers that fit your steps than cutting or modifying oversized covers.
The installation method depends on the exact step covers you purchase, but most are simple. The covers wrap around the step and typically include two grommets with springs that hold them in place.
Some designs give you multiple grommets to tighten the covers to your preference. Some use straps with Velcro or buckles to secure to your RV steps.
Explore Camping World’s selection of RV step covers.
Here are a few more tips for installing and maintaining your RV step covers:
- Clean steps before installing covers.
- Remove covers seasonally, clean, and dry completely before re-installing.
- Carpet covers can still accumulate ice in freezing temperatures. Check before trusting them to have the grip you need to enter or exit your RV safely.
- Some step covers must be removed for travel. Consult your manufacturer to see if your model falls into this category.
How to Manually Retract RV Steps
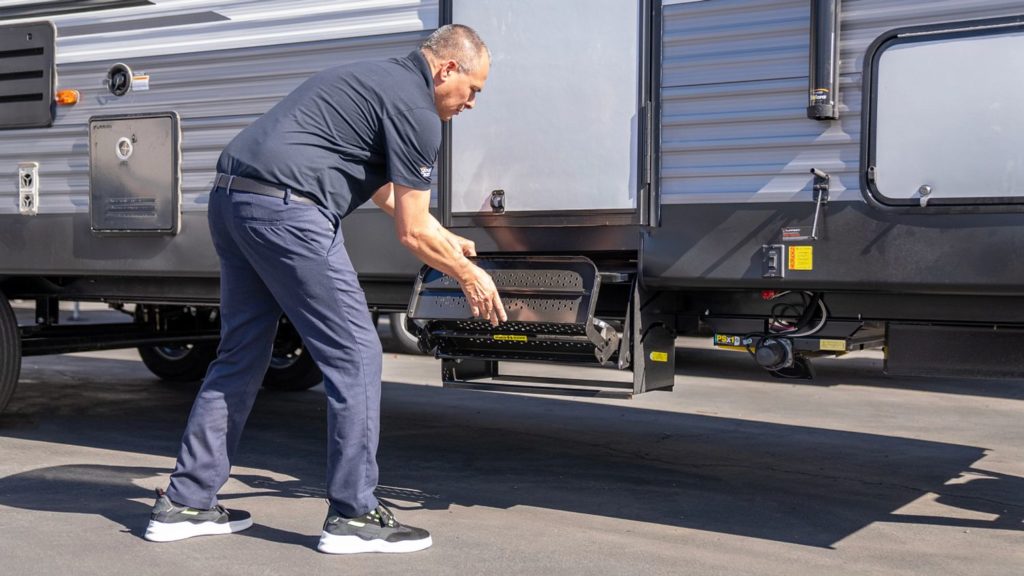
Photo by Camping World
If you have solid steps or manual steps, you’ll already extend and retract them manually. For RVers with electric steps, it pays to know how to manually retract them if something goes wrong with the electric motor.
Technician Tip: This process may differ based on the original equipment manufacturer (OEM). Consult your owner’s manual or contact that manufacturer for more troubleshooting assistance.
On most electric step assemblies, the motor is located behind the steps underneath your RV. It’s typically easily accessible, but if it stops working, your first checks should be to verify adequate battery power and the function of the step power switch.
If you cannot restore power to operate your steps, start by identifying the step frame, step linkage, and linkage pin. These components are typically labeled in your owner’s manual.
Step Frame: The majority of the assembly, including the steps, but not including the motor.
Step Linkage: The component responsible for extending and retracting the steps.
Linkage Pin: The component that attaches the step frame to the retracting mechanism.
From there, here’s how to manually retract RV steps:
- Remove the linkage pin from the system to loosen up the frame. The linkage may have pressure against it, so the pin might need to be driven out with some type of drift and a hammer. Some models have a bolt that must be loosened before removing the linkage.
- Steps should move freely once you remove the pin. You may need to jerk them gently to separate them from the retracting mechanism. You should now be able to retract your RV steps manually without resistance.
- Once free of the linkage pin, the steps will move with extreme ease and may catch you off guard. Be prepared for them to move with minimal force.
- Secure them in the fully retracted position using zip ties or aluminum wire.
- Replace the linkage pin to avoid losing it and having to replace the entire linkage mechanism.
Technician Tip: This is a temporary solution. Once achieved, you should proceed to your nearest RV service center to have your electric steps inspected and repaired. Be aware that this will leave a larger height to deal with to get in and out of your RV, so a step stool might be helpful to avoid falling and provide easier entry and exit.
How to Maintain Electric RV Steps
If you have electric steps for your RV, here are a few quick maintenance tips:
- Ensure the power switch is on. This is your first check if your steps aren’t working as expected.
- Wait for the motor to stop with the steps fully extended before stepping on. Using steps while they’re moving can weaken the joints and cause damage.
- Use your RV step handrail to ensure balance and stability. Consider upgrading to a larger handrail for added support.
- Install skid guards or step rugs. These will provide more grip and traction.
- Use motion-activated step lights to see where you’re stepping after dark.
- Visually check your steps before and after each trip. Ensure no obstructions or pinched hinges prevent your steps from operating smoothly.
- Lubricate step hinges every 30 days.
- If you can’t hear the motor, trace the electrical wires to the battery and check for loose or broken wires or blown fuses.
If your steps aren’t working, you can also check the wires and mechanisms of the step switch. This requires using a digital multimeter and knowing your RV’s wiring schematics.
If you’re uncomfortable troubleshooting your RV’s electrical system, contact your local Camping World Service Center to schedule an appointment.
Steps are one of the easiest components to overlook in your RV, but you need them daily to guarantee your safety as you move in and out of your home away from home. If you have any RV step problems you can’t solve at home, please contact your local Camping World today.
Do you have any other questions about RV steps? Let us know in the comments below!
The post Camping World’s Guide to RV Steps appeared first on Camping World Blog.
By: Tucker Ballister
Title: Camping World’s Guide to RV Steps
Sourced From: blog.campingworld.com/gear-and-accessories/camping-worlds-guide-to-rv-steps/
Published Date: Fri, 14 Apr 2023 09:00:00 +0000
---------------------------------------------
 CampingSurvivalistHuntingFishingExploringHikingPrivacy PolicyTerms And Conditions
