Maintaining proper airflow in your RV is critical to your comfort. Roof vents and fans easily let warm air out of your RV, while floor and ceiling vents circulate warm and cool air from your RV’s furnace and air conditioner.
But what about your RV’s vent covers? Do yours perform as they should, or is it time for an upgrade?
The Types of RV Vent Covers
Let’s look at the three main types of RV vent covers:
RV Roof Vent Lids
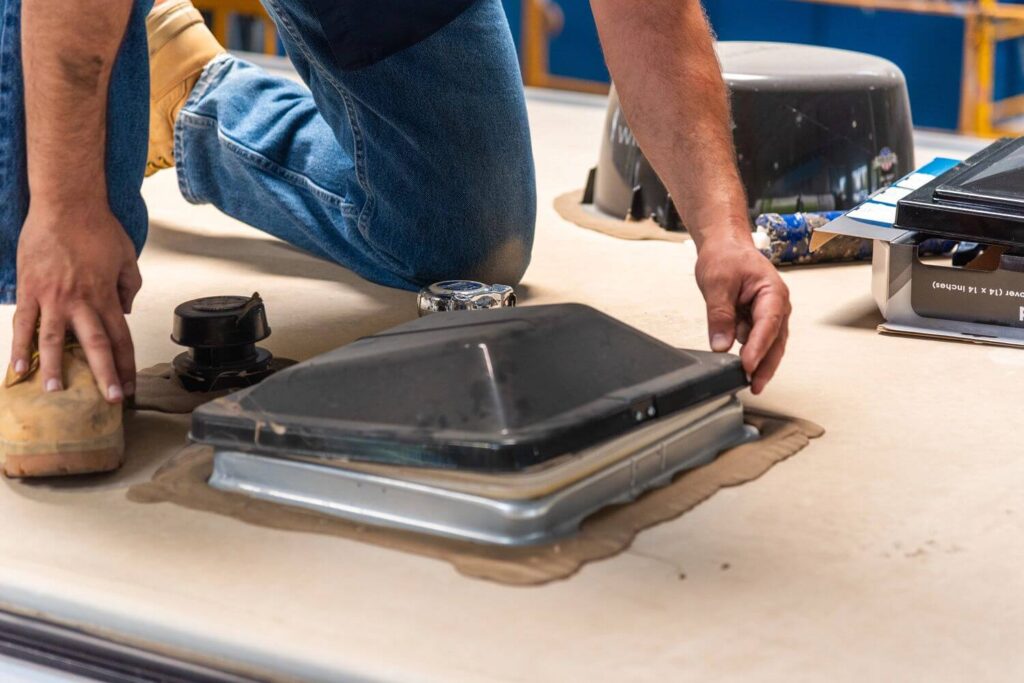
Photo by Camping World
All new RVs come with roof vent lids installed as part of the roof vent assembly. These standard lids open for ventilation but allow water and dust inside. If it’s raining, you won’t be able to crack them open without letting water into your RV. Standard lids are susceptible to UV damage over time, so they should be inspected annually.
Vent lids come with several different hinge styles, and they are incompatible with other styles. When selecting a new lid, either bring the old one with you or take a couple of detailed photos to aid in the selection.
Technician Tip: In very hot or cold climates, uninsulated roof vents can cause uncomfortable temperature swings in the coach. Square foam blocks wrapped in a soft fabric can insulate your roof vents. These are inexpensive and easy to install or remove without tools. They simply press into the 14” x 14” opening and are held in place by friction. They offer a tremendous increase in insulating values and help to maintain the coach at comfortable temperatures.
RV Roof Vent Covers
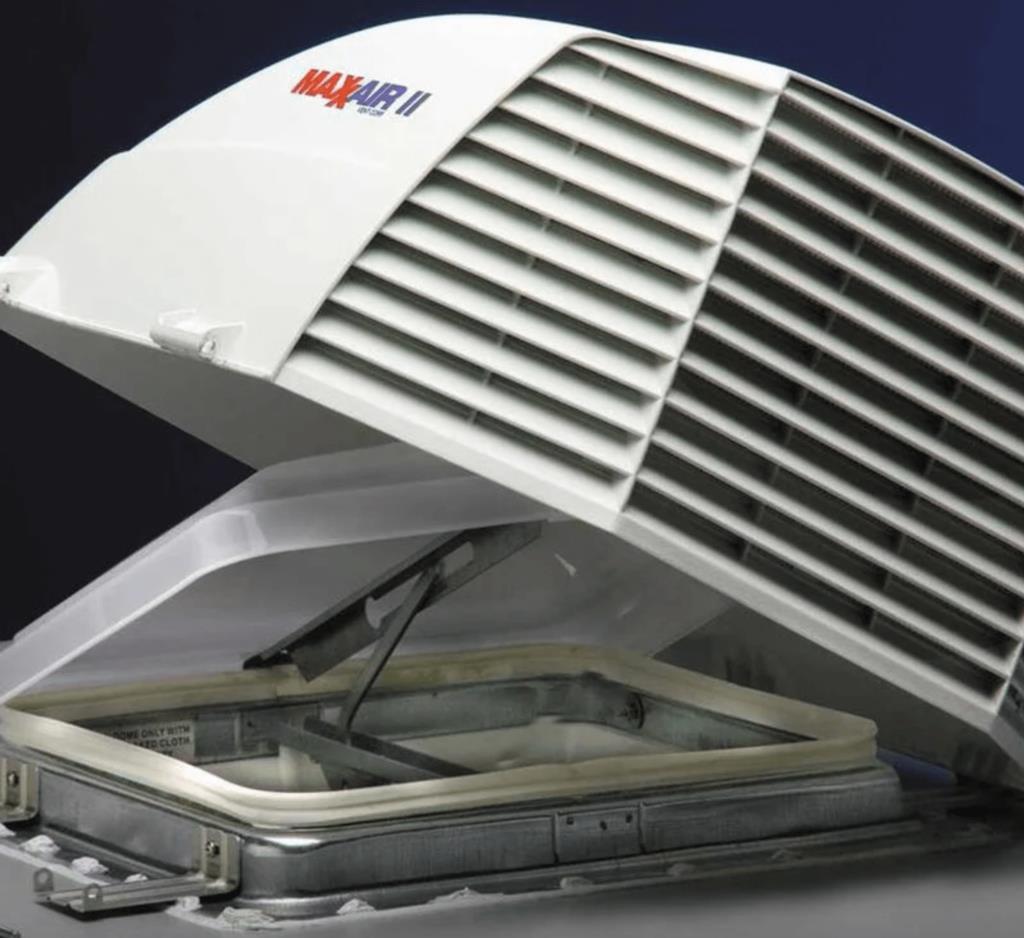
Photo by Camping World
Vent covers can be installed over existing vent lids to ventilate your RV roof in any weather. They can also improve airflow and prevent heat buildup, so many RVers upgrade to one of the styles we’ll highlight below.
There are fully integrated models where the lid also serves as the vent cover. These sit nearly flat and low when closed. Some open manually, others by use of a switch, and some can operate automatically with a wireless remote control or interface with your RV’s thermostat.
Explore Camping World’s full selection of RV vent covers.
RV Floor Vent Covers
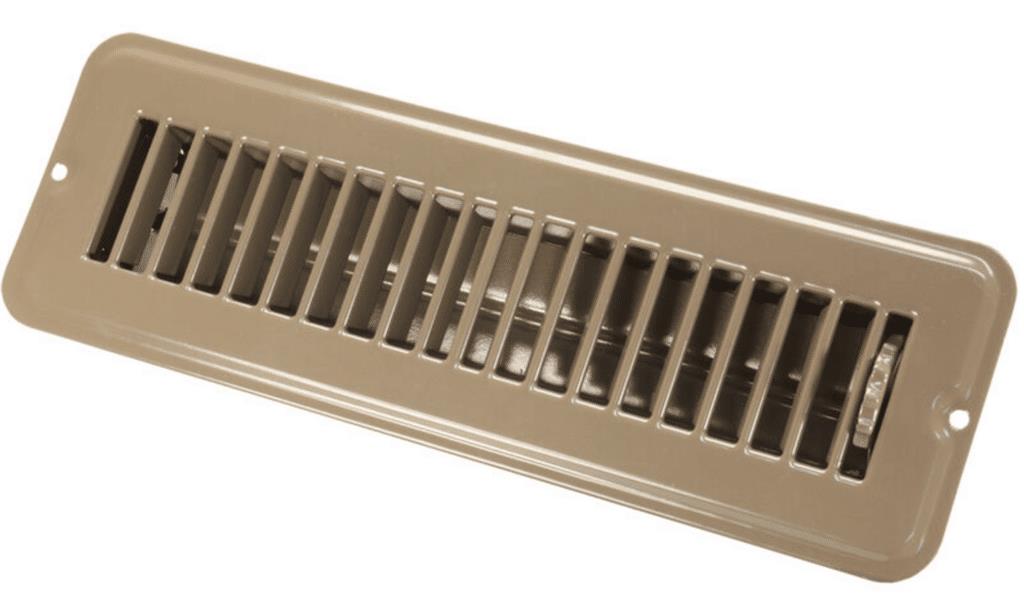
Photo by Camping World
RV floor vents direct the warm air coming from your RV’s furnace. Vent covers keep large objects from entering the vents. You won’t find floor vents and vent covers – also known as vent registers – in all models, but they’re essential for air distribution in larger motorhomes, travel trailers, and fifth wheels.
Find replacement floor vent registers for your RV.
RV Ceiling Vent Covers
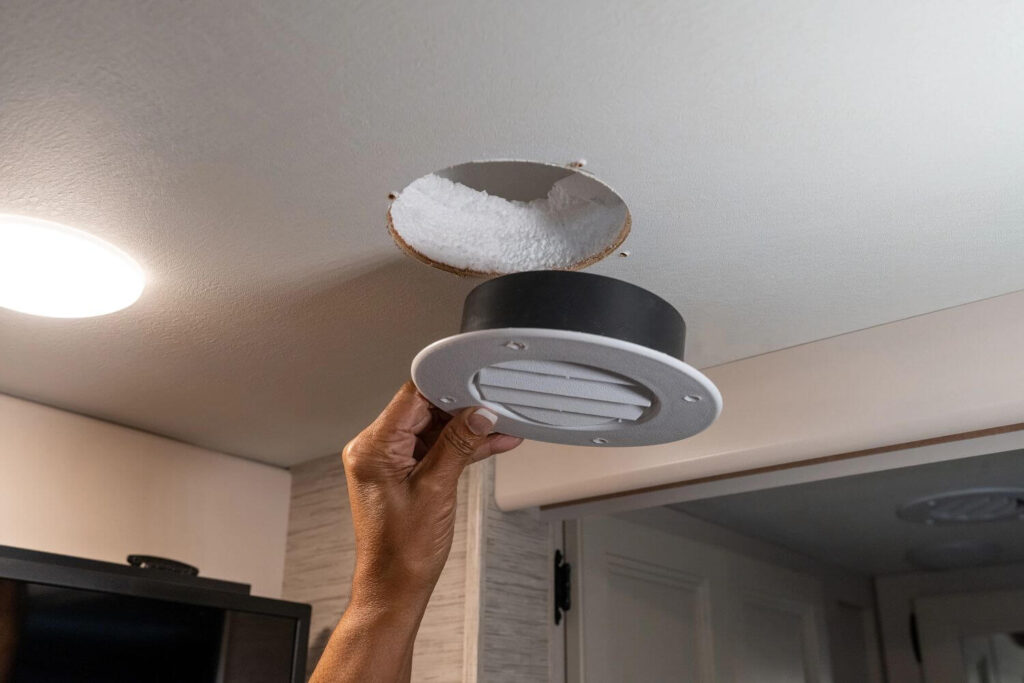
Photo by Camping World
Many larger RVs also include ductwork throughout the ceiling to distribute the cool air from the air conditioning unit(s). Cool air exits the ductwork at specific vents, many of which have covers that can be opened or closed to control airflow.
How to Choose RV Vent Covers
Here are some tips for choosing the right vent covers for your RV:
Floor Vent Registers and Ceiling Vent Covers
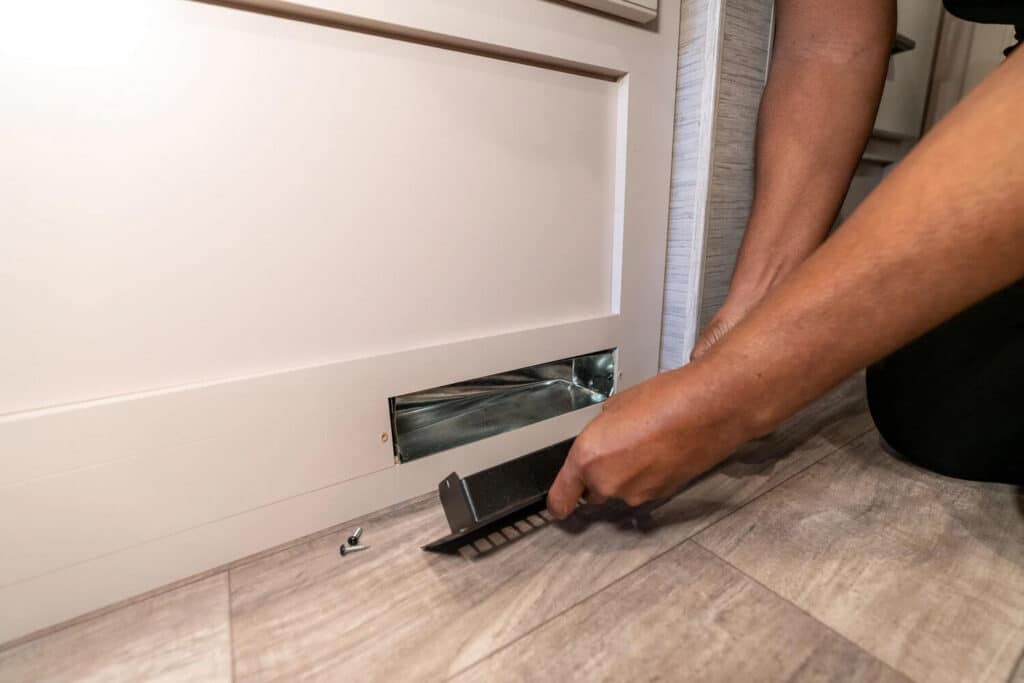
Photo by Camping World
Choosing the correct floor vent registers and ceiling vent covers for your RV simply requires matching your existing hardware or vent openings. Remove existing registers or covers to measure the opening to ensure you purchase a compatible replacement.
Match the existing length and width to replace square and rectangular vent registers or covers. Match the existing diameter to replace circular registers and covers.
RV Roof Vent Covers

Photo by Camping World
Most RV roof vents are cut to a standard 14” by 14” opening, and most roof vent covers fit that opening. However, it’s a smart idea to measure your roof vent opening before choosing a replacement cover.
In addition to matching the dimensions of your roof vent opening, you’ll also need to consider the height of your replacement cover. This shouldn’t be an issue with replacement vent lids, but it’s critical to consider when installing taller vent covers, as they can add to your RV’s height and require more height clearance to fit under low bridges or highway overpasses.
You should also visually inspect the roof vent you plan to cover before installing a vent cover. In some instances, other roof-mounted accessories mounted too close to the vent may require a different style vent cover or may need more space to install one.
The Best RV Vent Covers from Camping World
Here are some of our favorite options for replacing or upgrading your RV’s vent covers:
Venture Forward RV Roof Vent Covers
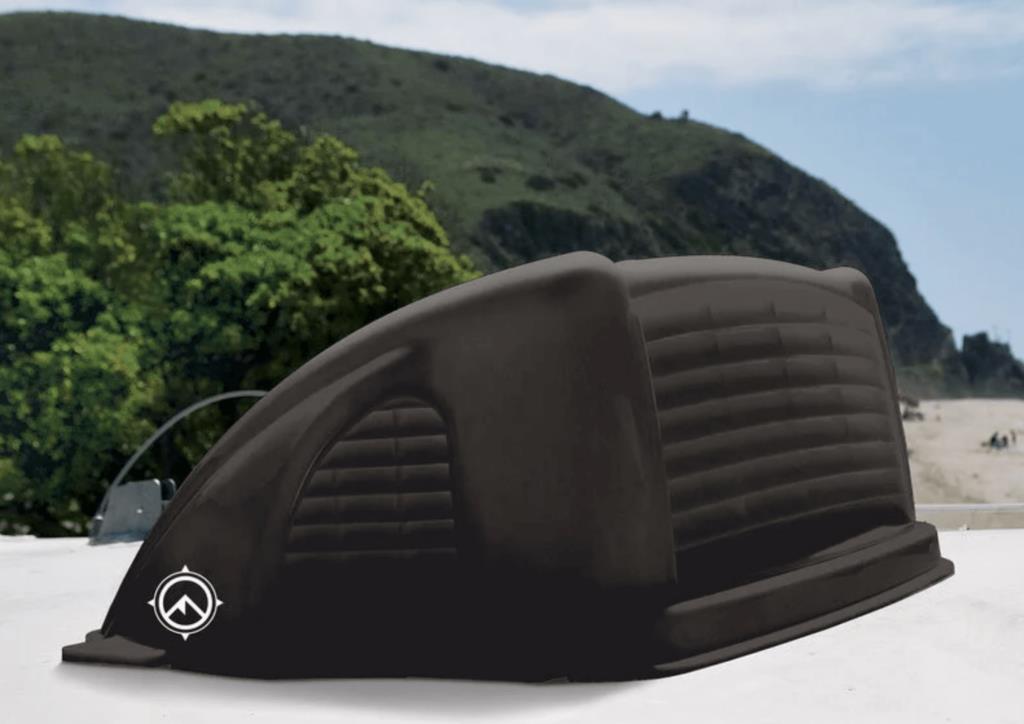
Photo by Camping World
Colors Available: Black, Smoke, and White
Venture Forward’s vent covers are designed to fit a 14” by 14” vent flange. The cover stands at a height of 10 inches and comes with corrosion-resistant, stainless steel hardware for easy mounting.
The cover itself is made with high-impact, UV-protected polypropylene. Unfortunately, these vent covers aren’t recommended for use with a vent fan.
Find out more about Venture Forward vent covers.
MaxxAir Vent Covers
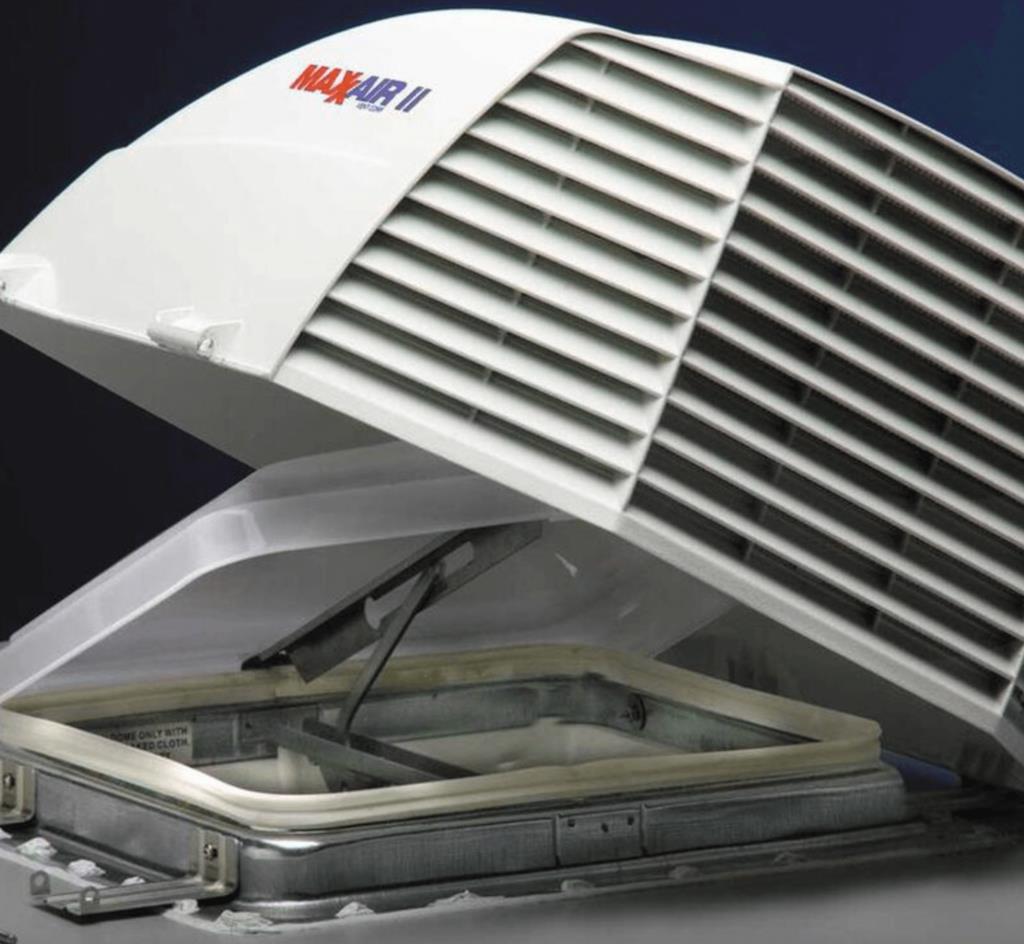
Photo by Camping World
Colors Available: Black, Natural White, Smoke, White, and Translucent White
MaxxAir offers a large variety of vent covers. Their vent covers install over your existing vent lid and allow you to open the lid for ventilation when it’s raining. The regular vent lids are perfect for replacing a cracked vent cover.
Explore all MaxxAir vent covers from Camping World.
Camco RV Roof Vent Covers
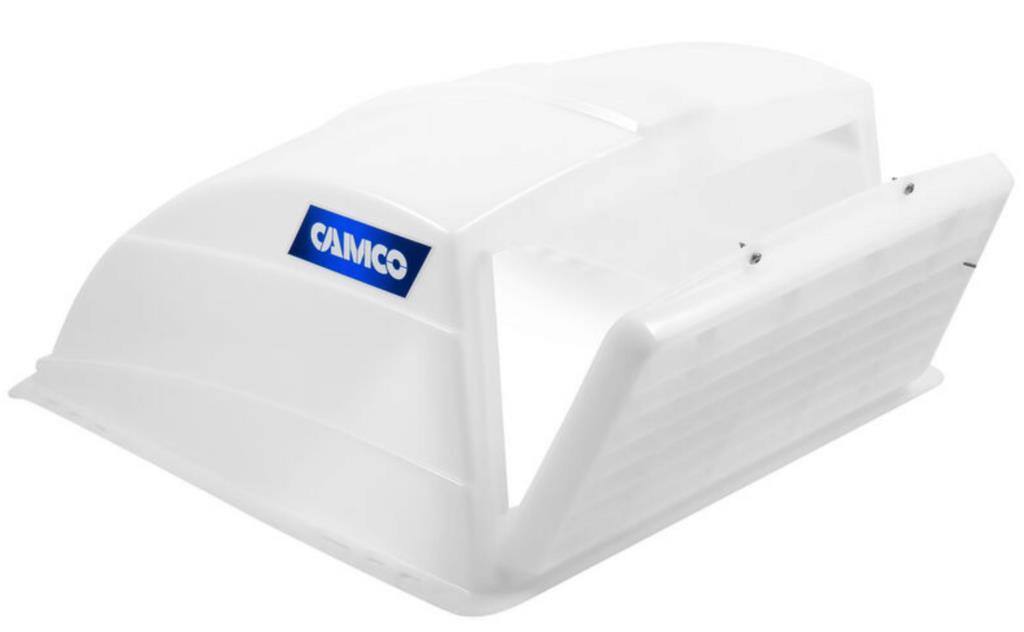
Photo by Camping World
Colors Available: Black and White
Camco has replacement vent lids and vent covers for compatible RVs. Their vent covers fit standard 14” by 14” roof vent flanges, and they are roughly 8.7” tall. They feature a built-in insect screen and removable louvers for easier cleaning.
Find a compatible Camco vent cover for your RV.
How to Replace RV Vent Covers That Are Cracked
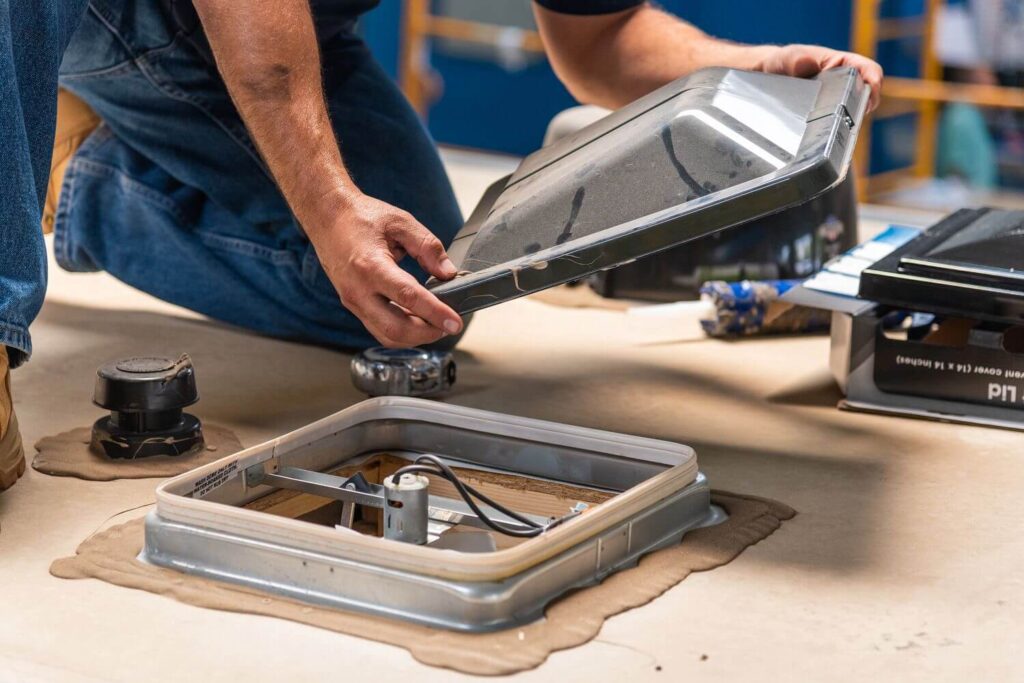
Photo by Camping World
Are you noticing leaks coming through your current roof vent cover? If so, safely ascend to your RV’s roof to inspect the cover. While you’re up there, you might as well complete a full RV roof inspection.
Replacing cracked lids or covers requires simple hand tools. Clean and inspect the roof membrane and sealants at this time since vent covers can block access to this area once installed. Only zero residue non-petroleum cleaning products should be used.
Silicone caulk is best for the sides of the unit; only self-leveling or non-sag lap sealants should be used on the roof if necessary. The gasket, which is press-fit to the vent assembly’s metal flange or curb, should also be inspected at this time.
Vent covers should be positioned deliberately when first installed to ensure they do not interfere with the normal opening and closing of the vent lid. Note that vent lids rarely open to their fullest extent when a vent cover is added.
If a vent has a larger fan built in, special vent covers must be used to allow the higher air volume to flow. Using a vent cover that restricts the airflow may void any warranty that comes with the vent fan.
Always verify polarity with a multimeter (VOM) when adding or installing a vent fan.
Once you determine your vent cover is cracked, follow these basic steps to replace it:
- Find a matching or compatible vent cover. Choose whether you simply want to replace your standard vent lid or make an upgrade. You can add an elevated vent cover for better ventilation when it’s raining or upgrade your entire vent fan.
- Remove the old cover. This will vary based on the model, but most require removing the mounting brackets from the roof vent sidewall unless your new cover is compatible with the existing brackets.
- Install the new cover. Your installation procedure also varies based on the model you’re installing. You may need to drill into your roof vent sidewall to install new mounting brackets, as is the case for the MaxxAir II vent cover.
Technician Tip: Different vent covers may require different installation methods. Consult the owner’s manual for step-by-step installation instructions. For reference, here are the installation instructions for the MaxxAir II vent cover.
How to Install RV Vent Covers
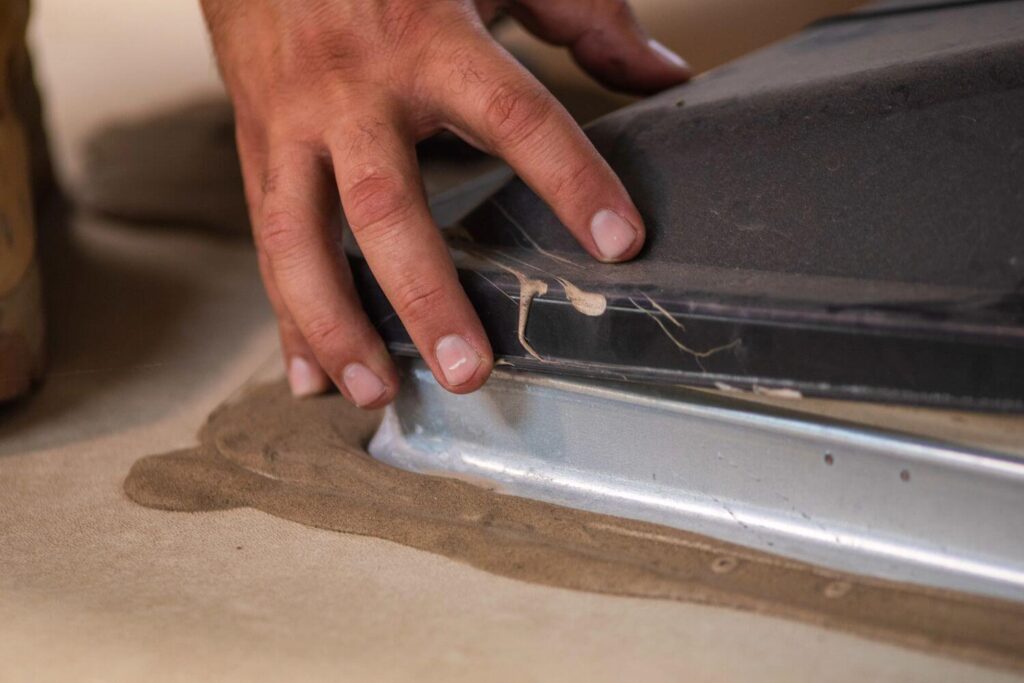
Photo by Camping World
If you’re installing floor or ceiling vent covers inside your RV, you’ll simply remove the screws holding the old cover in place, discard the old cover, and screw the new cover down in its place. You may use new screws to complete the upgrade.
You’ll need a Philips head screwdriver or a #2 square bit for interior vent covers, depending on the screws used in your RV.
Technician Tip: Most furnace and air conditioner manufacturers require a minimum of four drops to facilitate the airflow volume necessary for proper operation. If closeable vents are added to control the airflow to individual spaces, and there are only four vents originally installed, additional vents should be added so that customized climate comfort can be maintained without restricting overall airflow in the system when one or more vents are closed by the user. These can be added at any of our shops by a certified RV Technician.
For installing taller RV roof vent covers like the MaxxAir, the process requires the following:
- Choose which side to secure the mounting hardware. You want the hinges on a vent lid facing the front of your RV so the vent lid opens towards the vehicle’s rear. With some vent covers, the brackets will mount on the side of the vent, but ensure the louvers face the RV’s rear.
- Install the fixed brackets. Measure twice and mark once before drilling holes into your roof vent sidewall and installing the mounting brackets.
- Install the securing brackets. Now you can close the vent cover and mark the locations for the securing brackets on the opposite side. Open the vent cover again before drilling holes into the roof vent sidewall and mounting the securing brackets.
- Lock in place. Close the vent cover and slide the locking pins into place. Press the pins gently downward to lock them in.
Read our full tutorial on installing an RV roof vent and vent cover.
Technician Tip: While not recommended for most installations, any penetration that occurs through the roof or original vent base during installation must be sealed with the proper sealant for the surface.
Understanding RV vent covers will help you repair or upgrade your RV, but it’s also vital to help you control the climate inside your RV. Here are a few more resources to help you keep your RV’s interior at a comfortable temperature:
- How to Stay Cool While Camping in the Heat
- This Simple Tool Will Improve the Performance of Your RV Air Conditioner
- Different Types of Space Heaters for Your RV
Which of these vent covers do you prefer? Tell us your favorite in the comments below.
The post A Complete Guide to RV Vent Covers appeared first on Camping World Blog.
By: Tucker Ballister
Title: A Complete Guide to RV Vent Covers
Sourced From: blog.campingworld.com/learn-to-rv/a-complete-guide-to-rv-vent-covers/
Published Date: Mon, 12 Jun 2023 19:26:50 +0000
---------------------------------------------
 CampingSurvivalistHuntingFishingExploringHikingPrivacy PolicyTerms And Conditions
